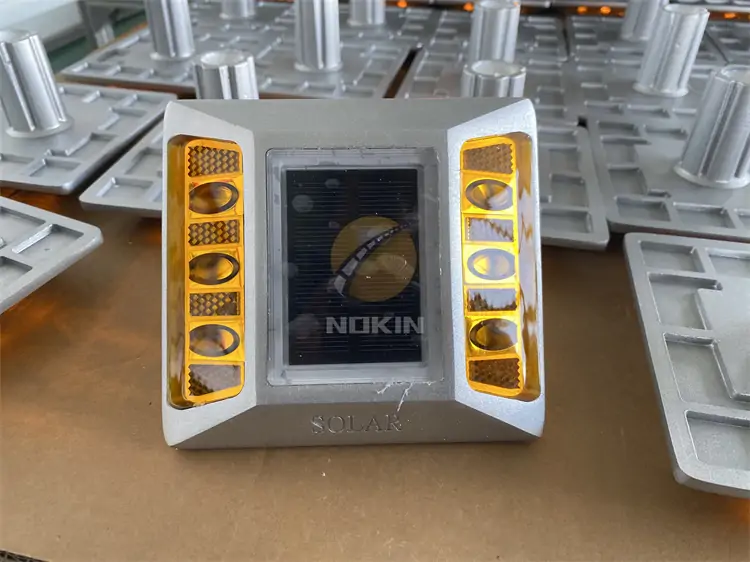
Aluminum Solar Road Stud for Airport
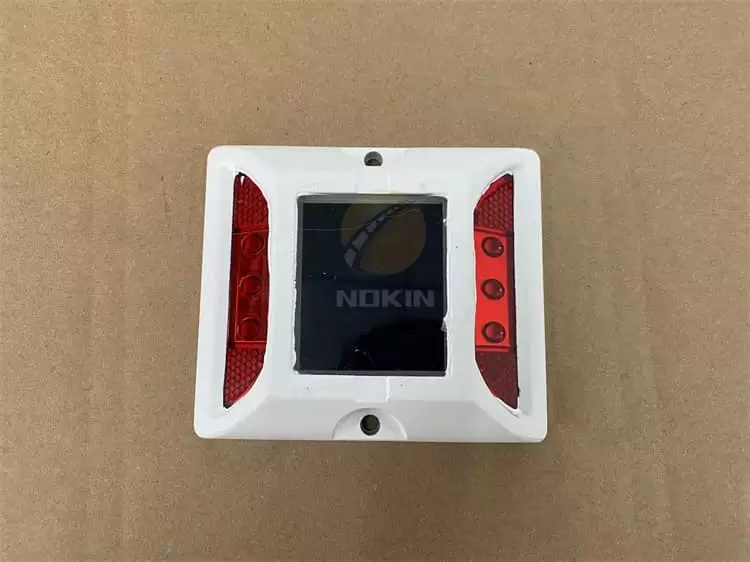
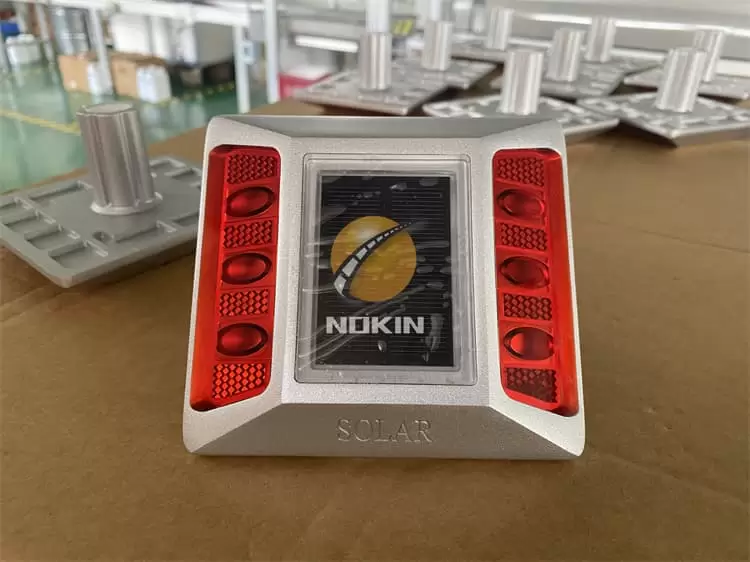
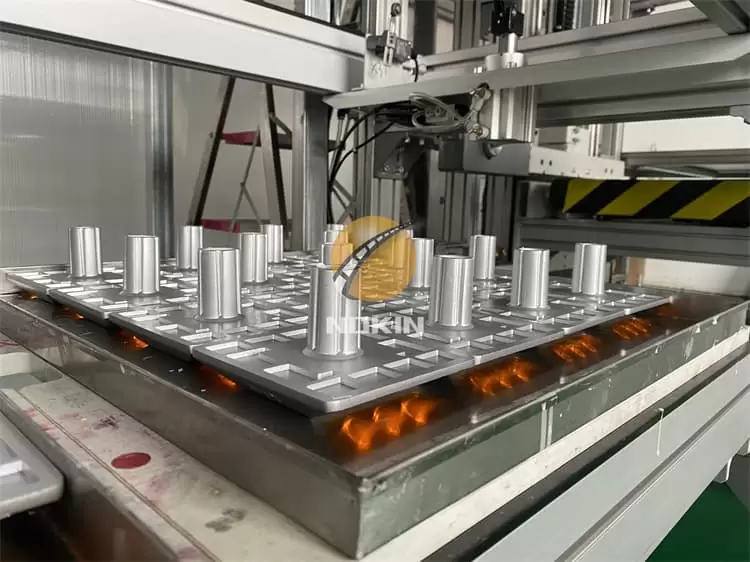
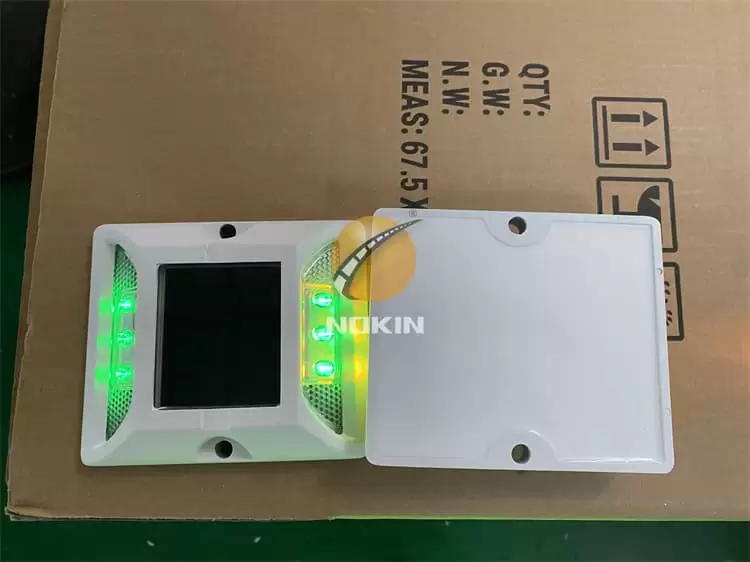
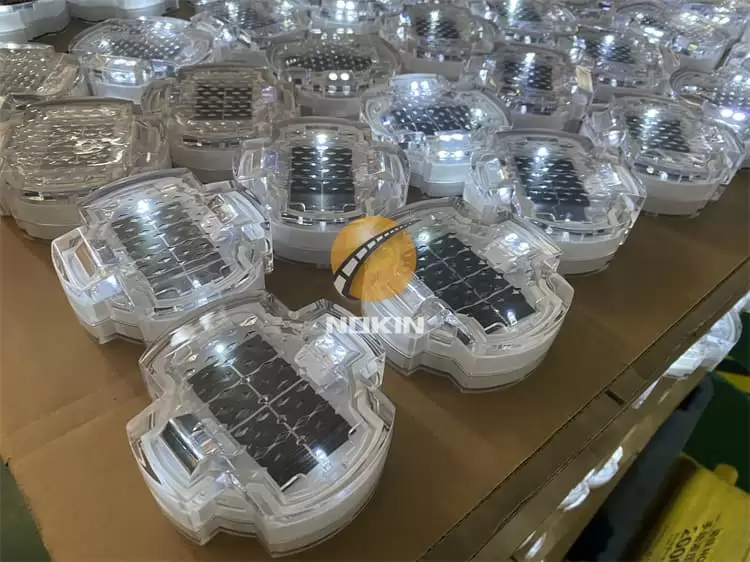
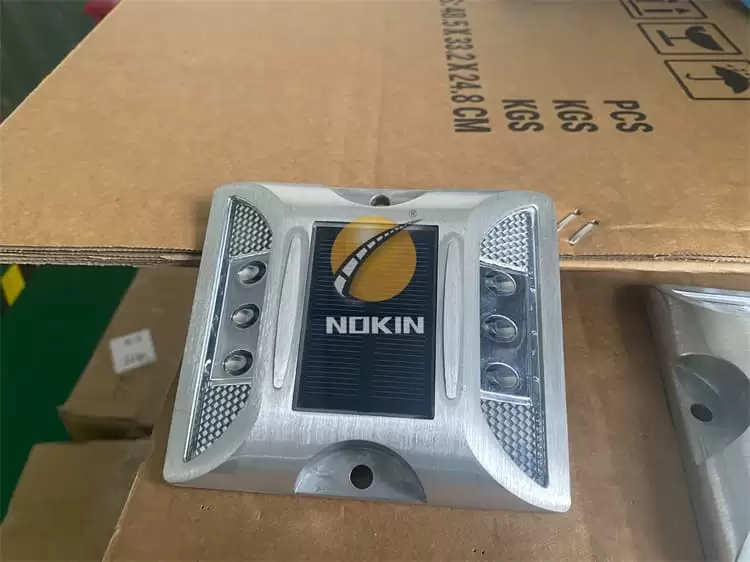
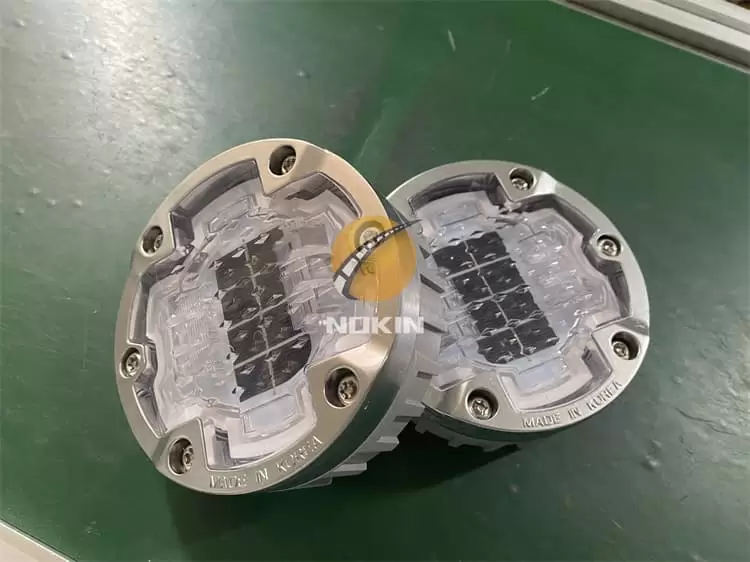
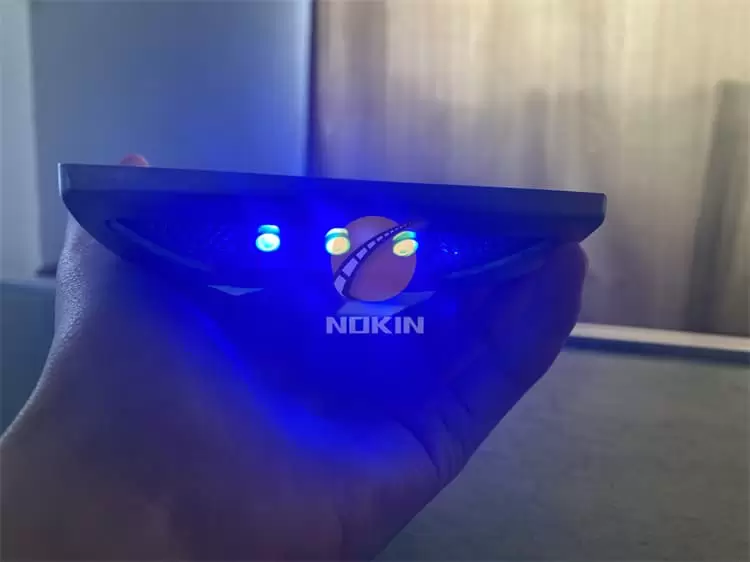
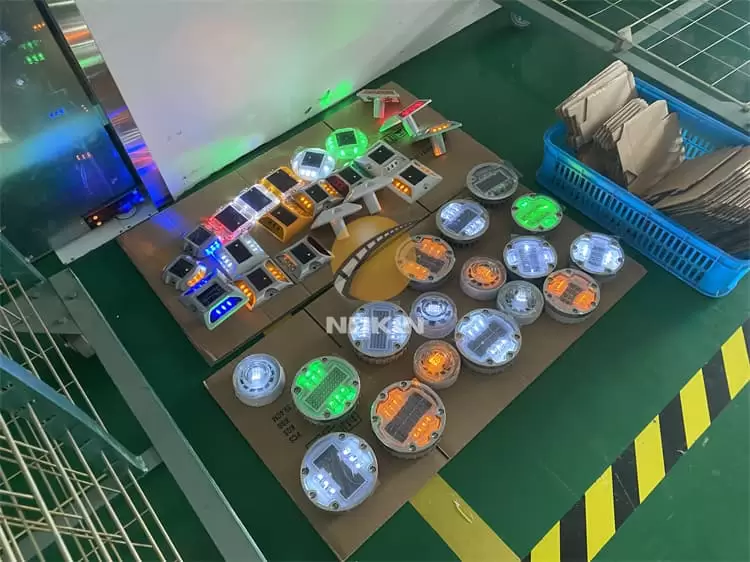
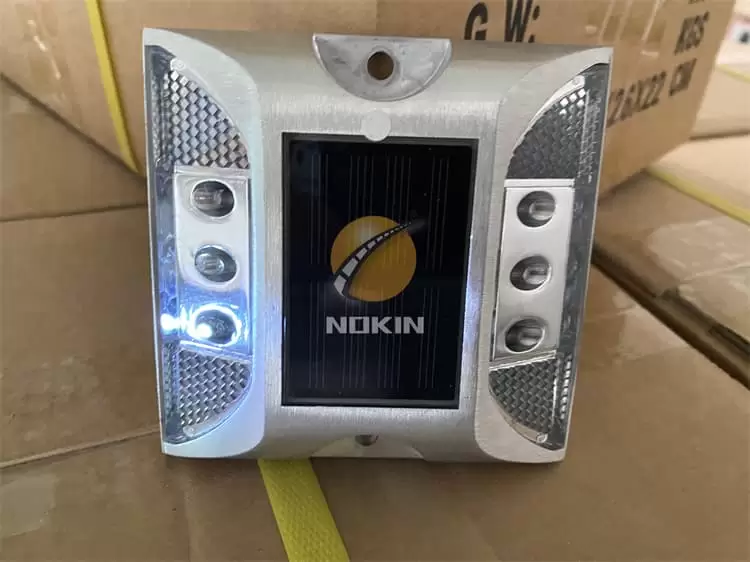
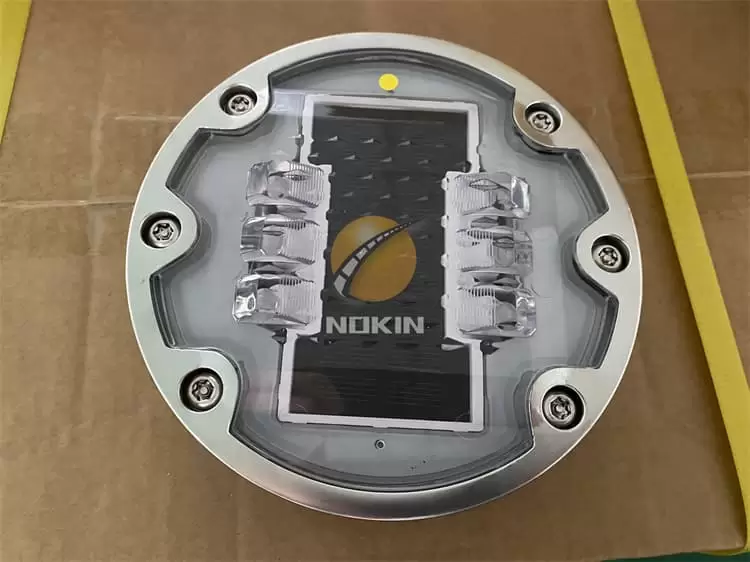
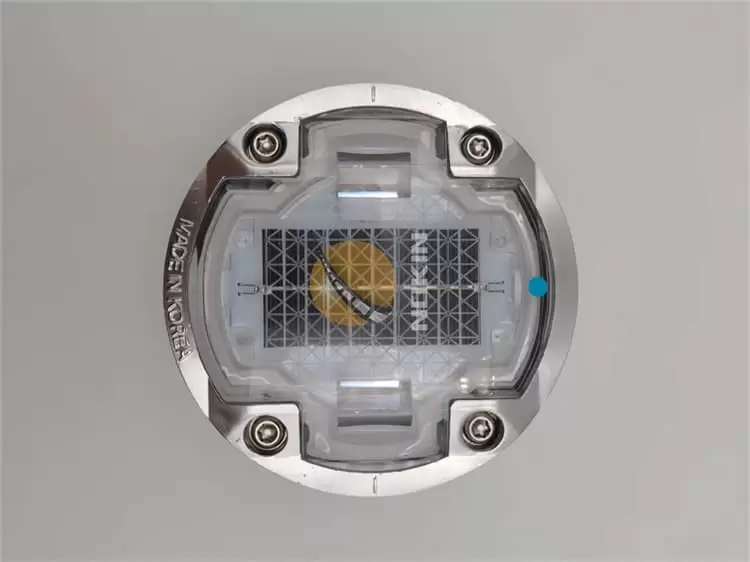
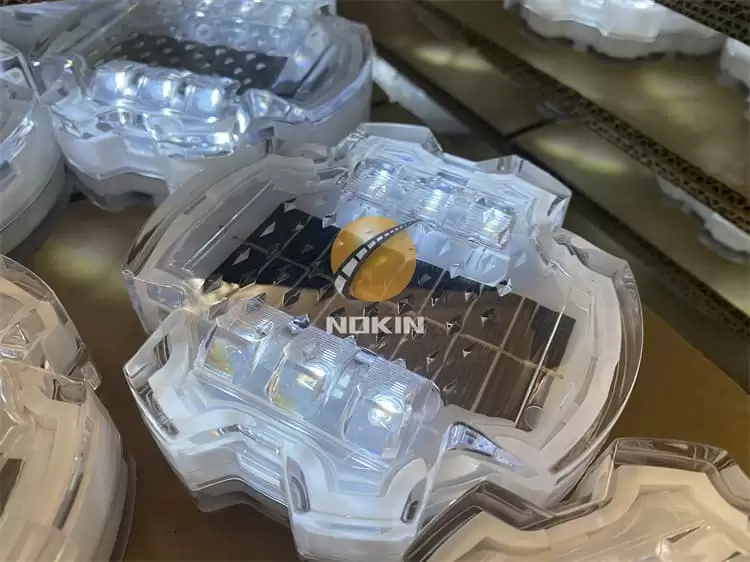
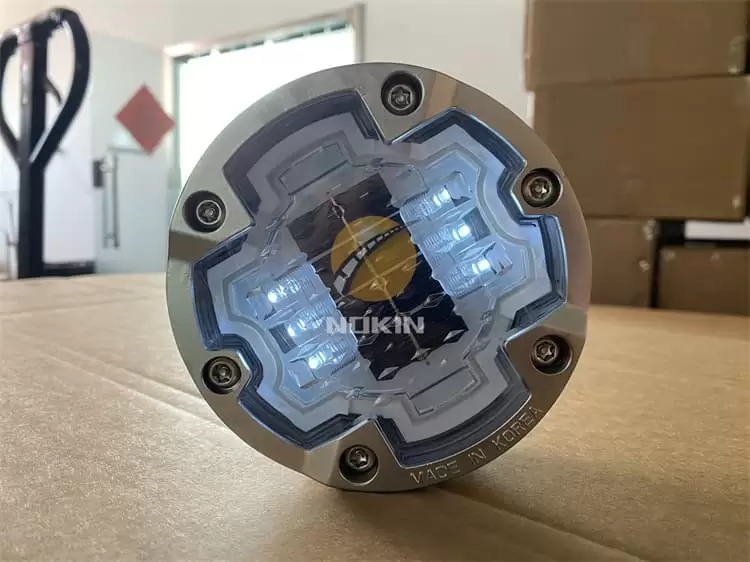
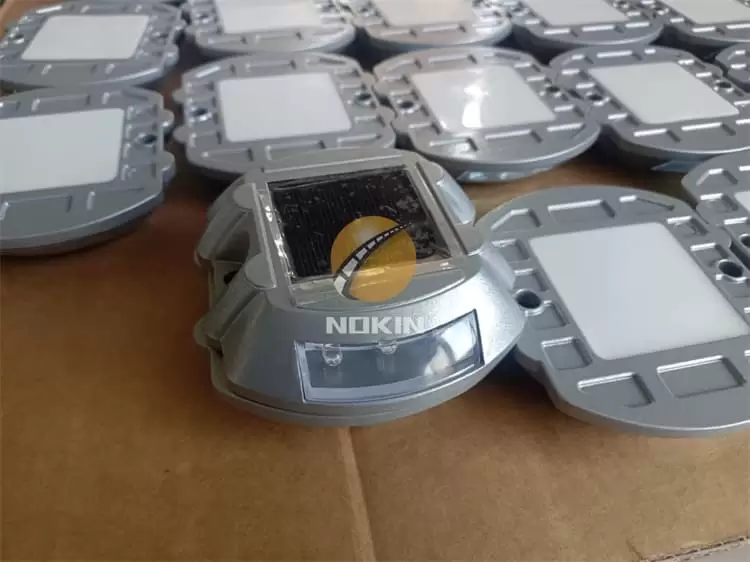
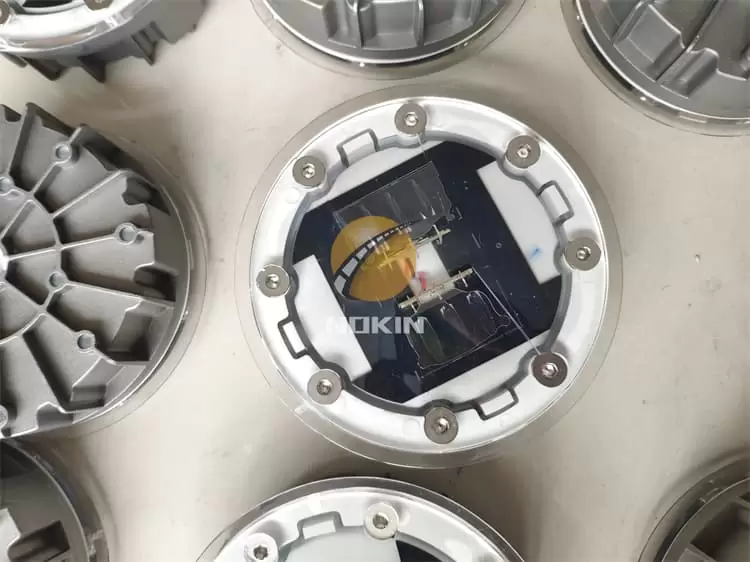
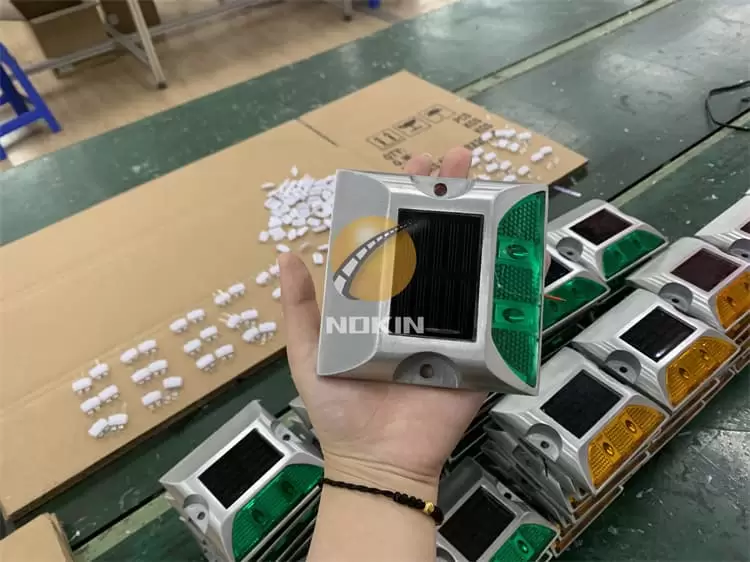
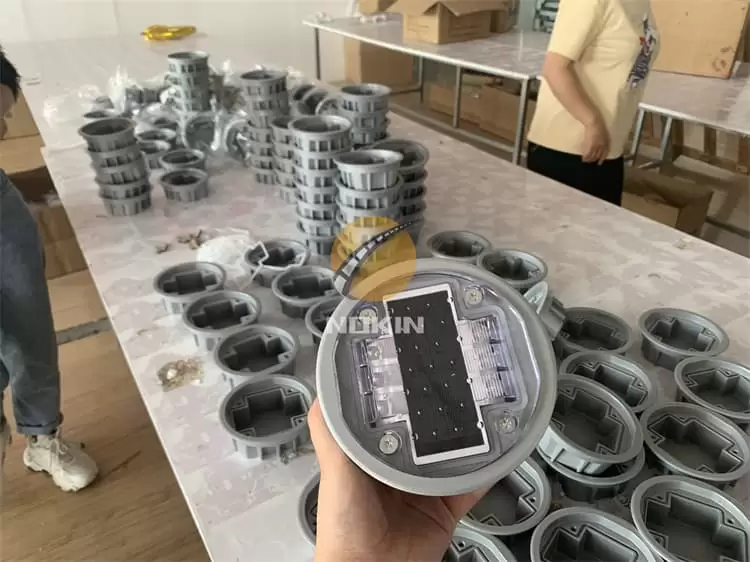
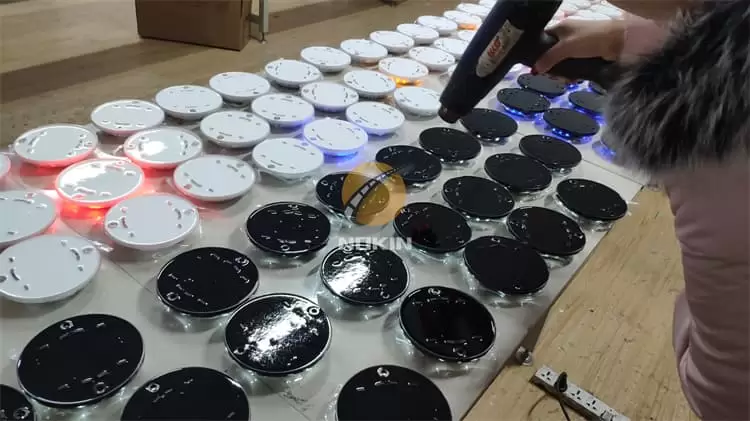
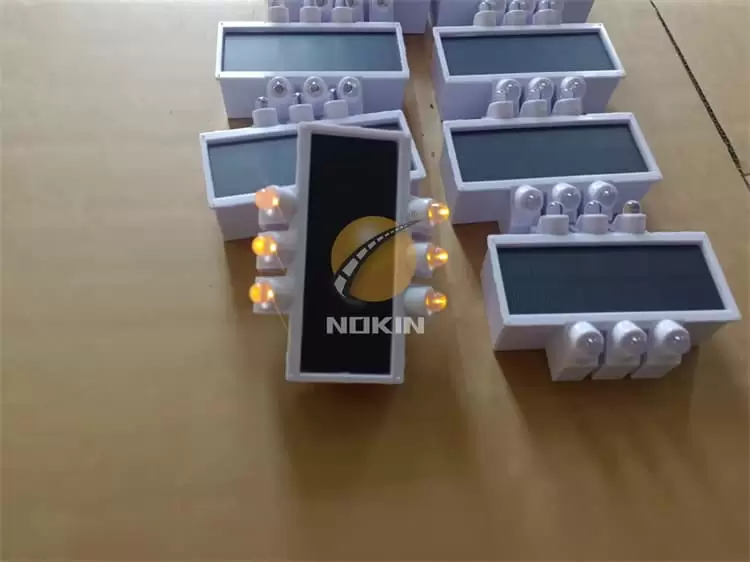
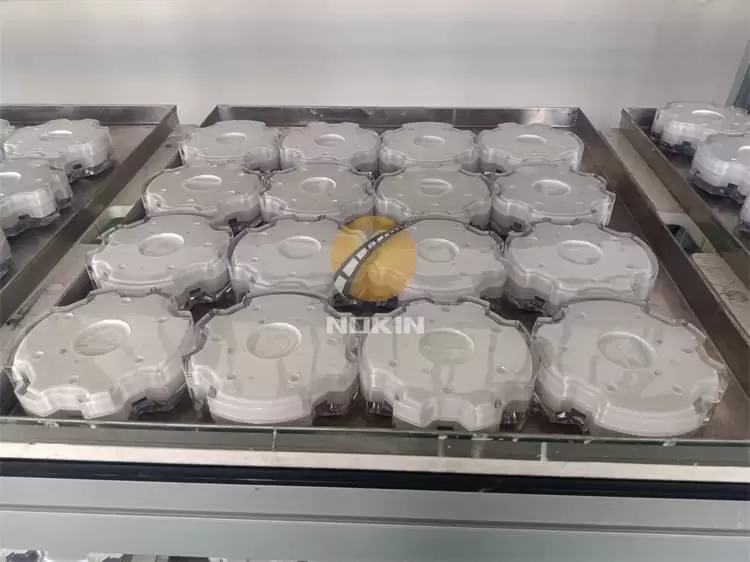
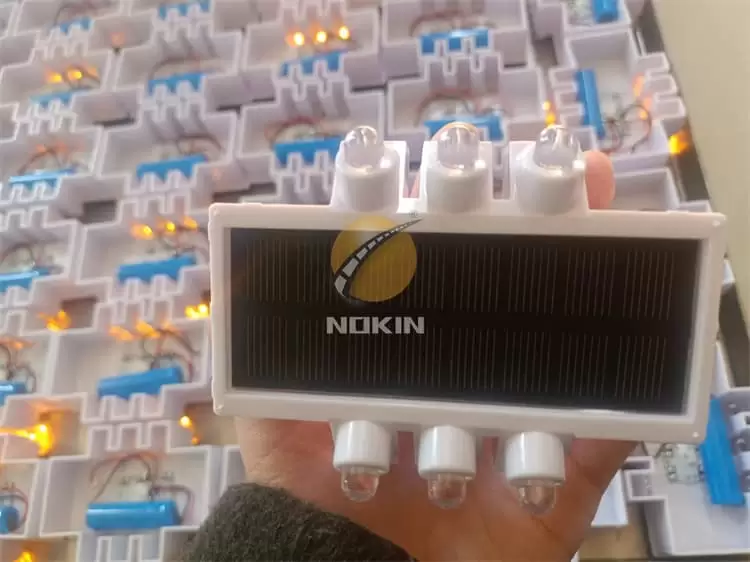
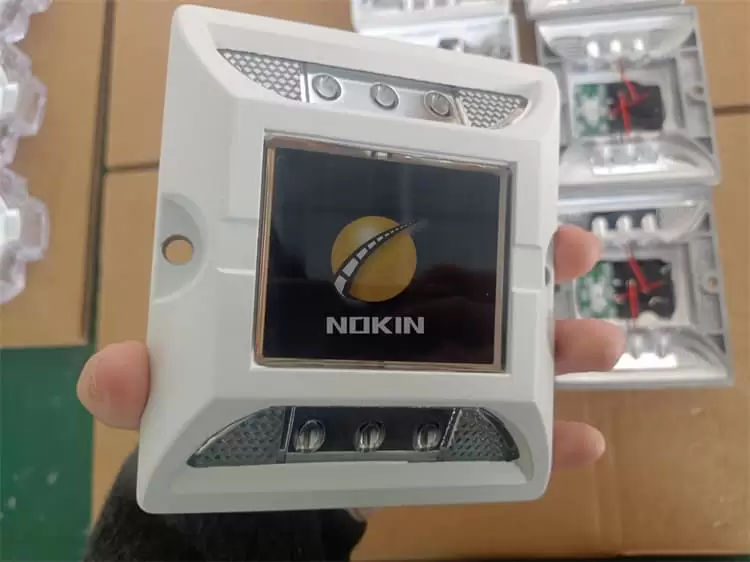
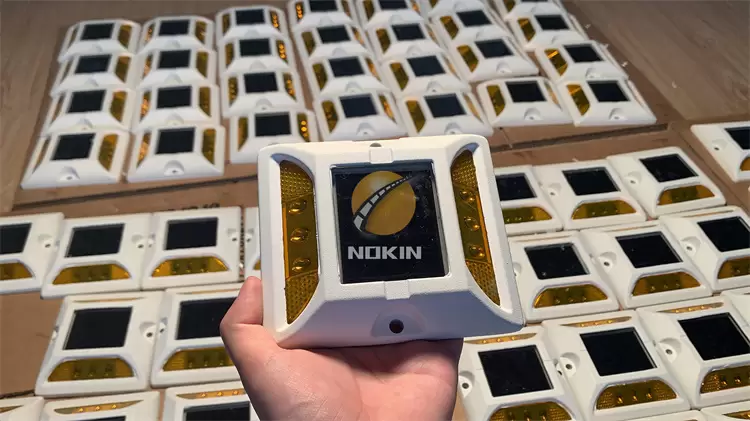
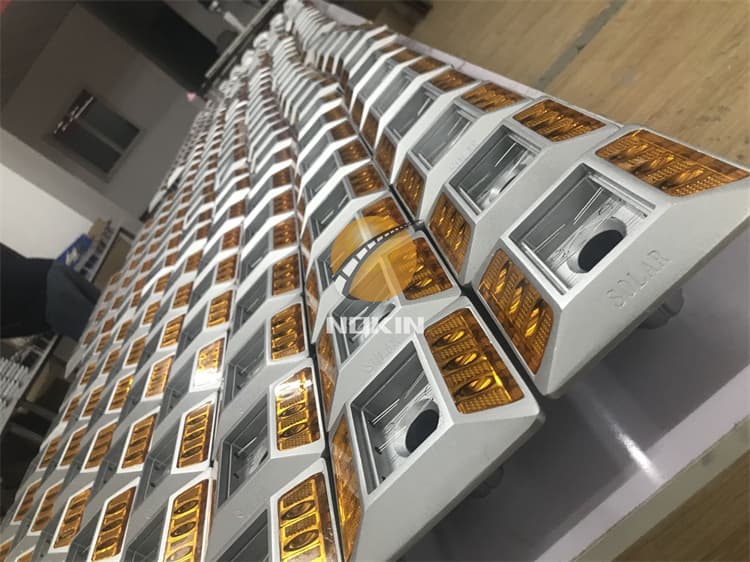
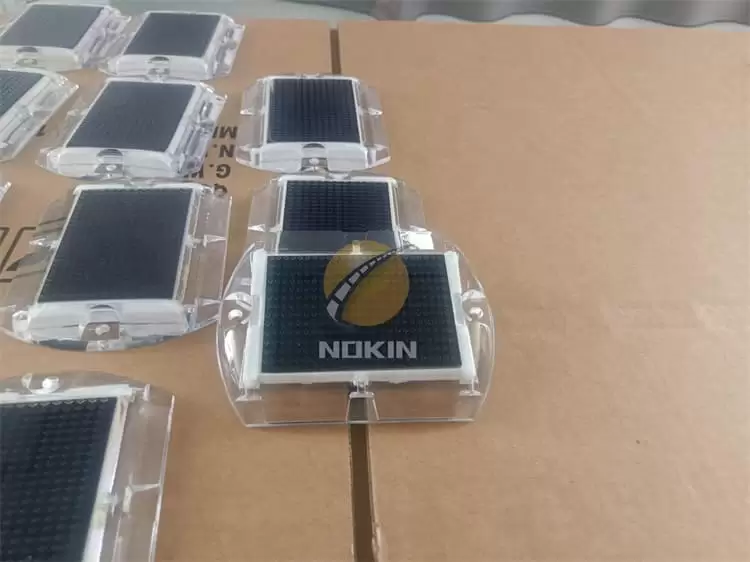
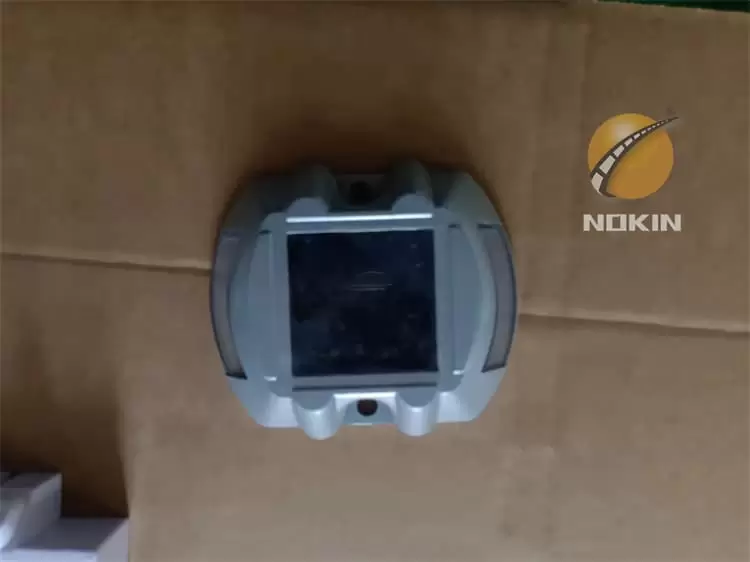
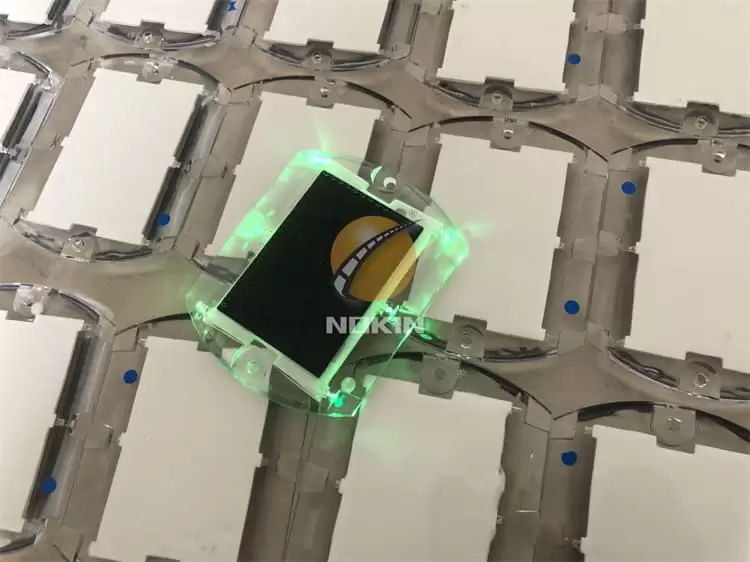
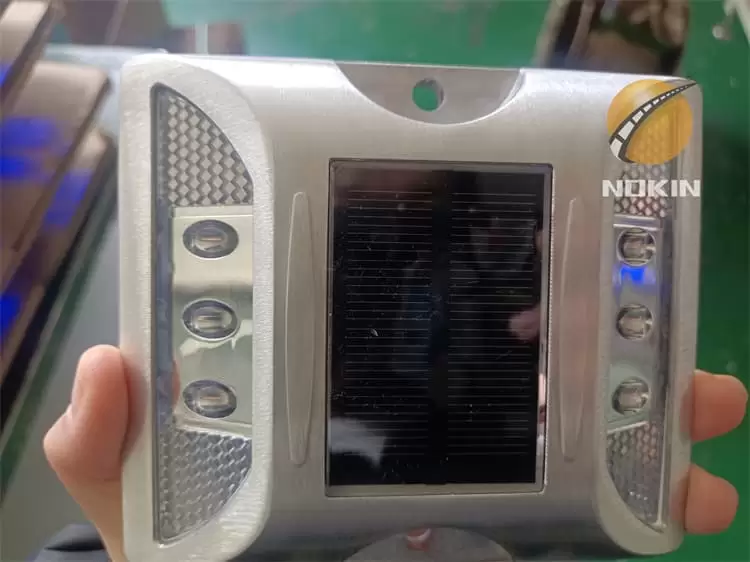
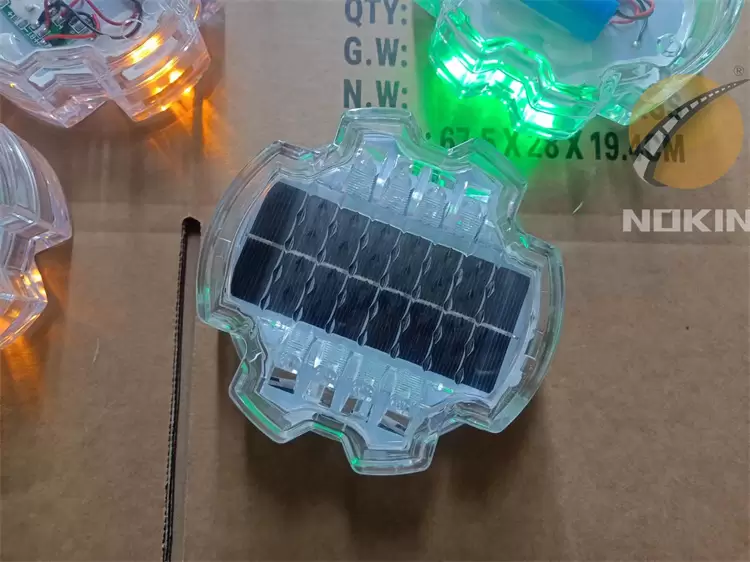
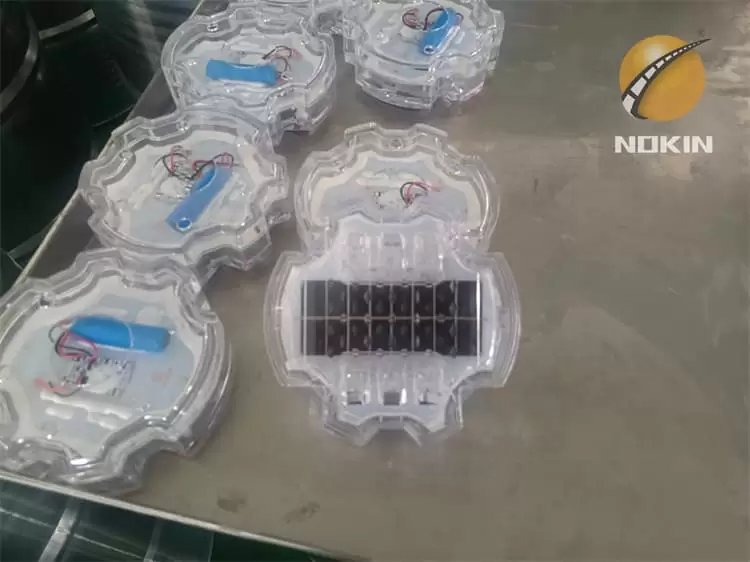
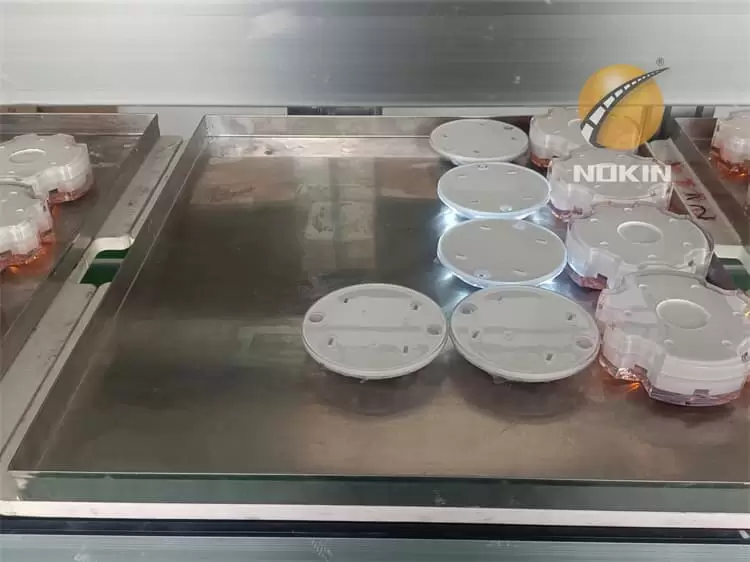
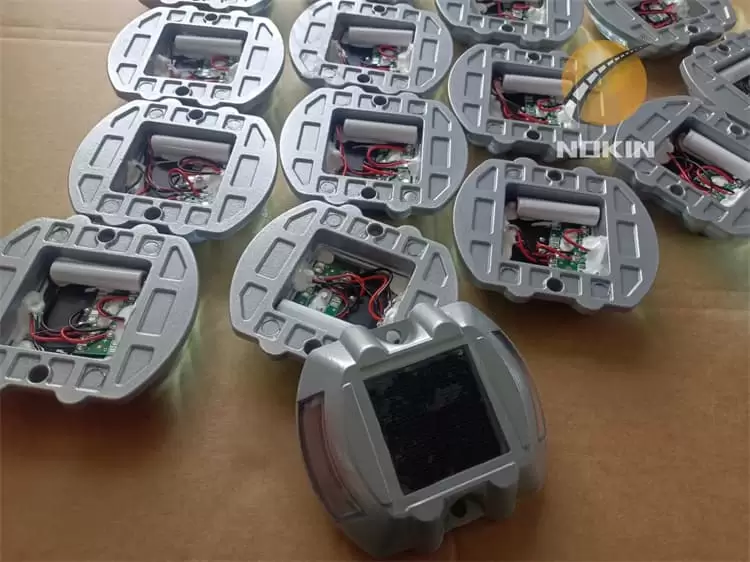
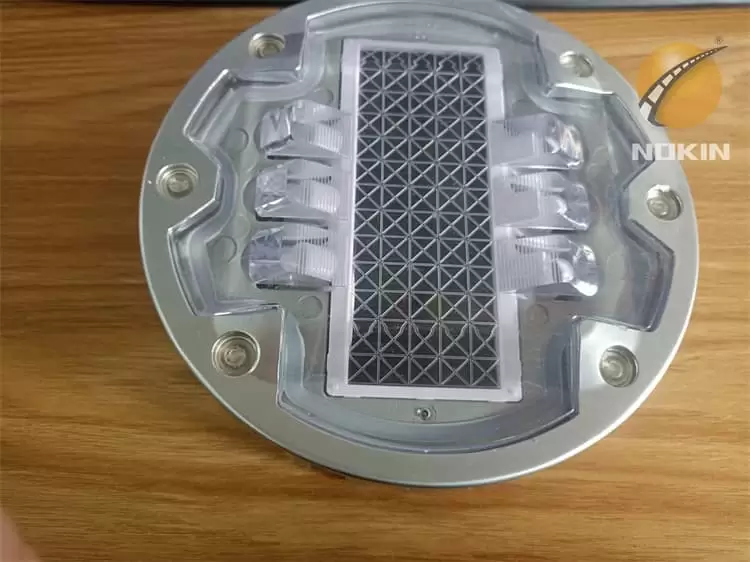
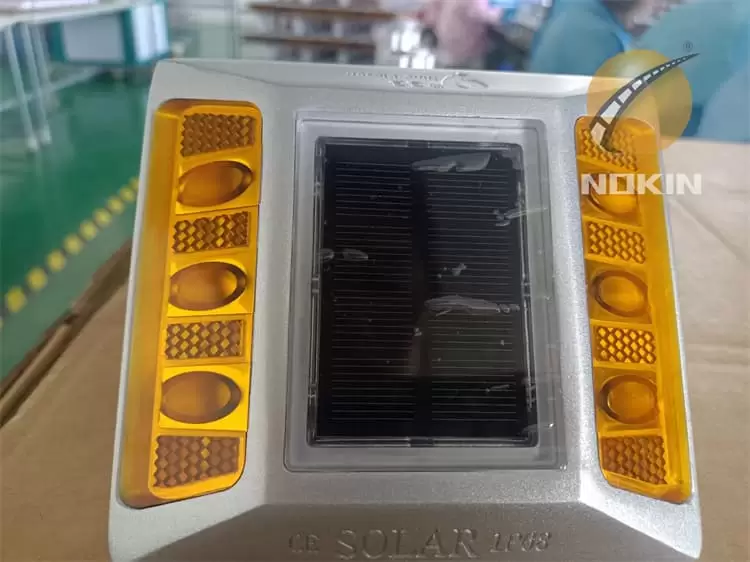
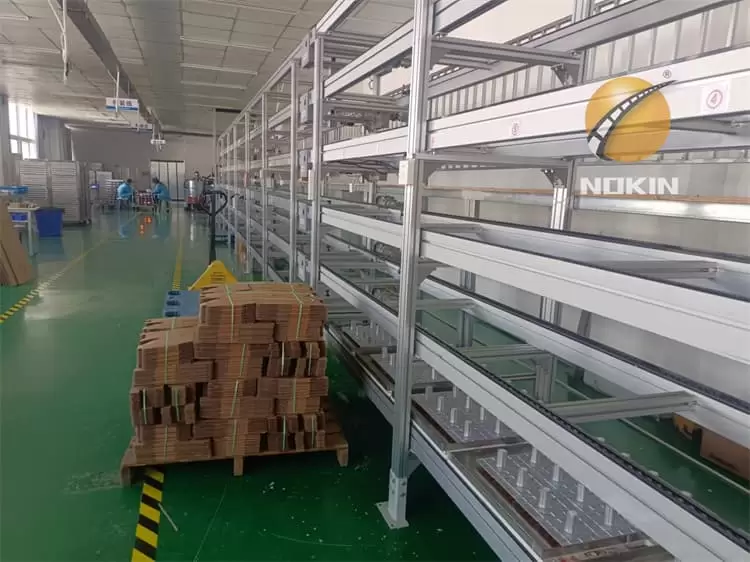
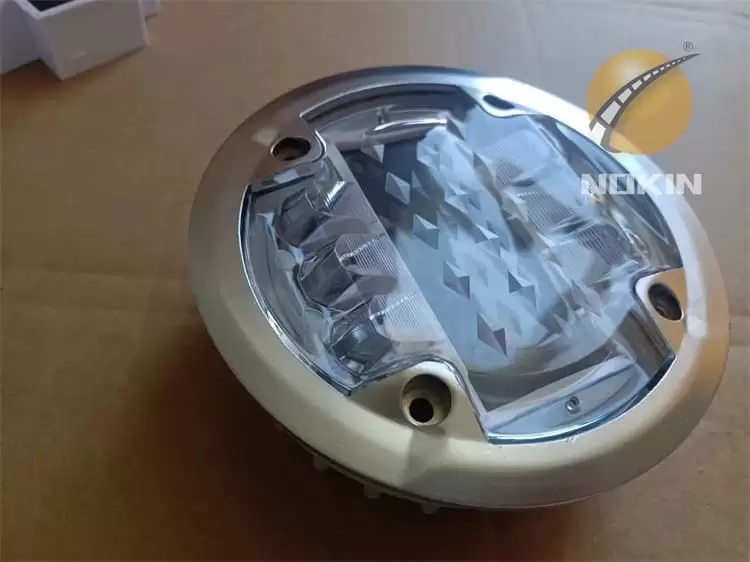
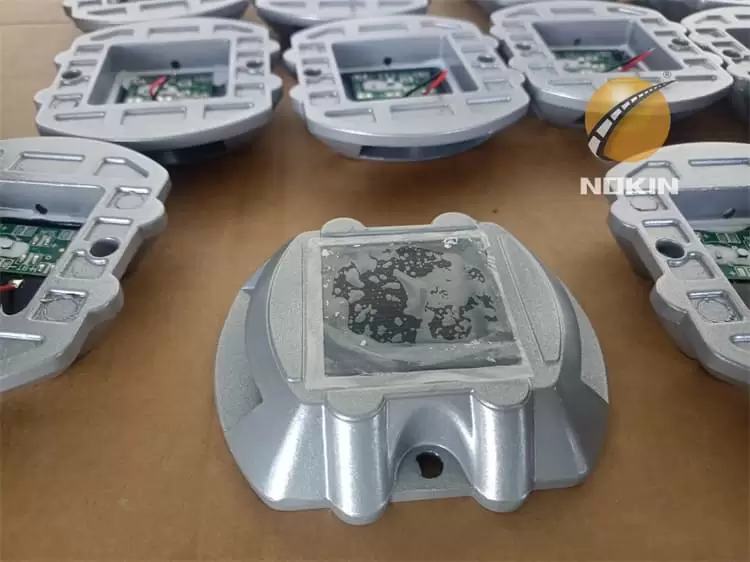
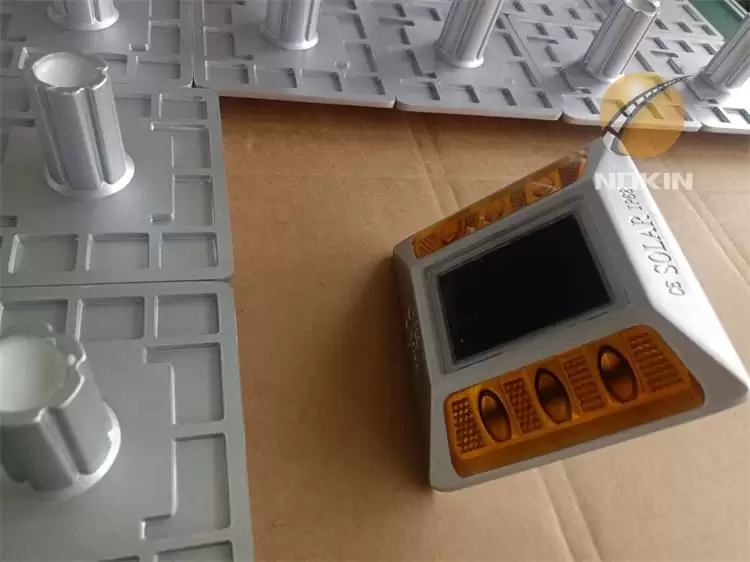
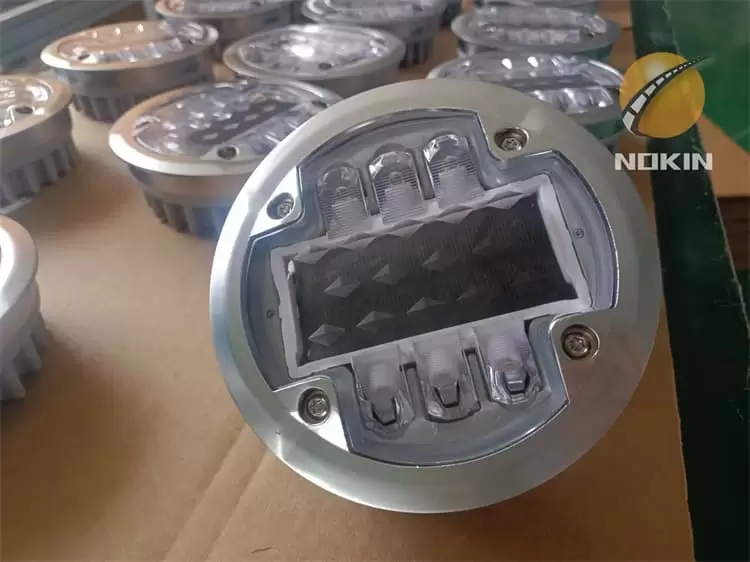
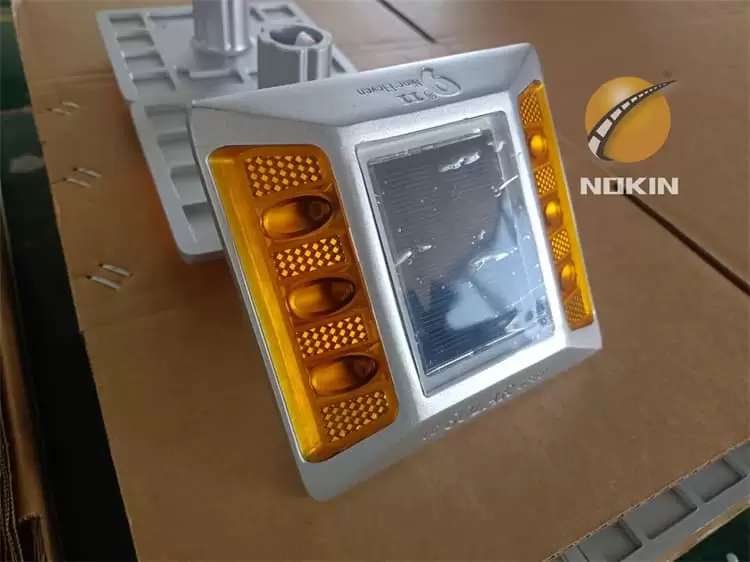
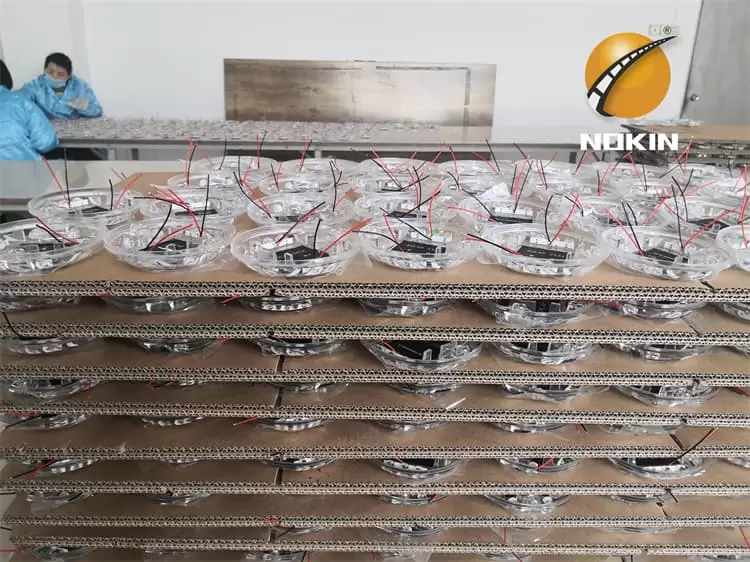
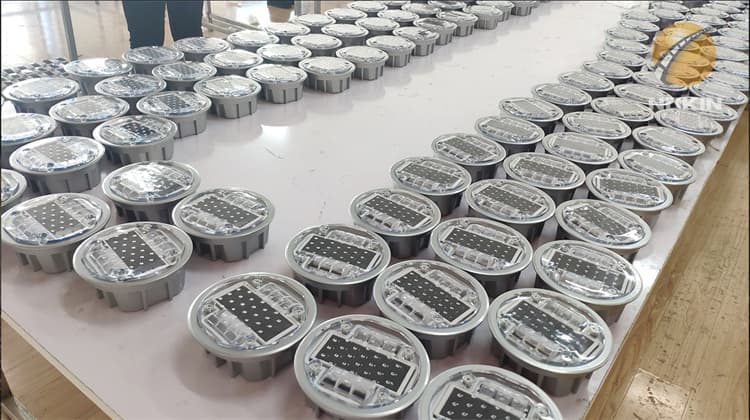
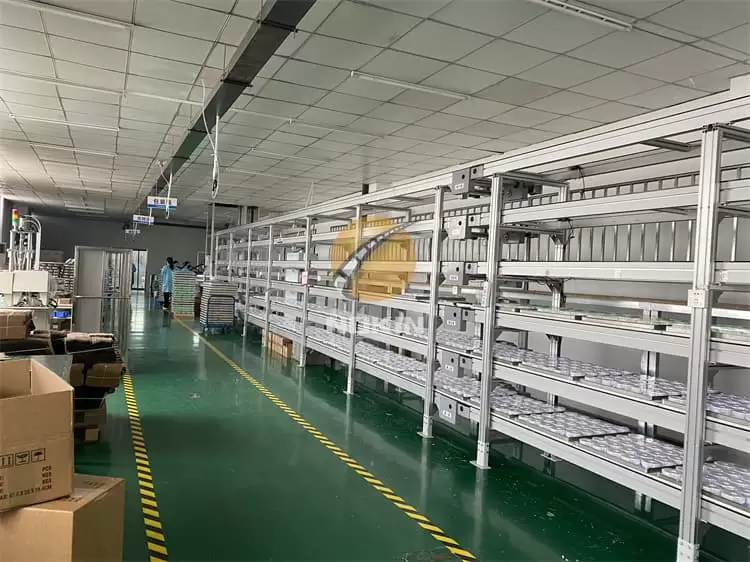
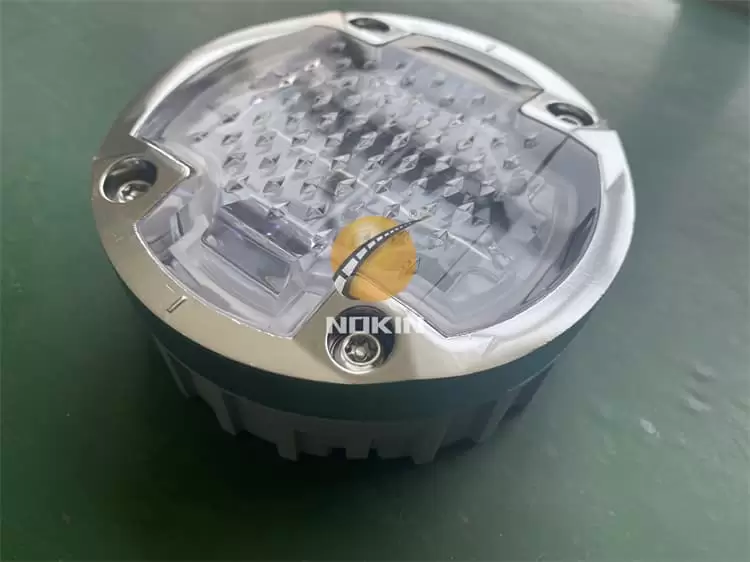
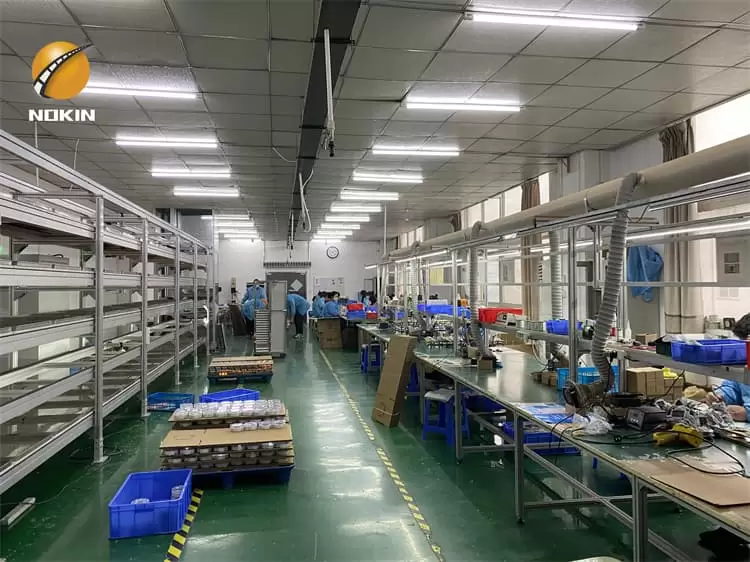
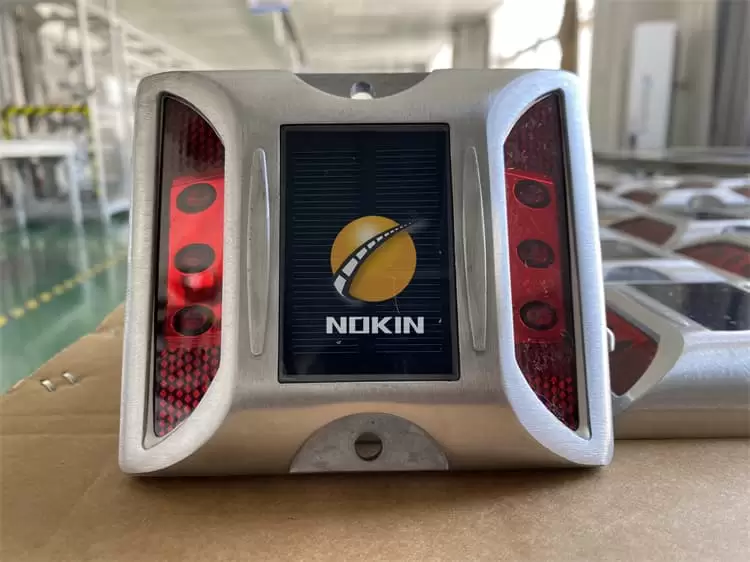
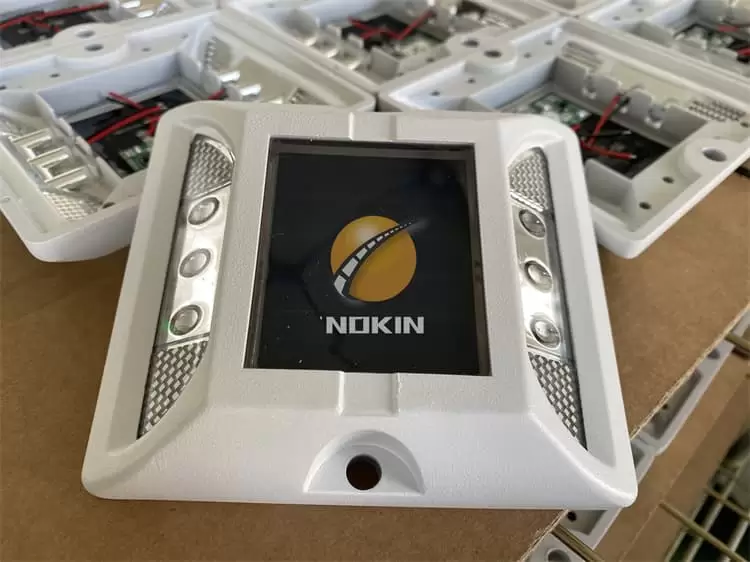
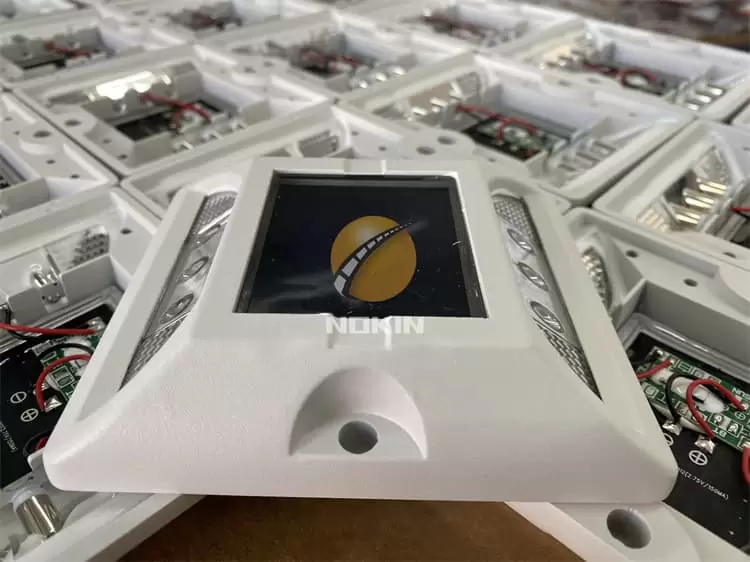
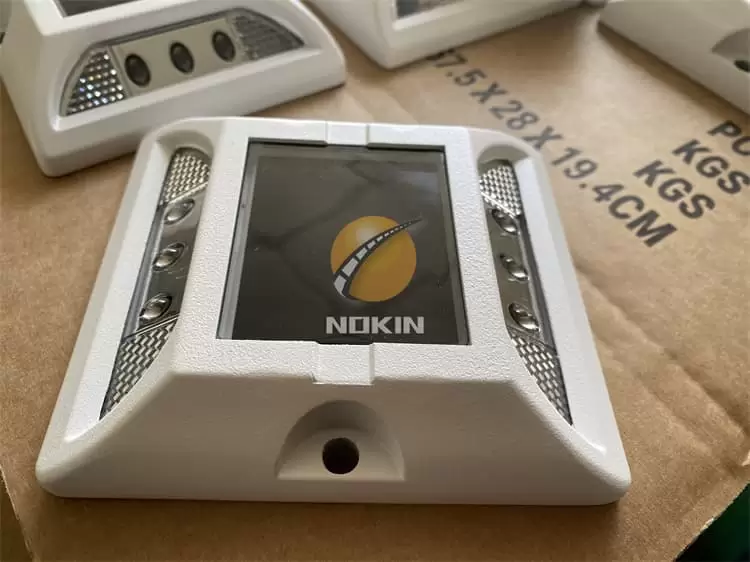
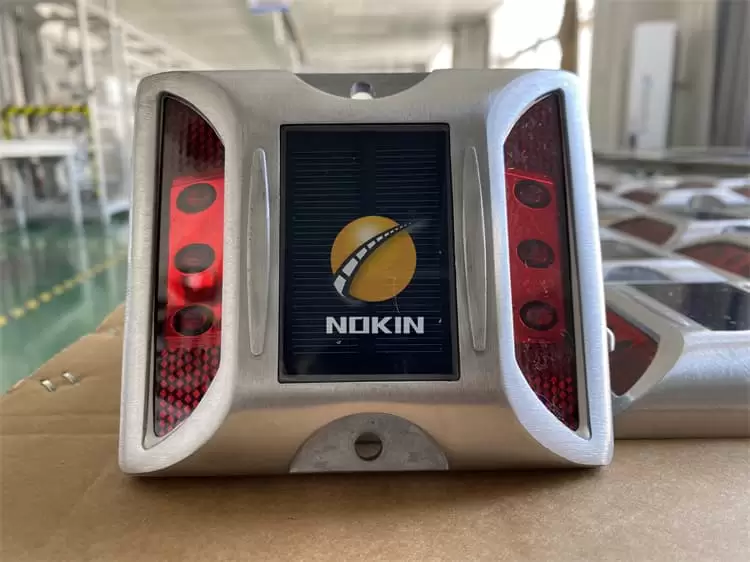
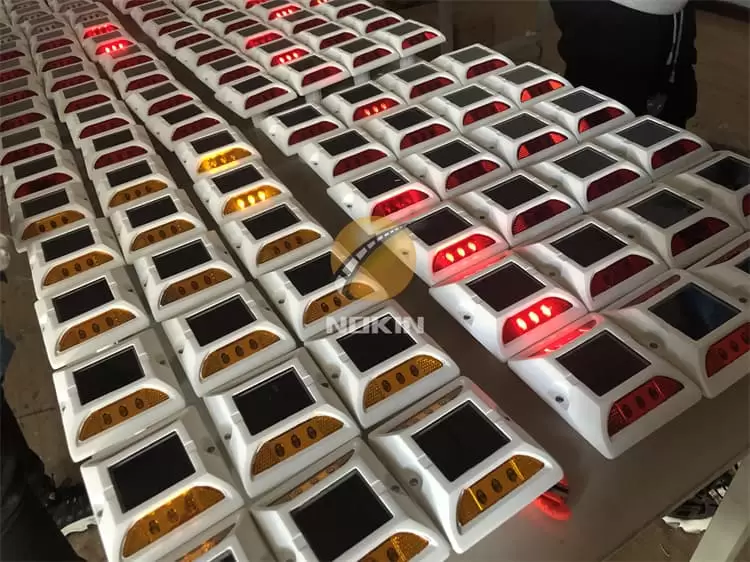
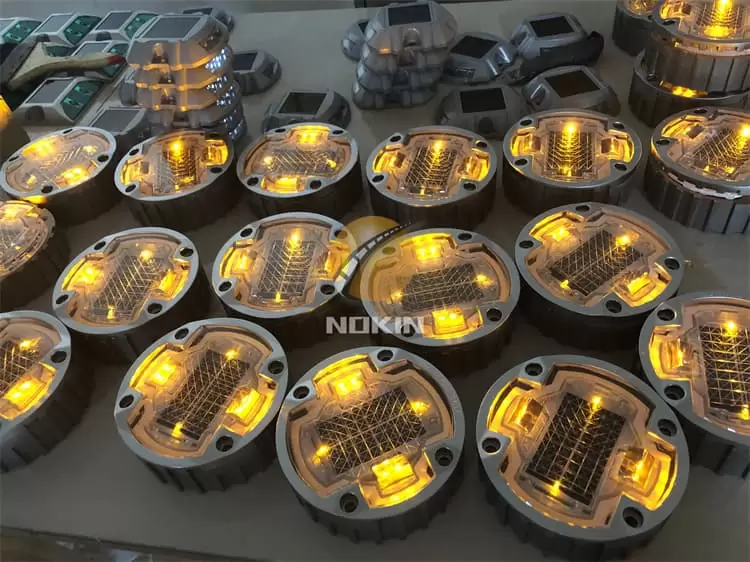
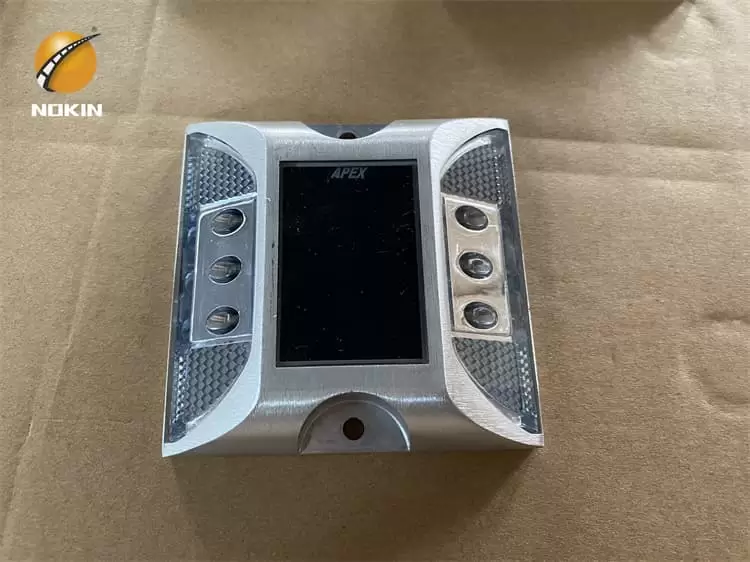
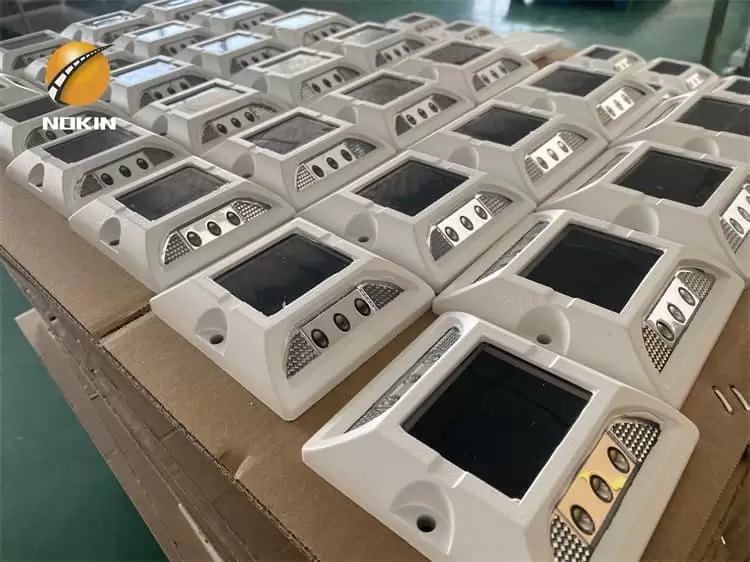
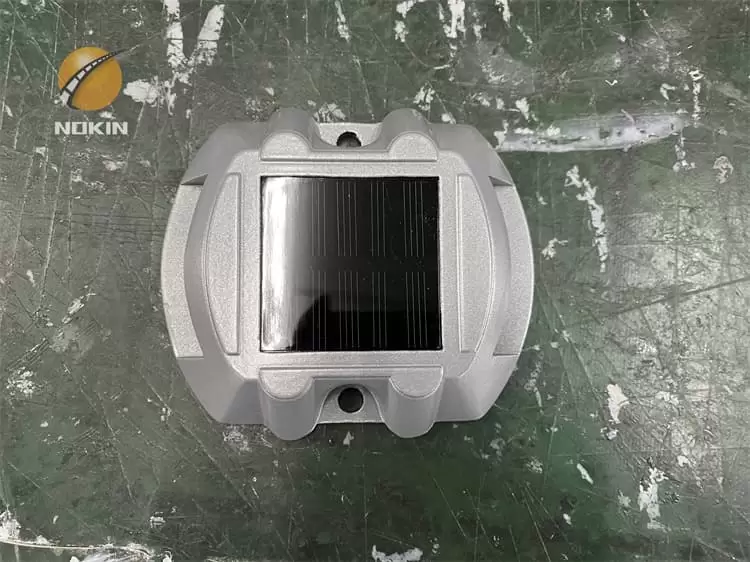
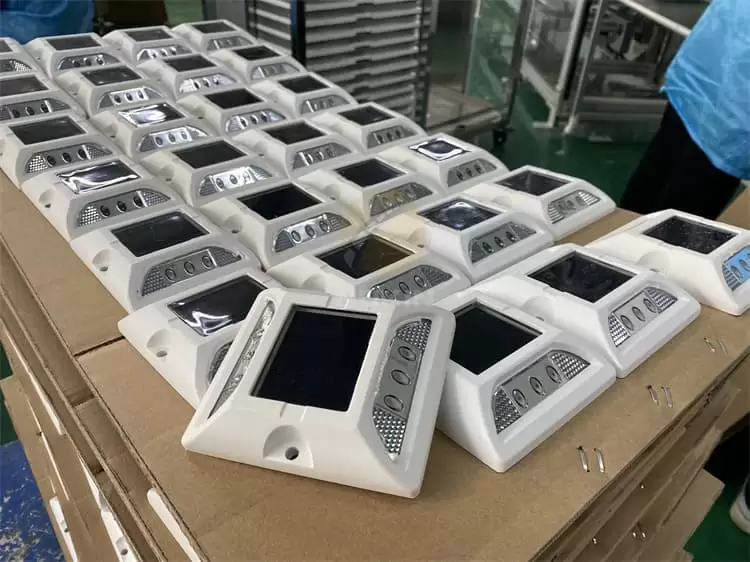
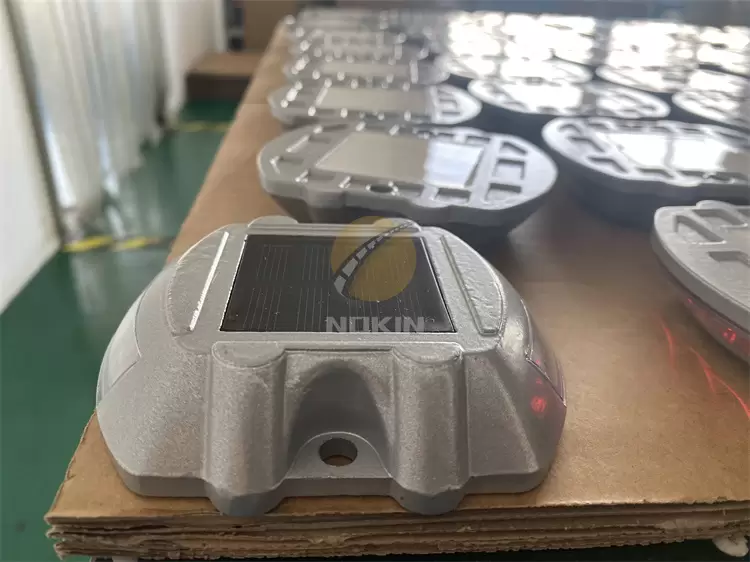
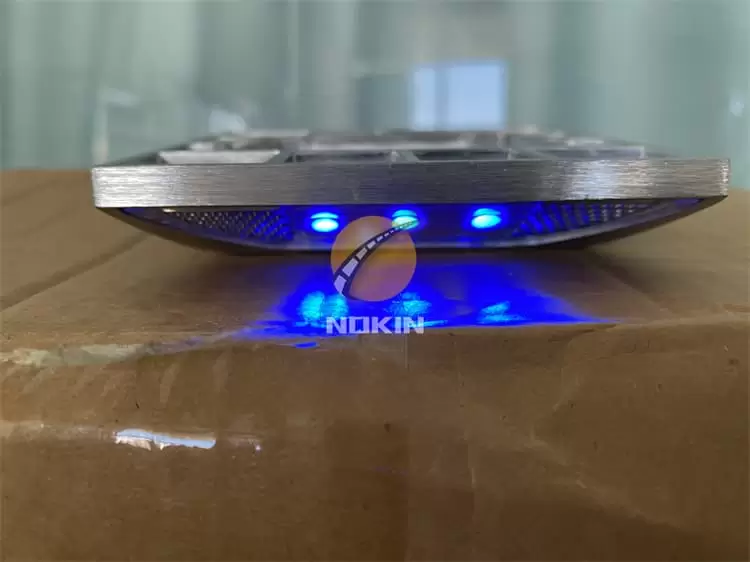
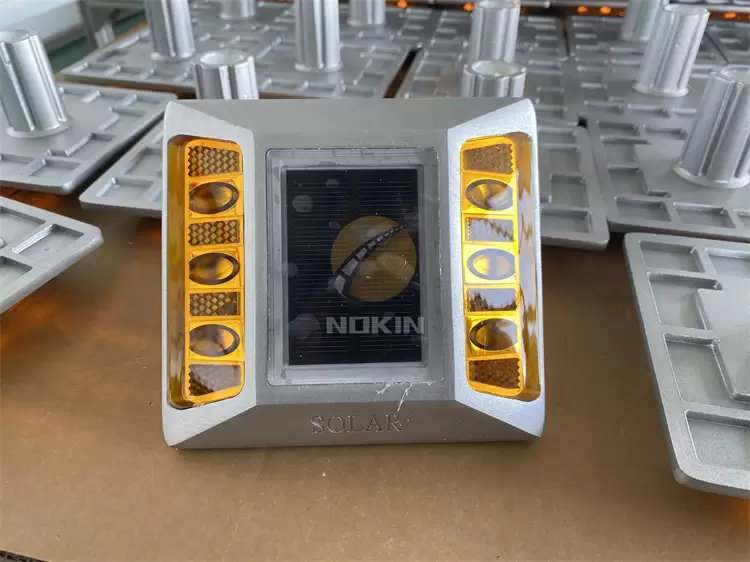
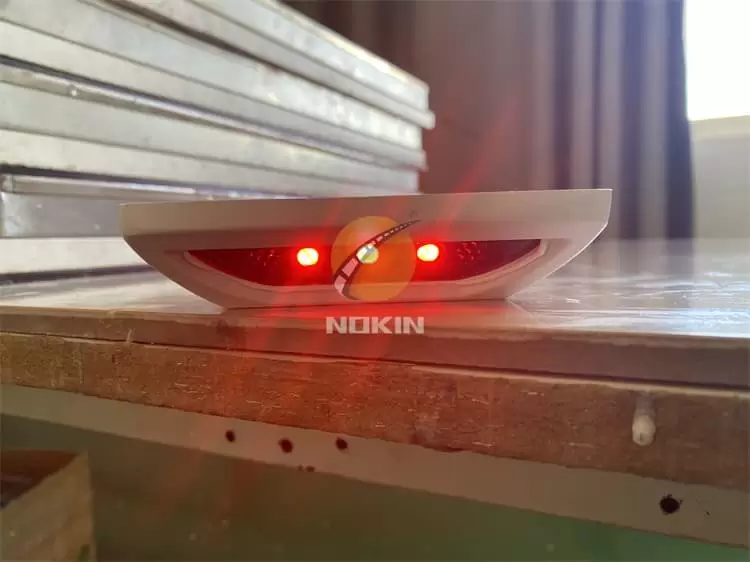
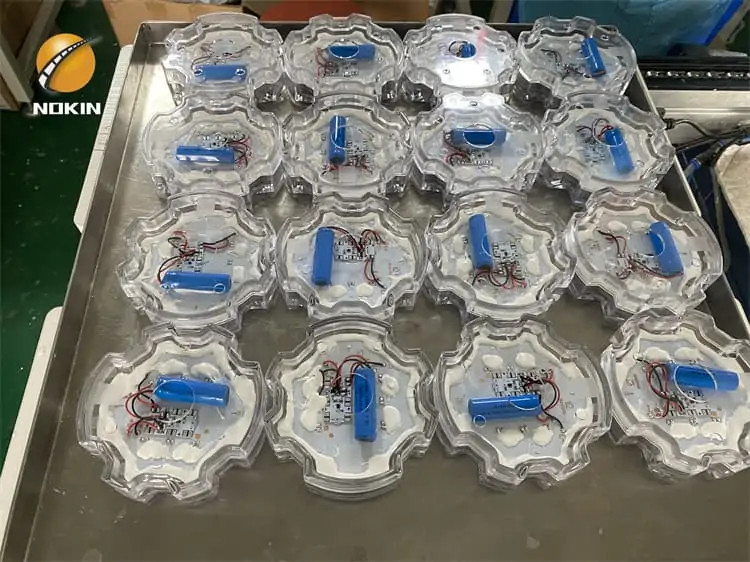
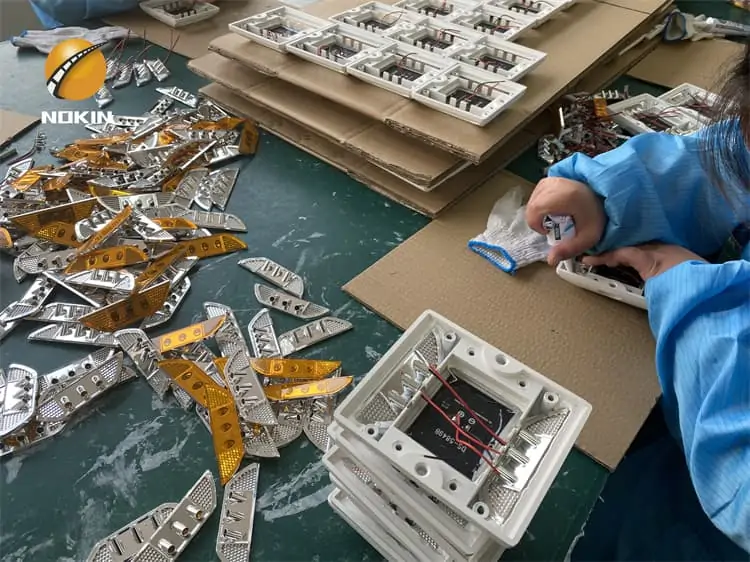
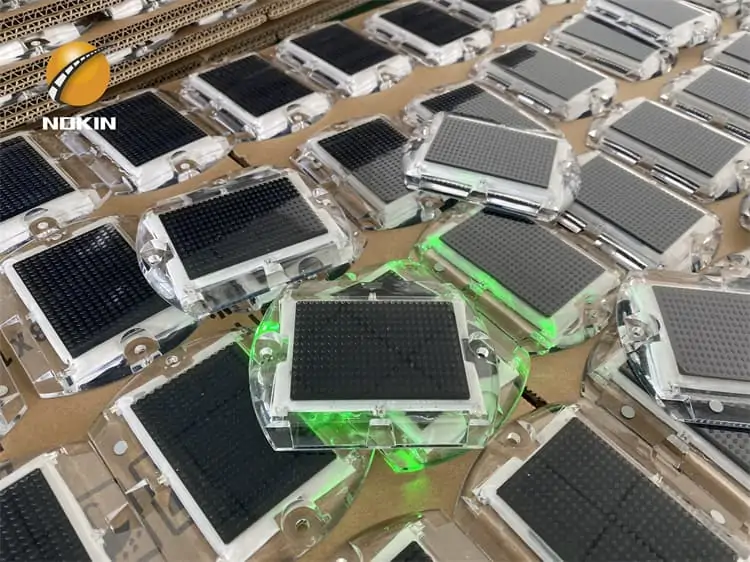
The detailed display of embedded round solar road studs is very popular in the Philippine market. With 19 years of factory production experience, we are committed to producing high-quality road studs, and can also meet various customized needs of customers.
Send Inquiry
Quote Online
Share:
Content
The detailed display of embedded round solar road studs is very popular in the Philippine market. With 19 years of factory production experience, we are committed to producing high-quality road studs, and can also meet various customized needs of customers.
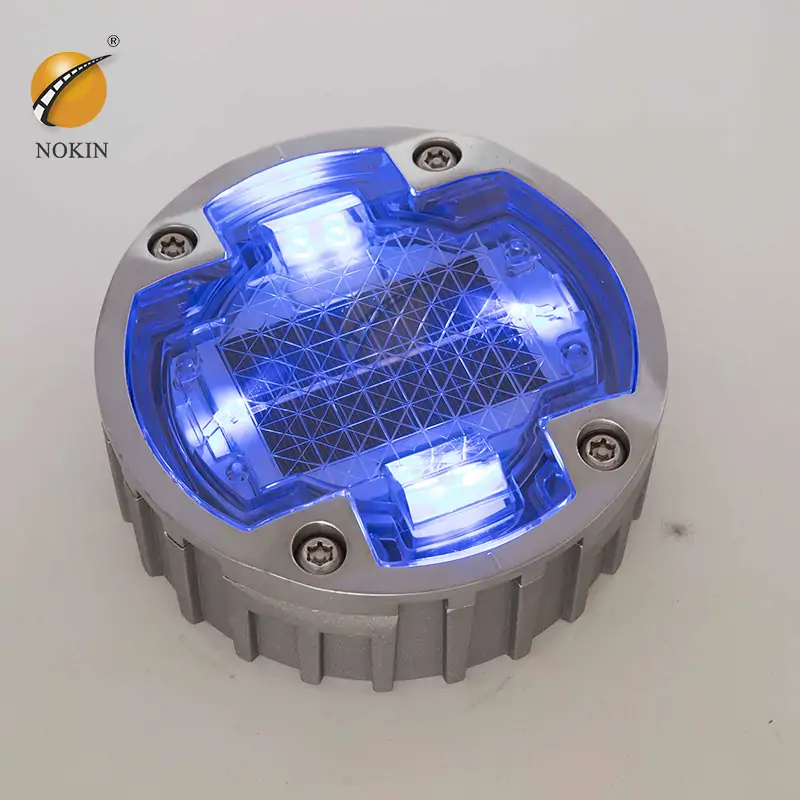
SPECIFICATION:
| Body material : | Aluminum Alloy+PC cover |
| Power supply: | Solar panel(Monocrystalline 5V /80MA) |
| Battery: | Lithium battery 1000MAH*3.2V |
| LED: | Ultra bright diameter 5mm*6PCS |
| LED Color: | White Green Red Yellow Blue |
| Flashing model: | flashing or constant |
| Working hours: | 140 hrs for flashing modes,40hrs for constant modes |
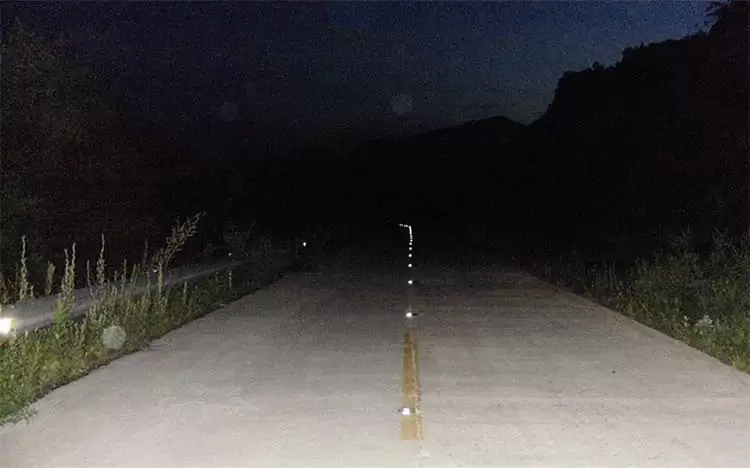
| Visual distance: | 1000m(approx) |
| Waterproof: | IP68 |
| Load Capacity | >30T(can be installed in the middle of the road) |
| Size: | φ123*45mm (φ4.84″*1.77″) |
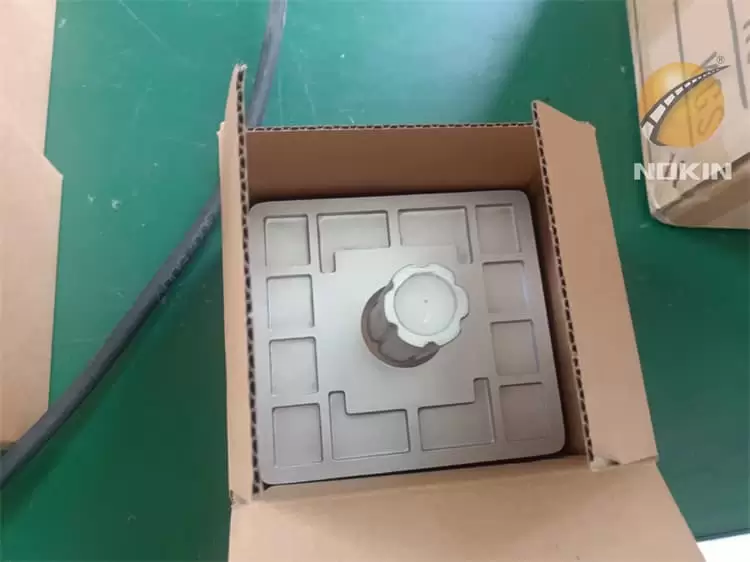
| Package: | 1pcs/box; 30pcs/ctn; Weight: 30kgs; Carton size: 67.5*28*20cm
(1pcs/box; 30pcs/ctn; Weight: 66.14bs; Carton size: 26.57″*11.02″*7.87″) |
| Life span: | more than 5 years |
| Working Temperature | -20 °C~ + 70°C |
| waterproof | IP68 |
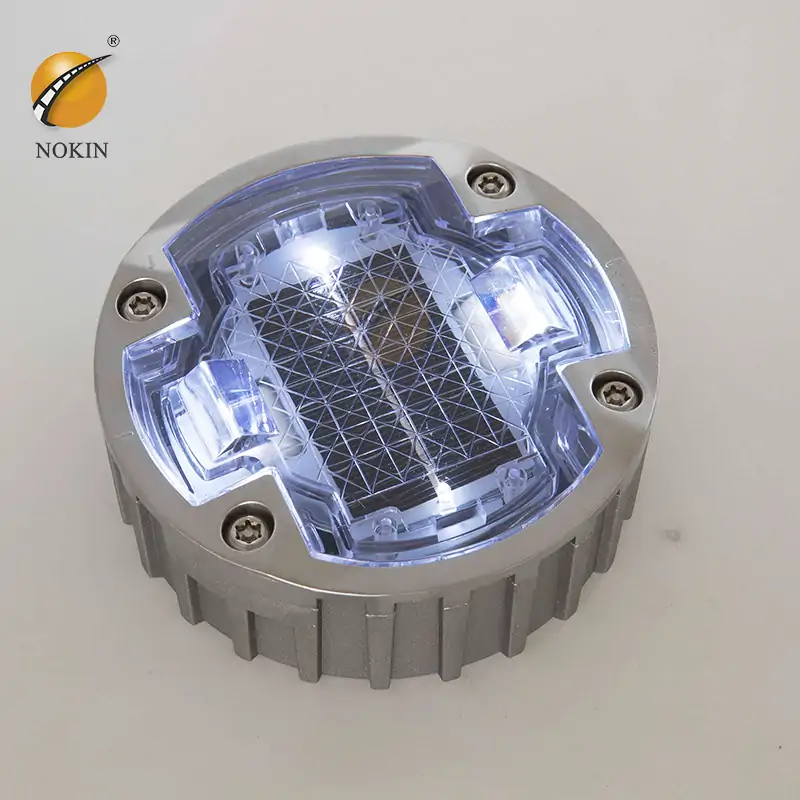
Installation Method Of Raised Solar Road Stud:
Carefully mark the distance between the placement of solar road stud lights. To prevent an adverse effect on the ground, use a proper tool such as Core Drill. Drill 35mm and the depth will be 55mm.
Remove all debris from the installation hole.
Pour epoxy into the holes per the manufacturer’s instruction.
Verify that the installation hole is straight. Verify that the installation hole is large enough to allow the epoxy to surround the solar-led road stud shaft.
Set the lighting surface of the solar road stud to the desired viewing angle. Verify the epoxy is evenly adhering to the installation hole and solar marker shaft. Verify the bottom of the solar road marker is firmly installed on the installation surface allowing for zero surface float; to occur. (space between installation surface and bottom of the solar marker).
After curing the LED solar road stud for 6-8 hours, remove the installation of the isolation facility.
The recommended spacing between each solar road stud is as follows:
Highways and Expressways
7 – 8 yards (5 – 6 meters)
Dangerous Entrances and Exits
4 – 5 yards (2 – 3 meters)
Access or Exit ways for Hospitals, Parking Lots, etc.
0.5 – 3 yards (0.5 – 2 meters)
The spacing between each solar stud is also according to your actual application requirements, the above values are for reference only.
Inquiry
More


