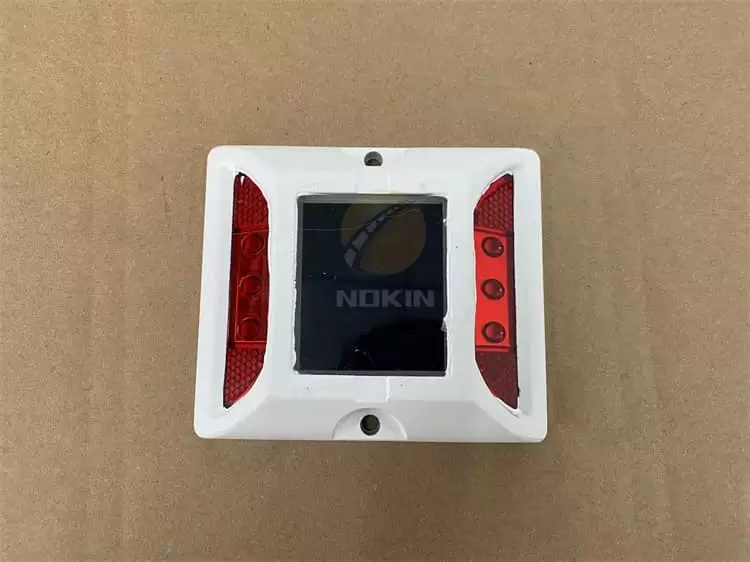
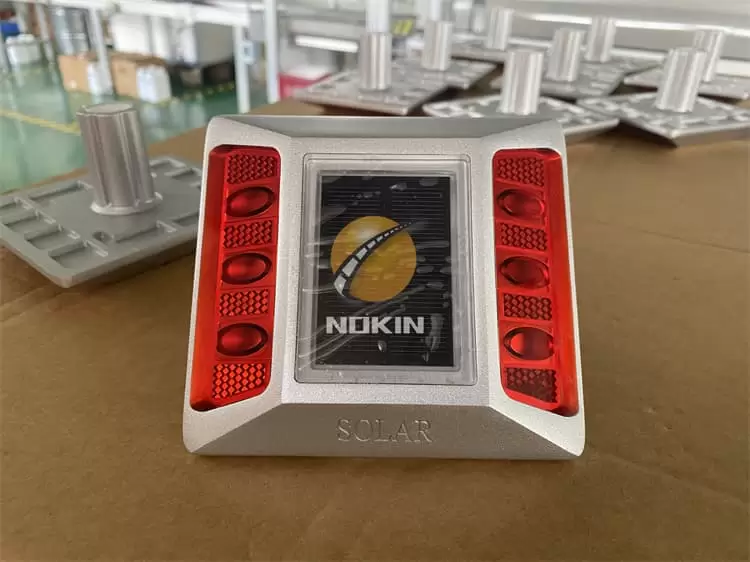
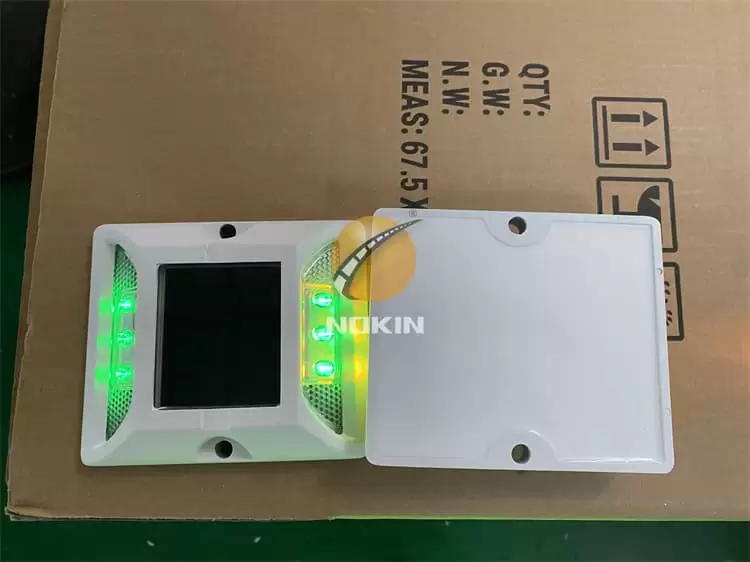
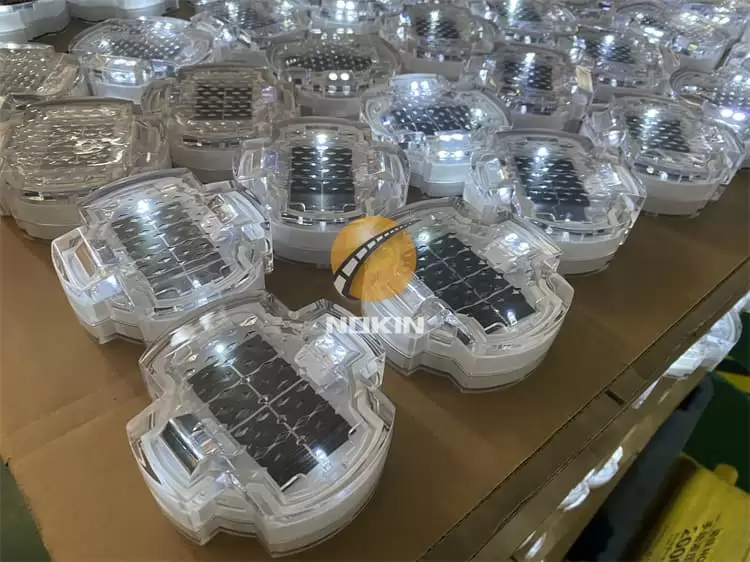
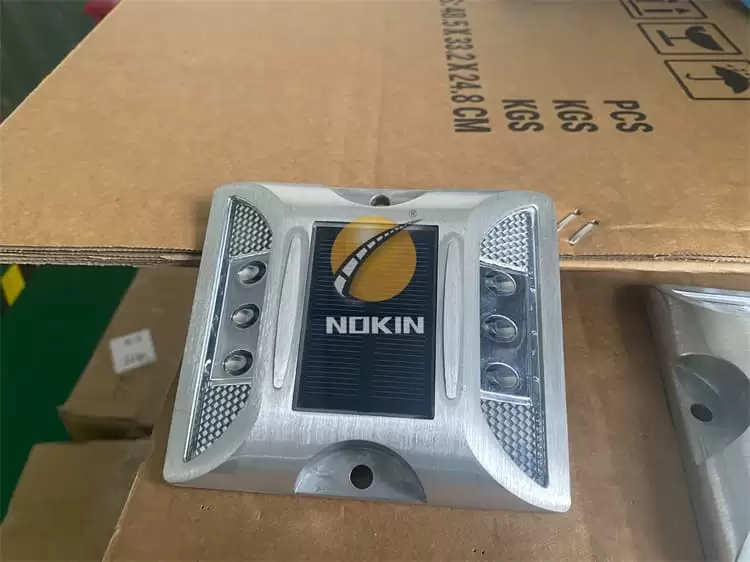
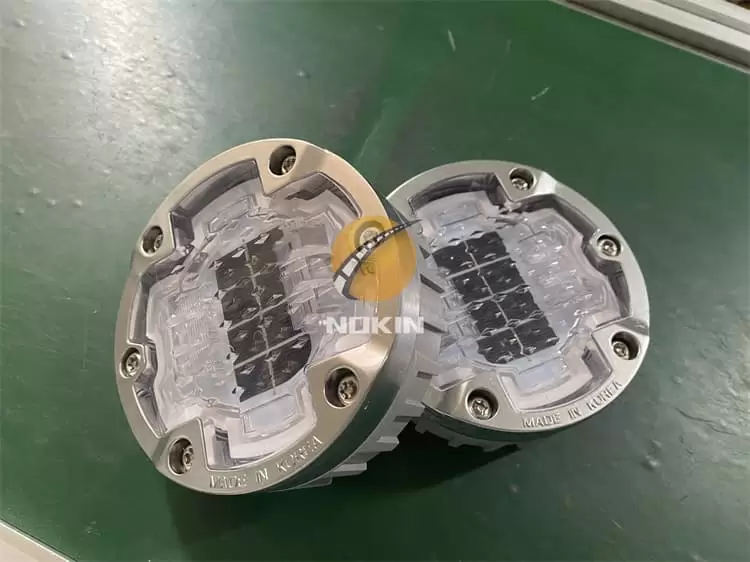
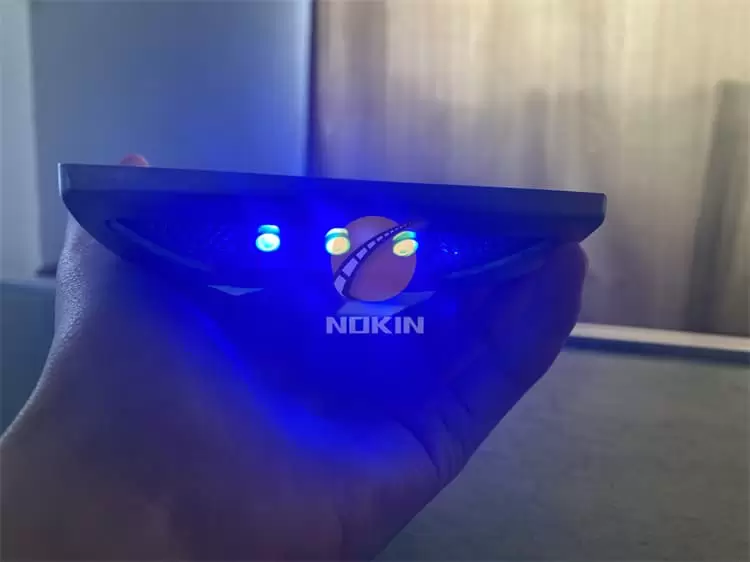
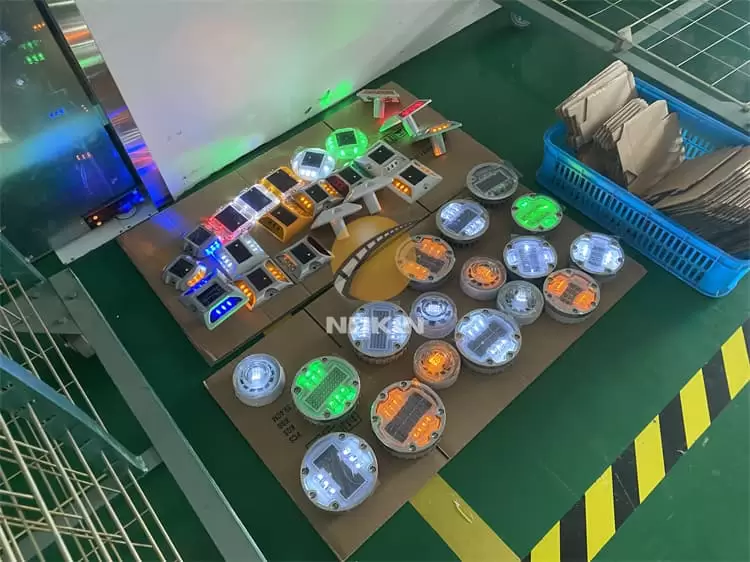
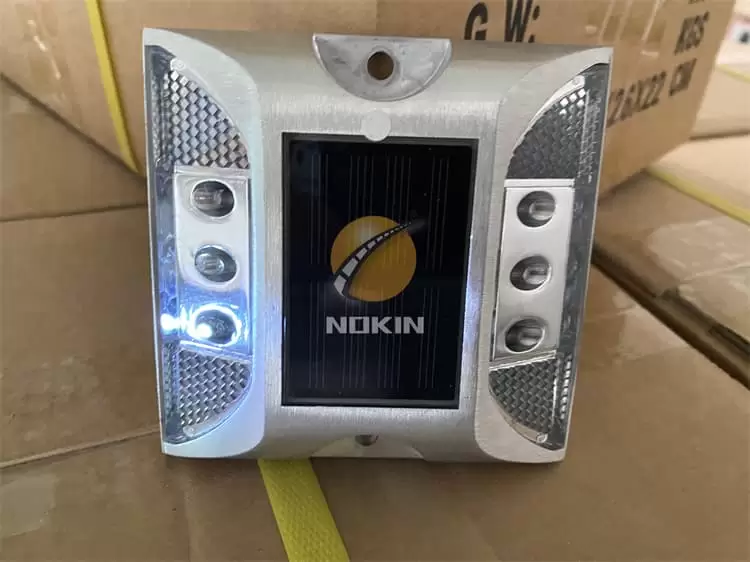
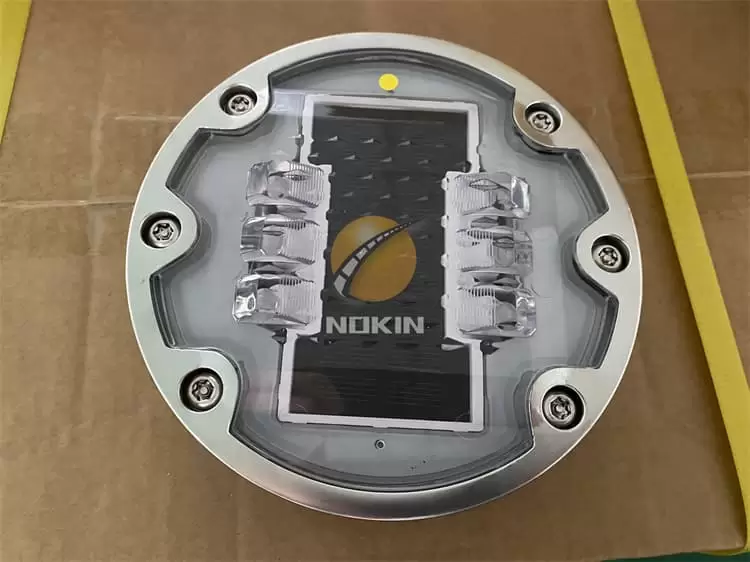
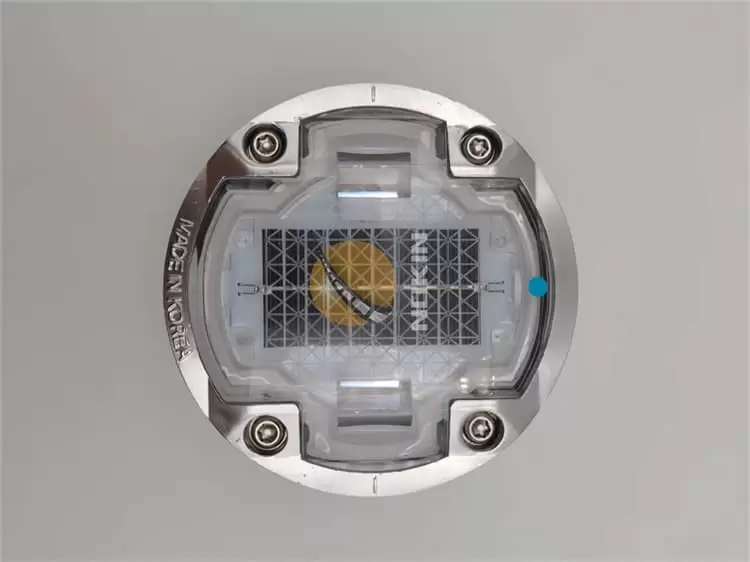
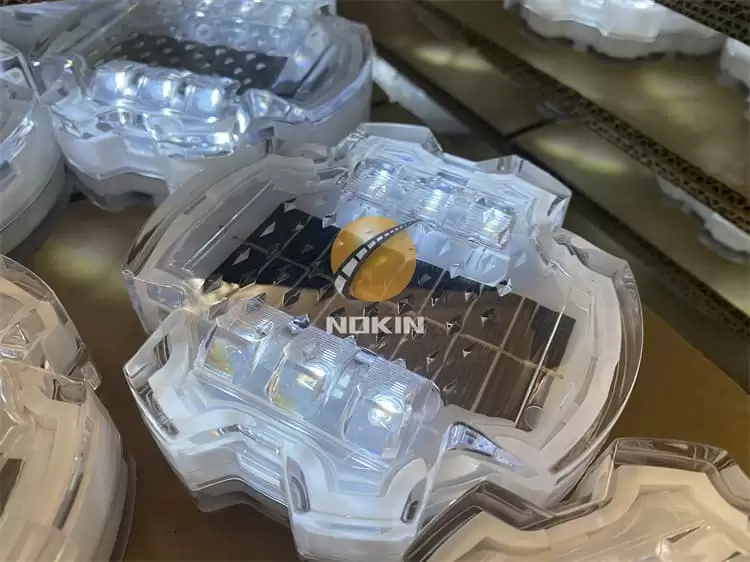
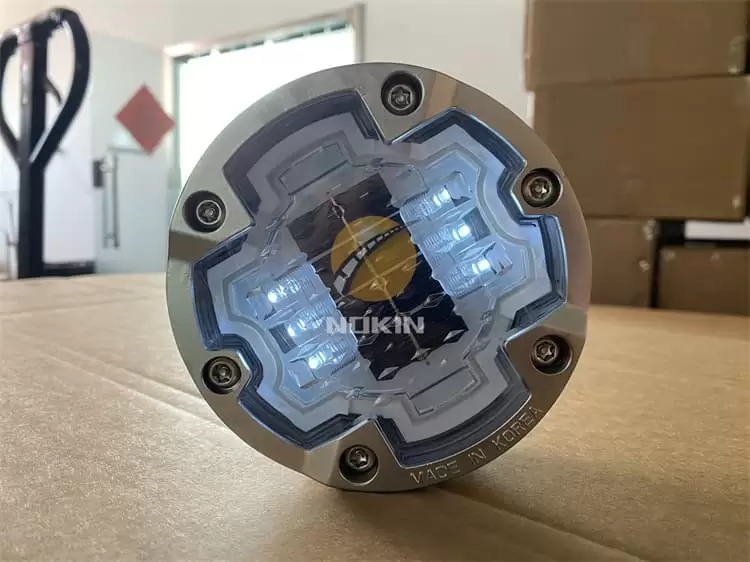
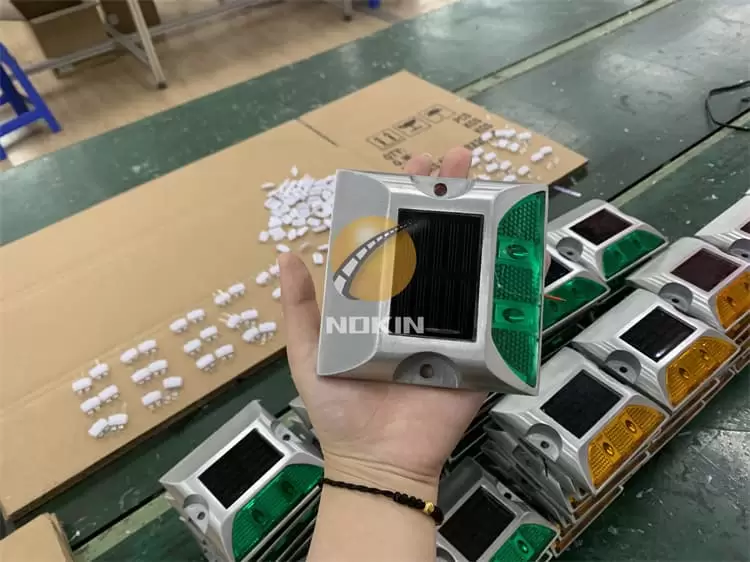
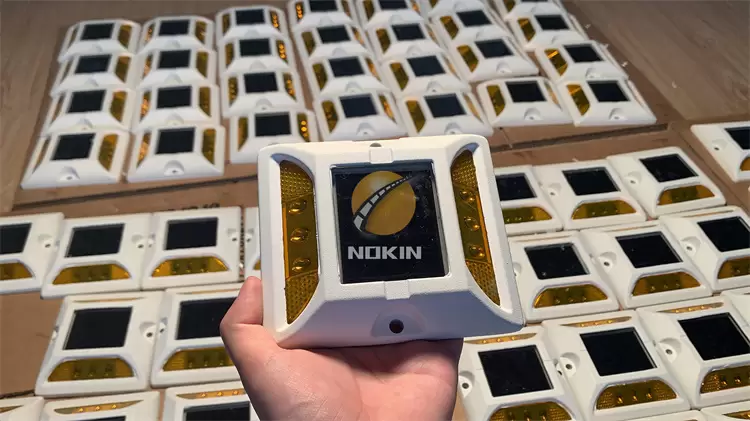
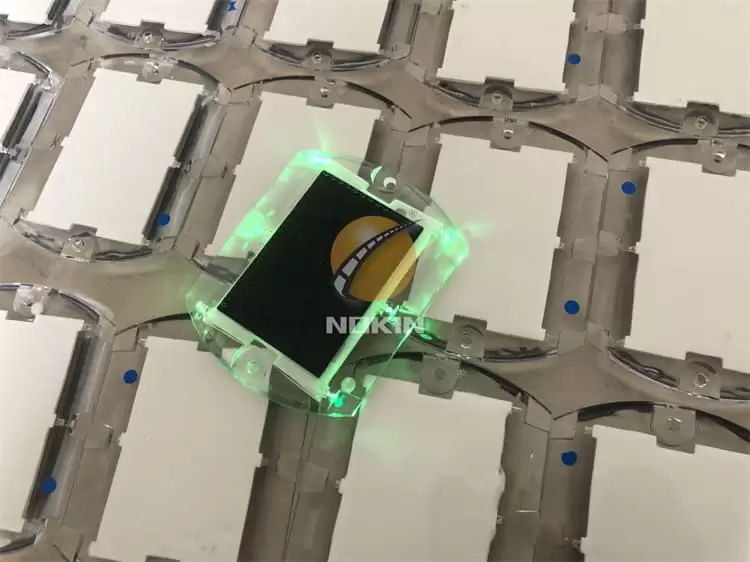
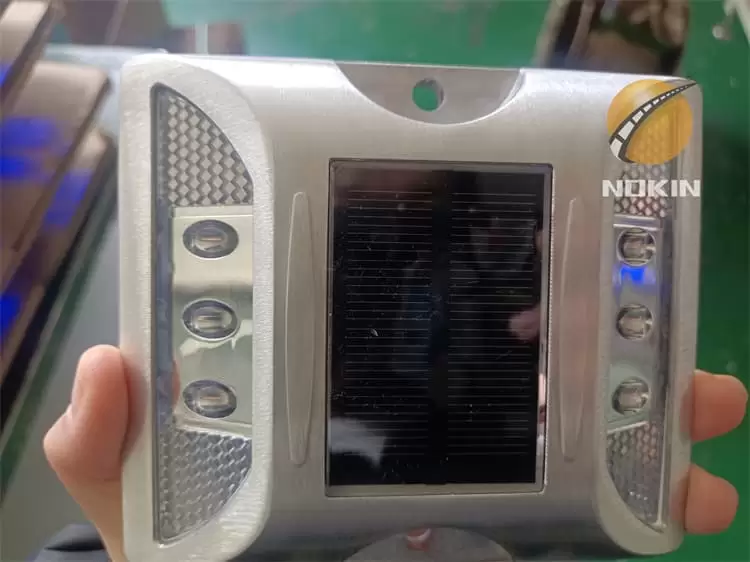
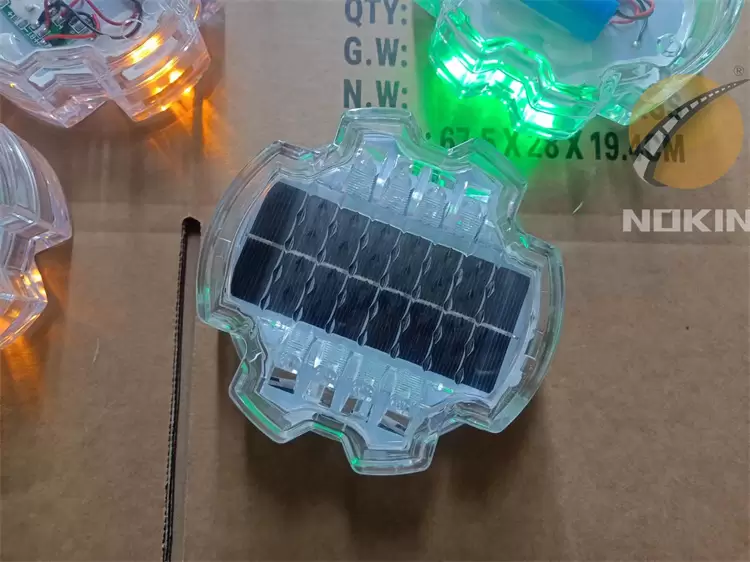
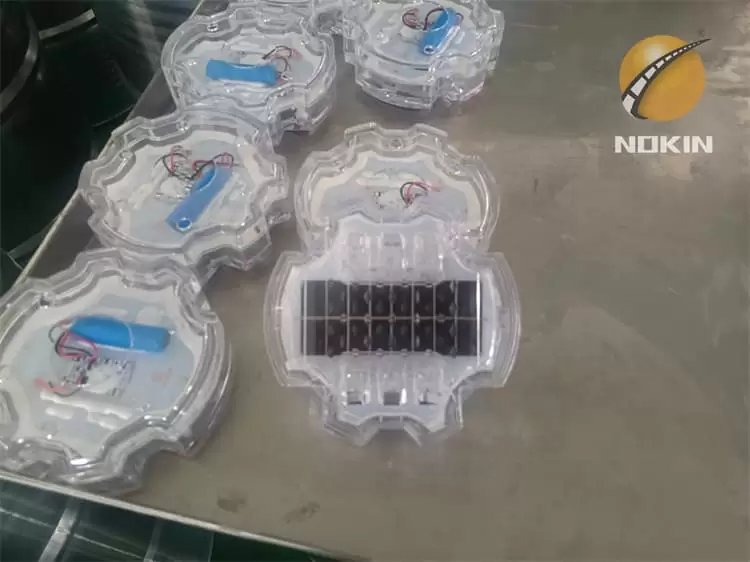
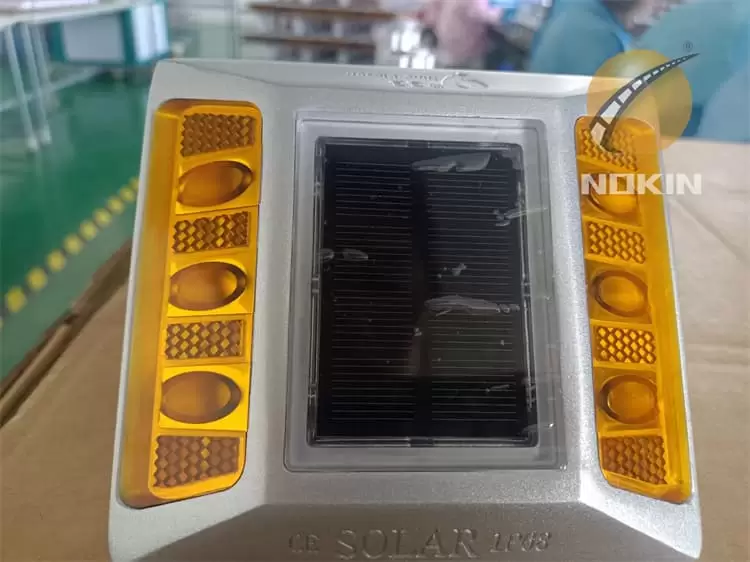
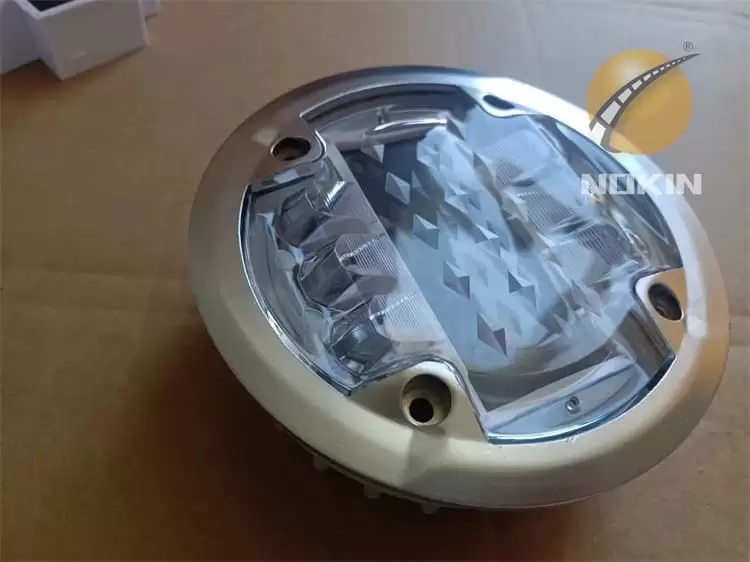
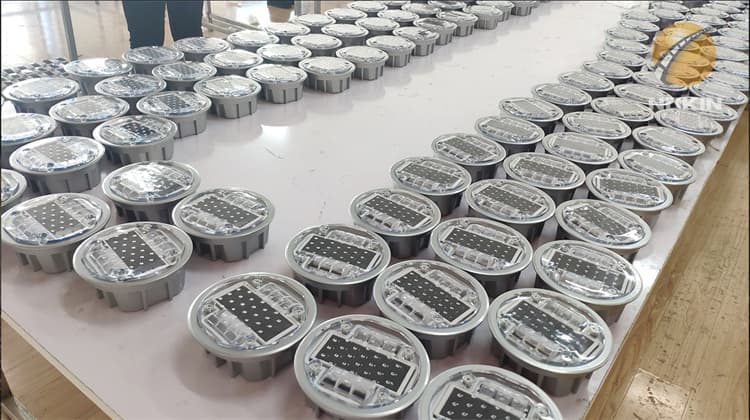
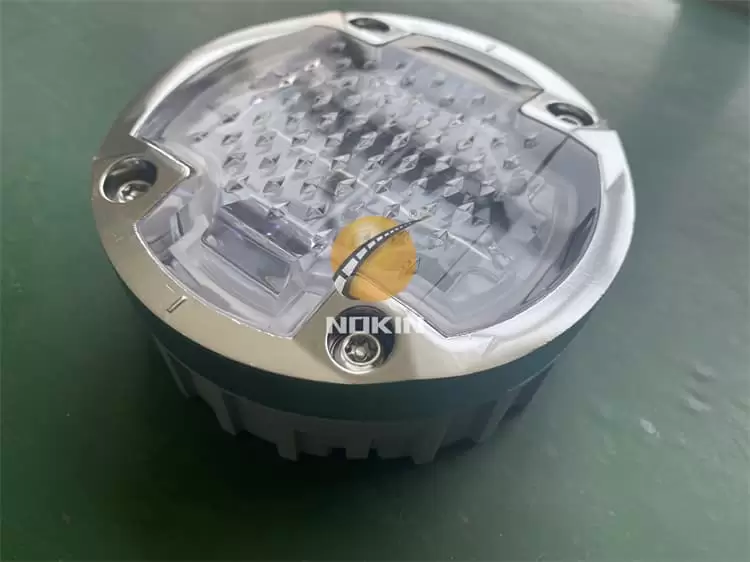
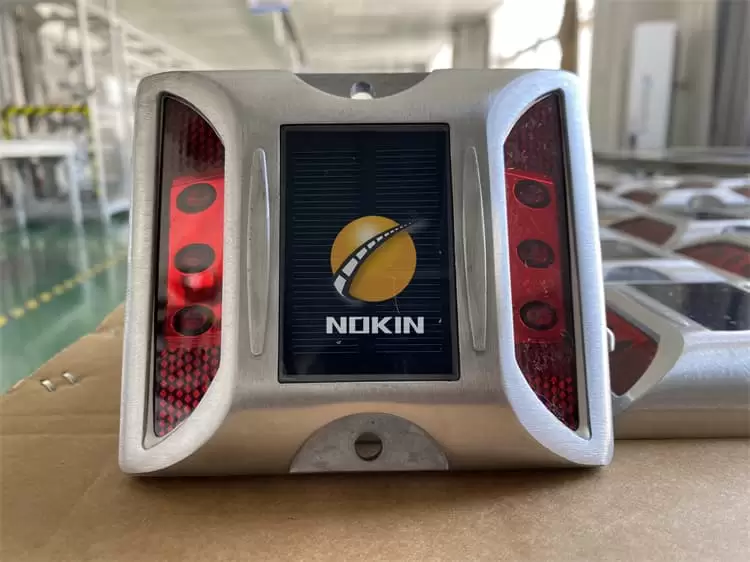
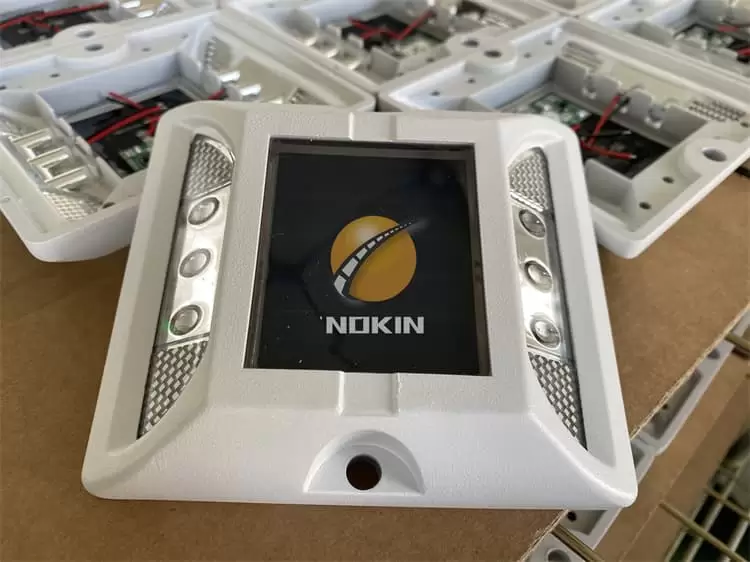
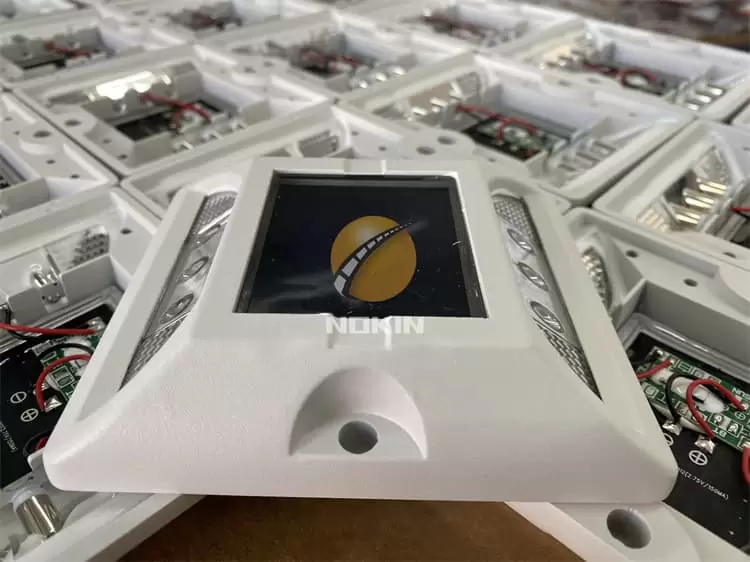
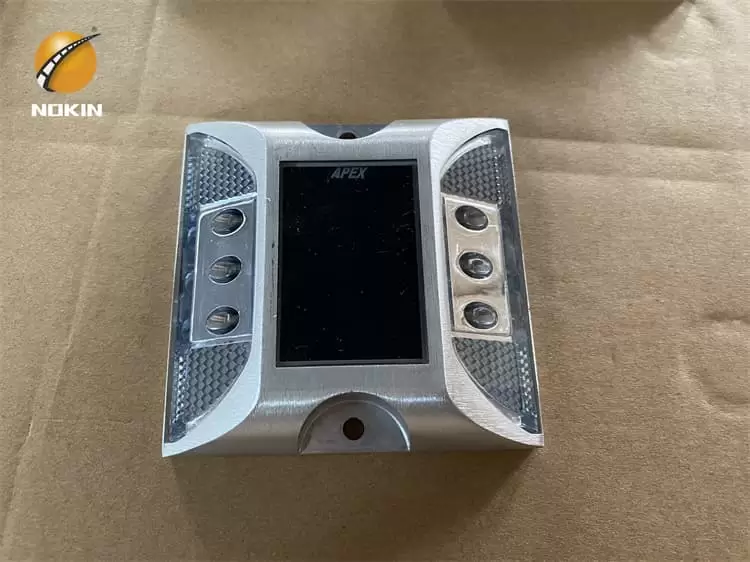
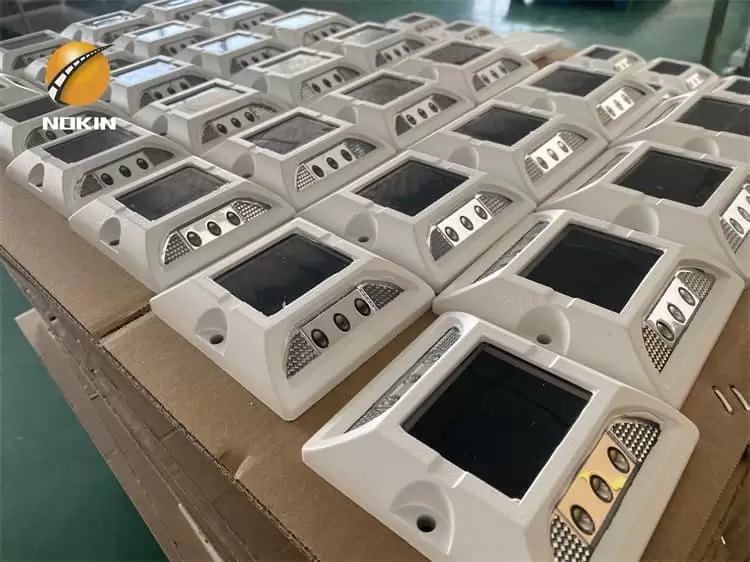
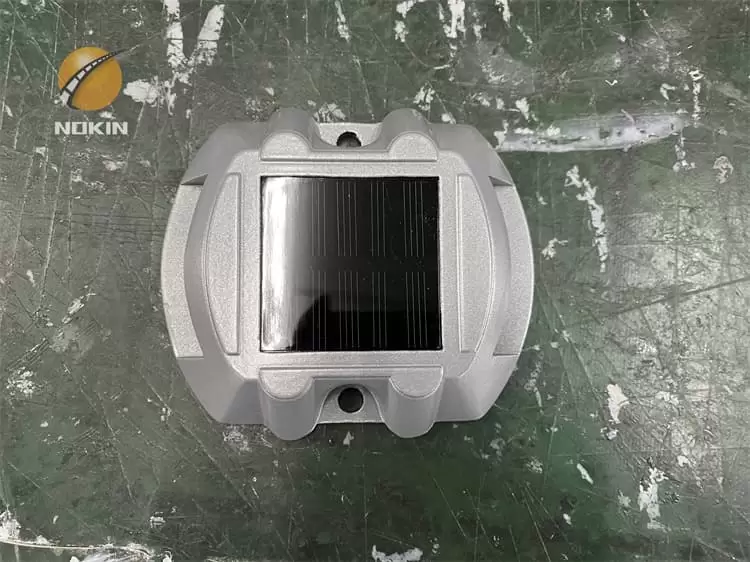
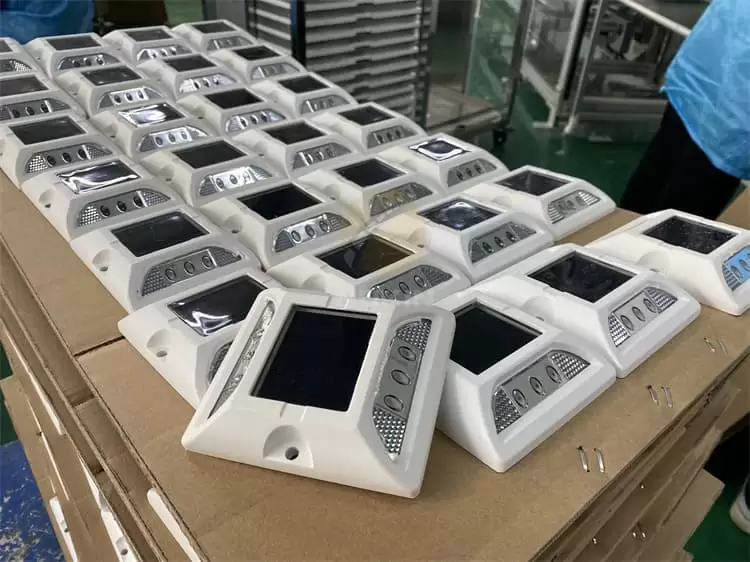
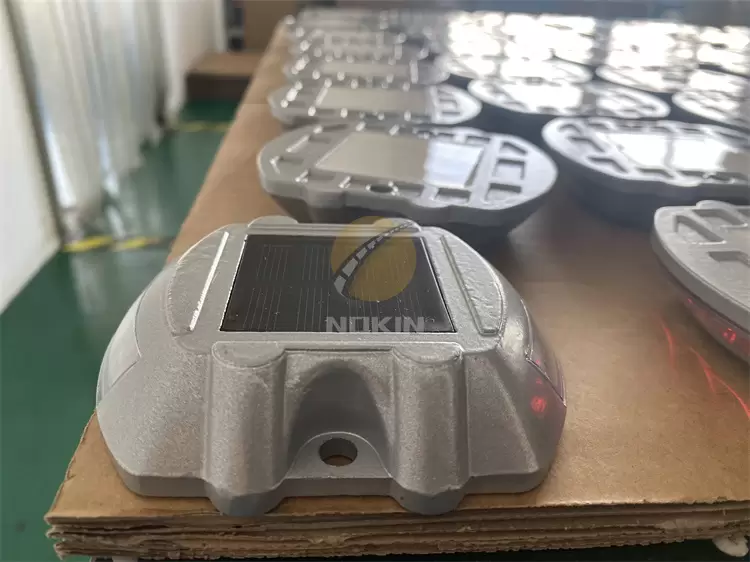
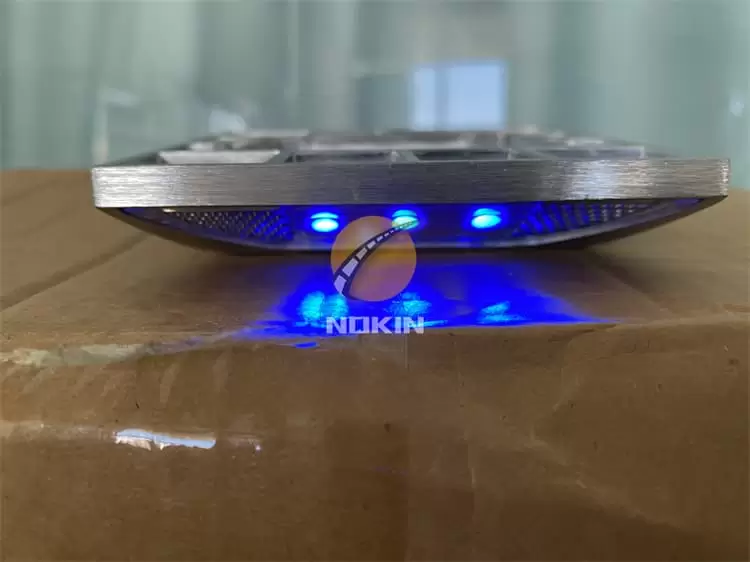
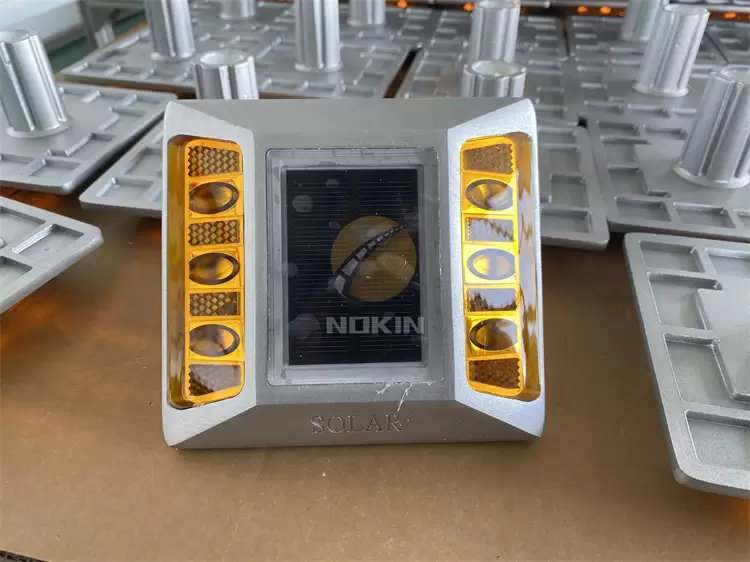
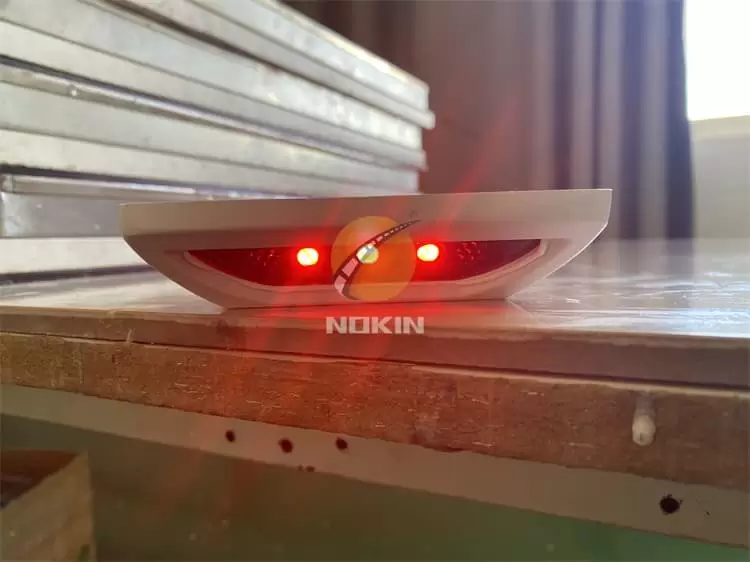
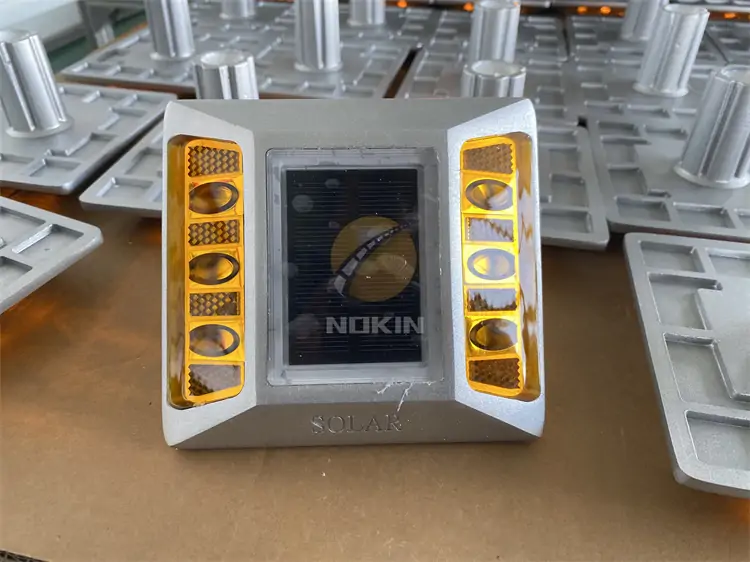
Customized 8 LED Solar Road Stud Lights
Before installing road studs on the road, please place safety isolation facilities. This is a very important point. During the entire installation process, whether it is a new road or a road that has been opened to traffic, everyone should carry out all installation activities in safety facilities. Determine the installation position of the road studs and ensure that the installation position is level. For roads with swelling, cracks, and unevenness, the roads should be leveled and smoothed in advance.
Send Inquiry
Quote Online
Share:
Content
Working Principle of Solar Road Stud Light
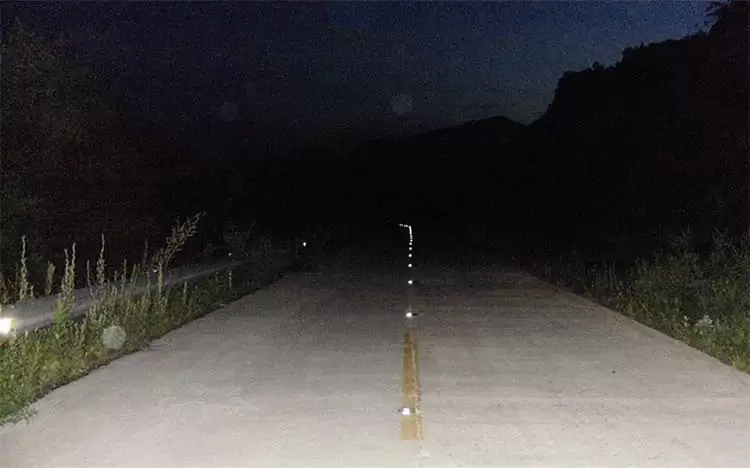
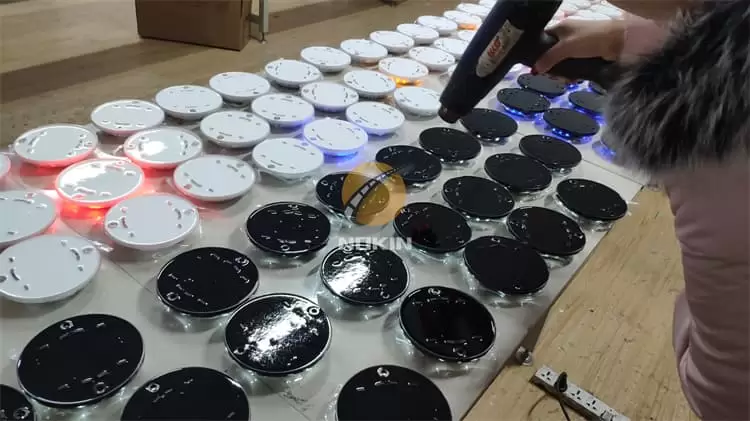
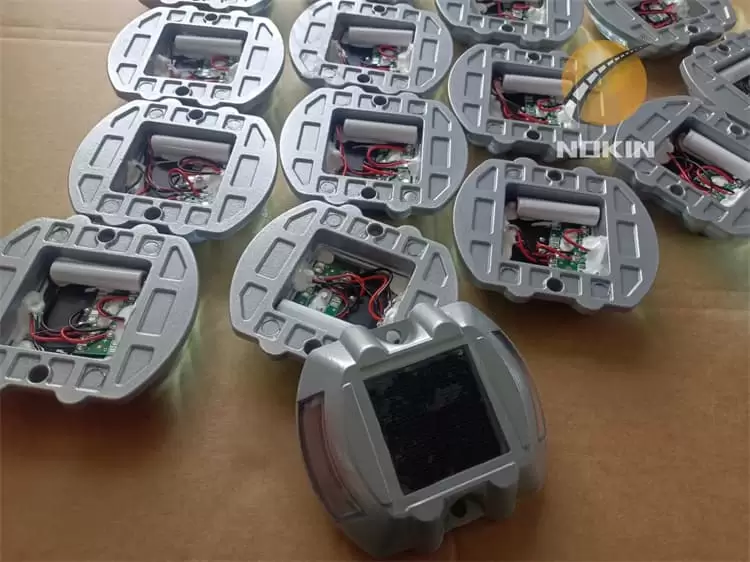
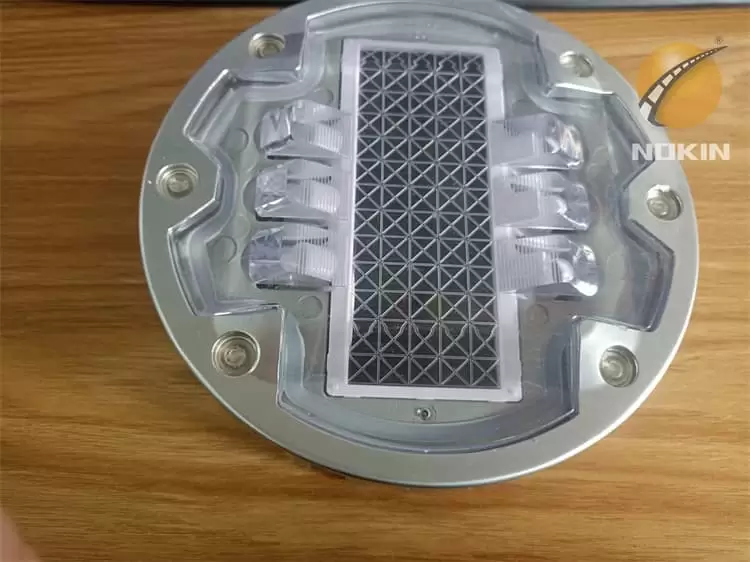
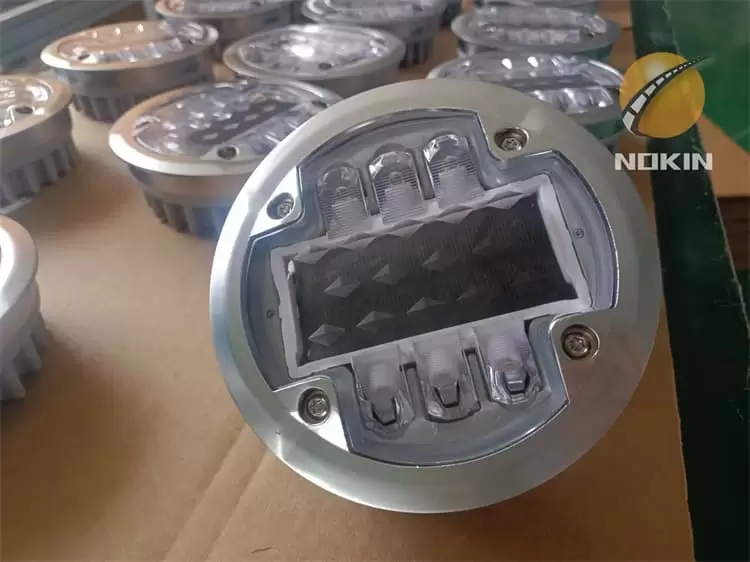
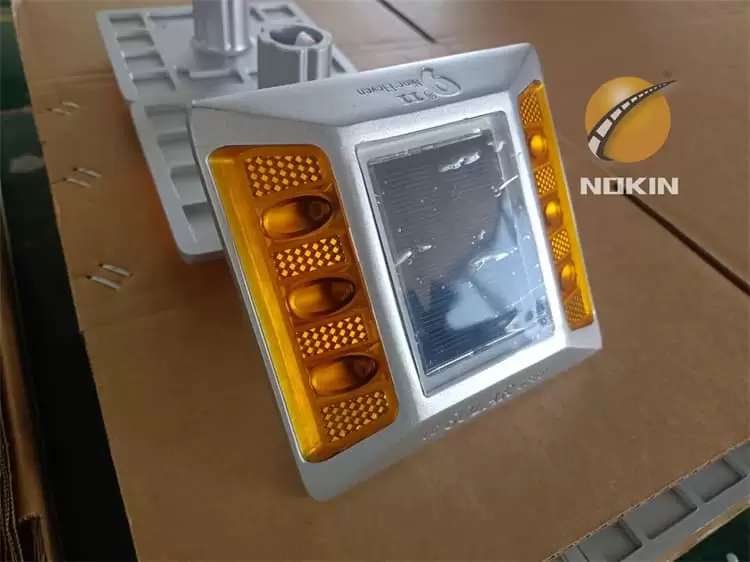
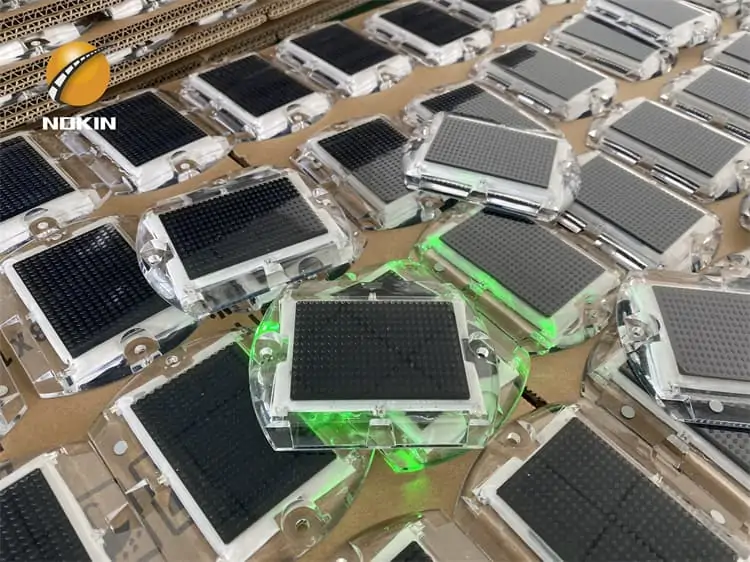
During the day, solar panels absorb sunlight and convert solar energy into electrical energy, which is stored in energy storage devices (batteries or capacitors). At night, the electrical energy in the energy storage devices is automatically converted into light energy (controlled by photoelectric switches) and emitted by LEDs. Bright light outlines the road and induces the driver’s sight. Solar road studs will start automatically to flash when night falls or with the onset of inclement weather. The bright flashing LEDs are highly effective at getting the attention of drivers much earlier than conventional road studs.
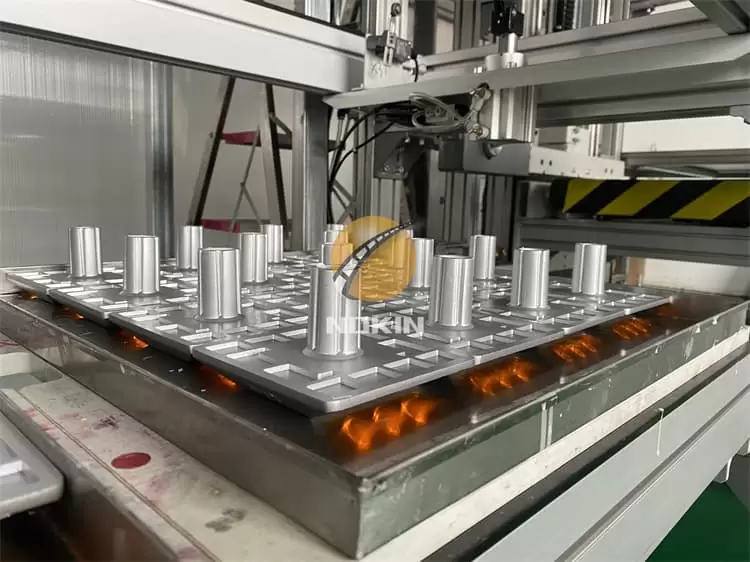
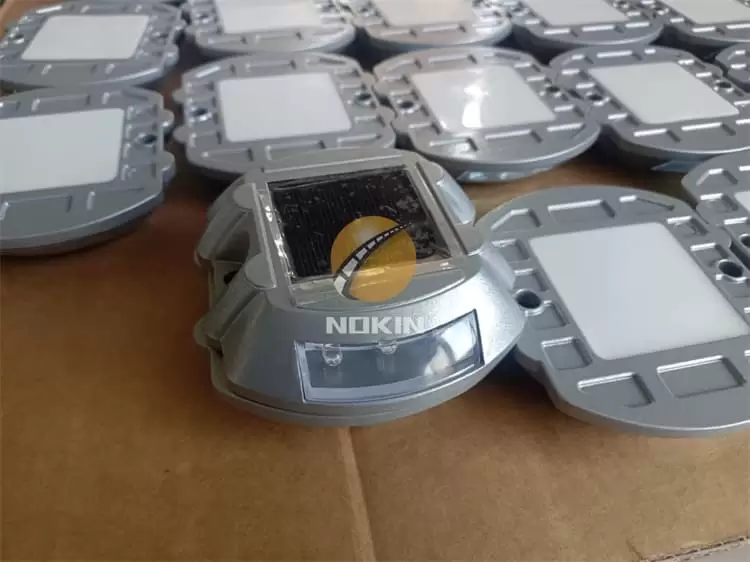
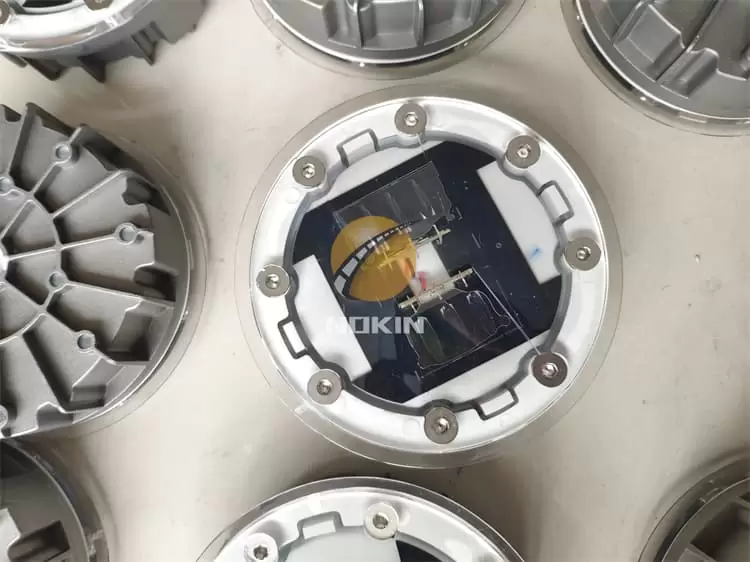
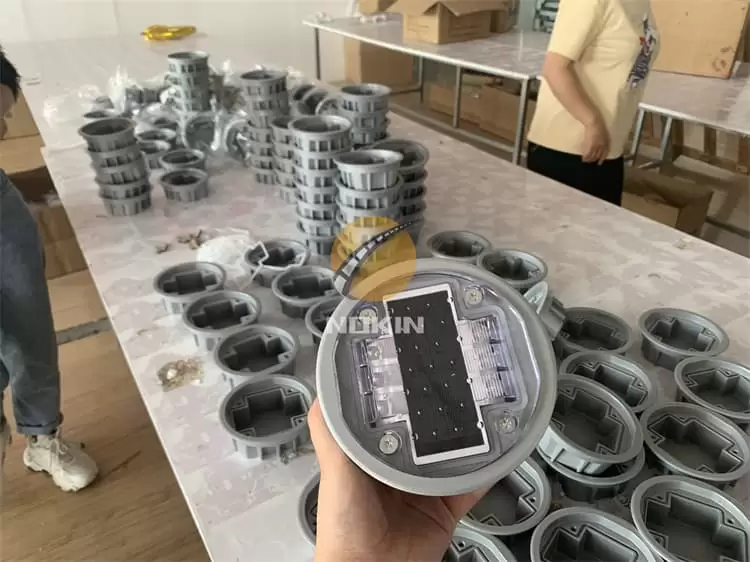
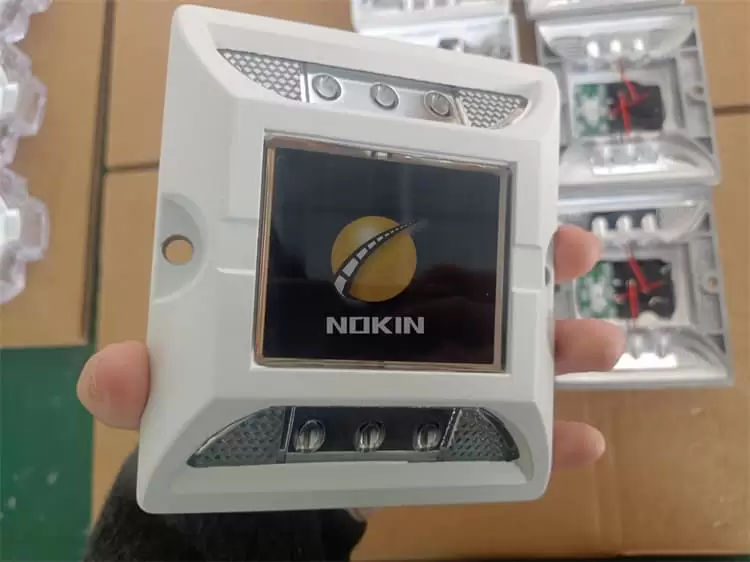
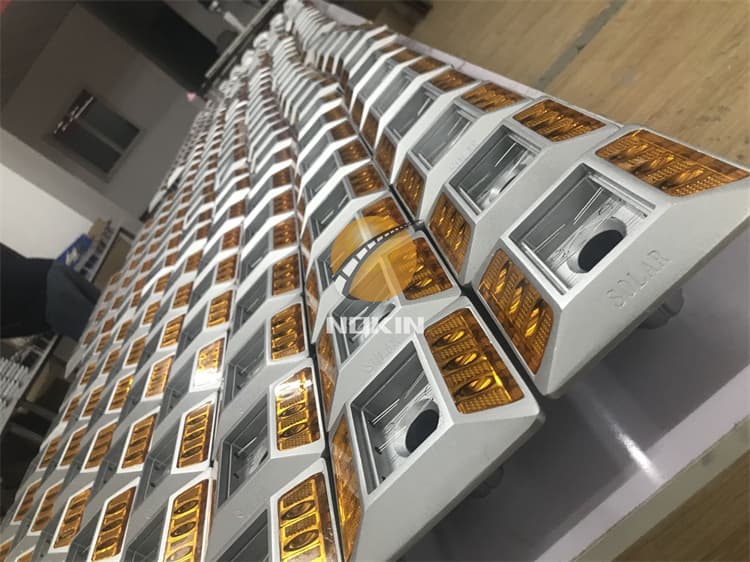
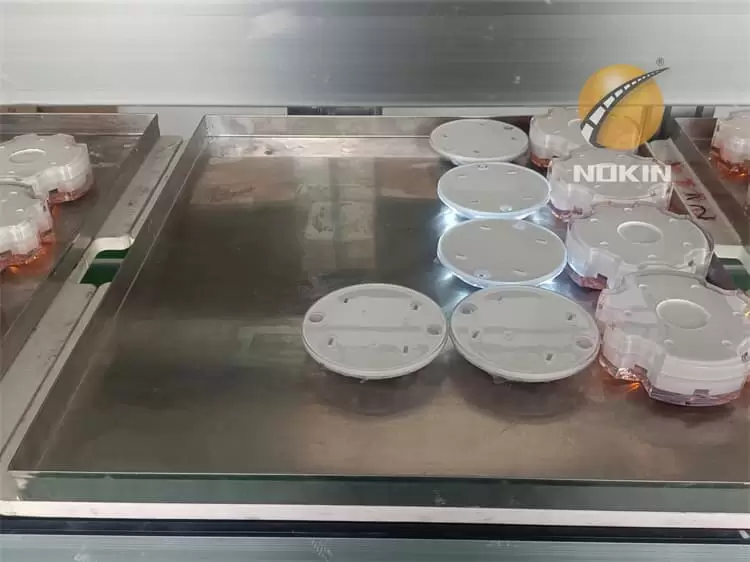
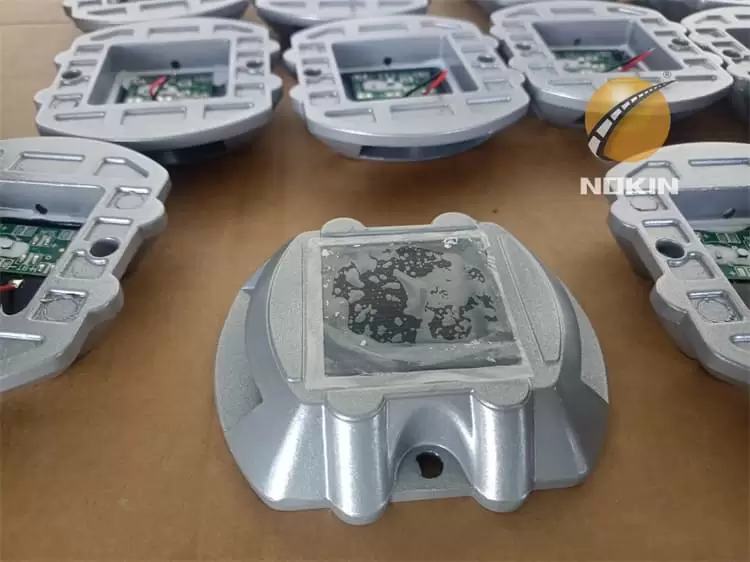
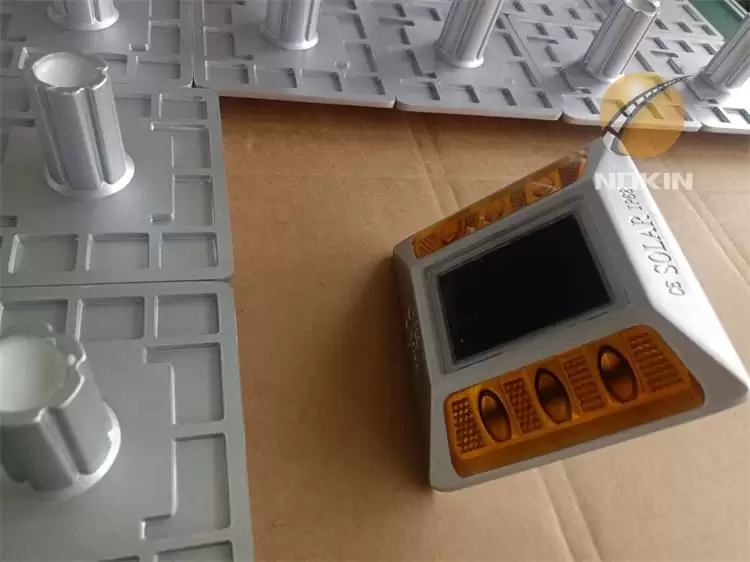
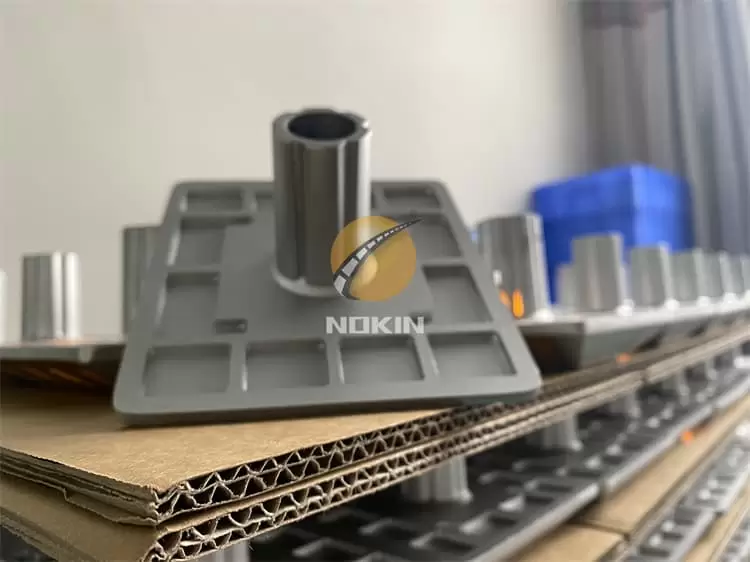
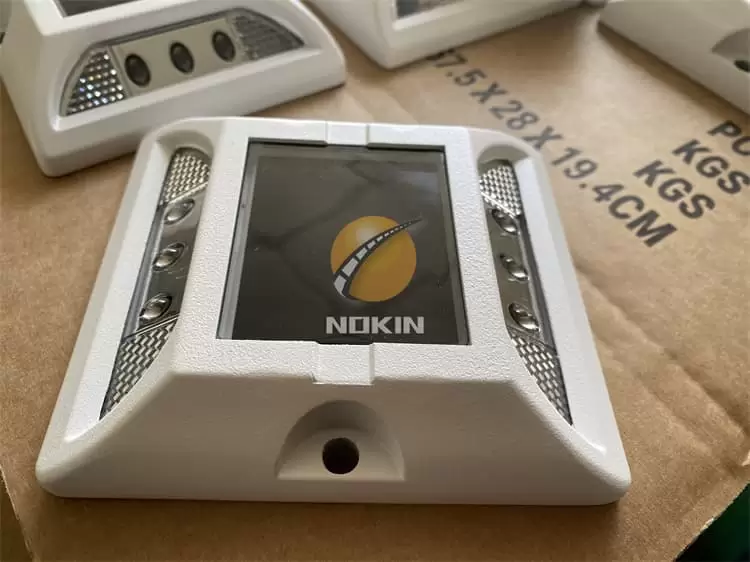
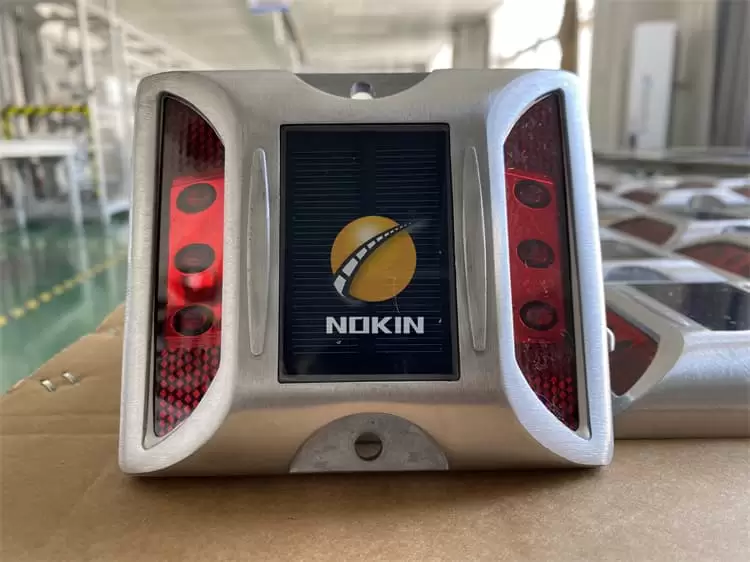
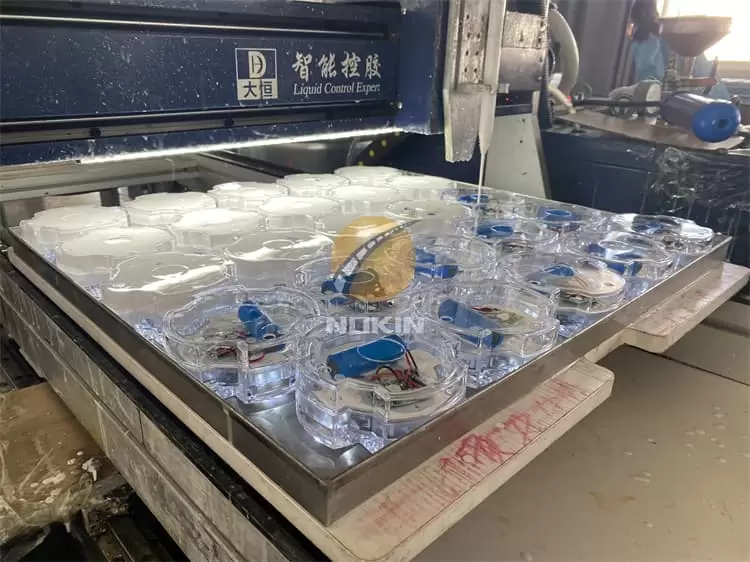
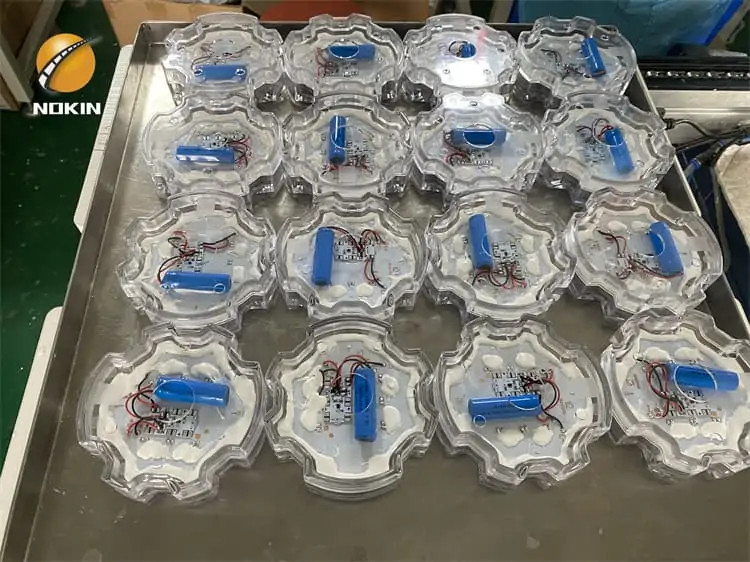
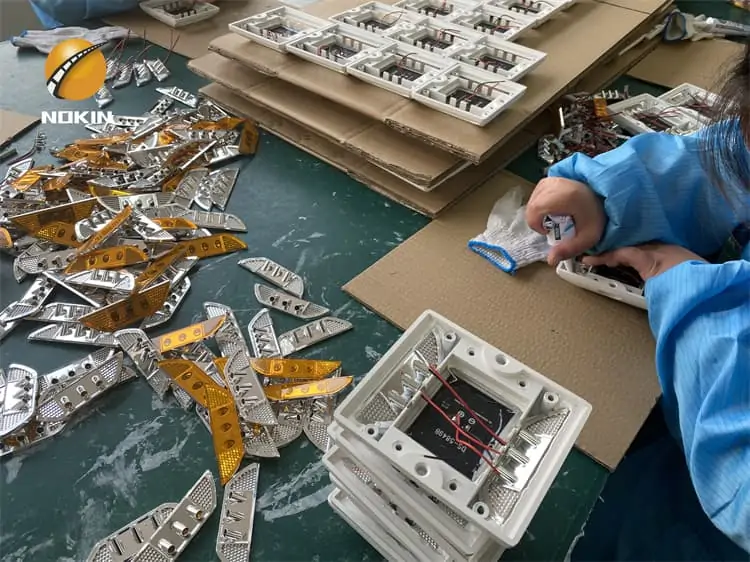
The base of this solar road stud is made of cast aluminum, and the surface is made of plastic spraying technology.
The product has a rubber bottom pad to increase the service life
The shell is made of reinforced PC material, which has excellent impact resistance and heat stability.
Loading capacity of more than 30 tons, can be used in the middle of the road.
These solar studs are very popular in the Philippines.
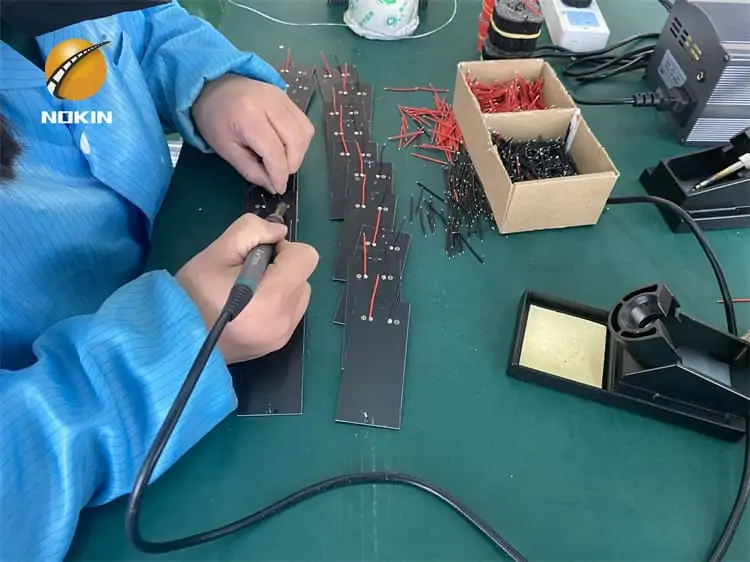
SPECIFICATION:
| Body material : | Aluminum Alloy+PC cover |
| Power supply: | Solar panel(Monocrystalline 5V /80MA) |
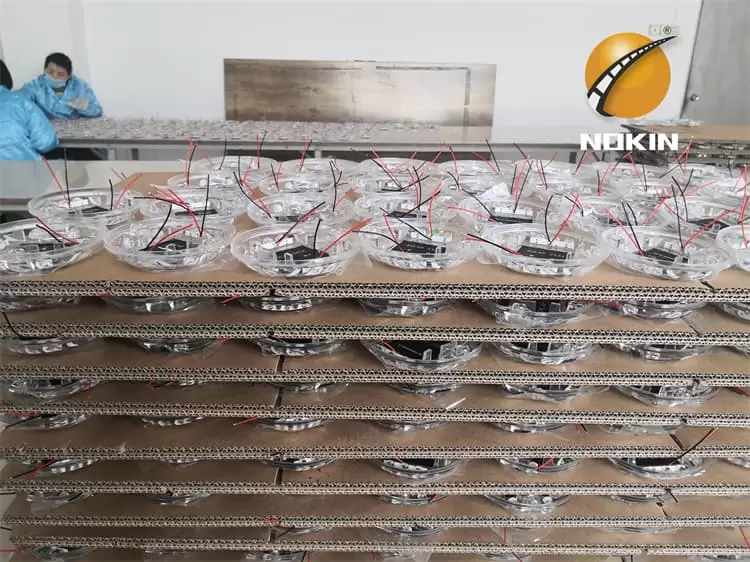
| Battery: | Lithium battery 1000MAH*3.2V |
| LED: | Ultra bright diameter 8mm*6PCS |
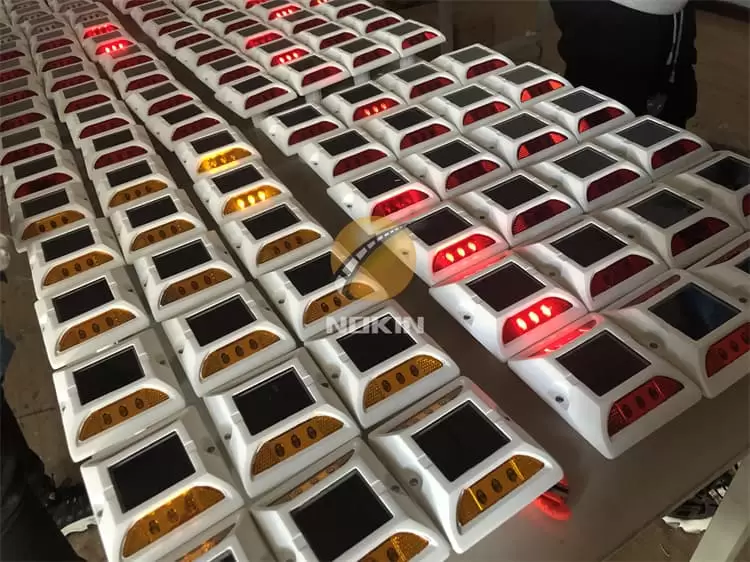
| LED Color: | White Green Red Yellow Blue |
| Flashing model: | flashing or constant |
| Working hours: | 140 hrs for flashing modes,40hrs for constant modes |
| Visual distance: | 1000m(approx) |
| Waterproof: | IP68 |
| Load Capacity | >30T(can be installed in the middle of road) |
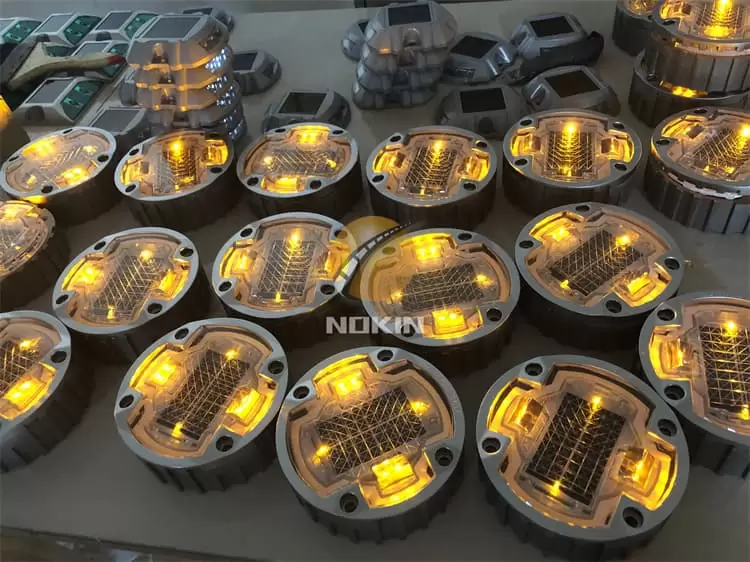
| Size: | φ150*50mm / φ143*47mm |
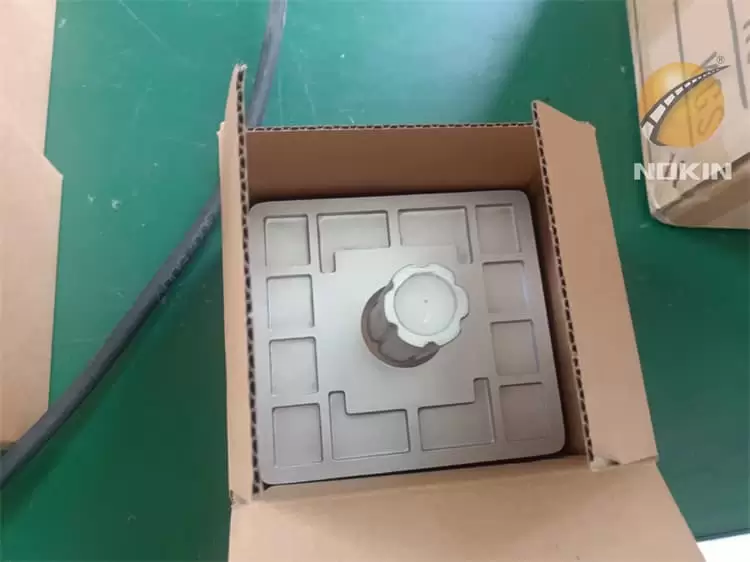
| Package: | 1pcs/box; 30pcs/ctn; Weight: 38.5kgs; Carton size: 80*33*19cm
(1pcs/box; 30pcs/ctn; Weight: 84.88bs; Carton size: 31.50″*12.99″*7.48″) |
| Life span: | more than 5 years |
| Working Temperature | -20 °C~ + 70°C |
| waterproof | IP68 |
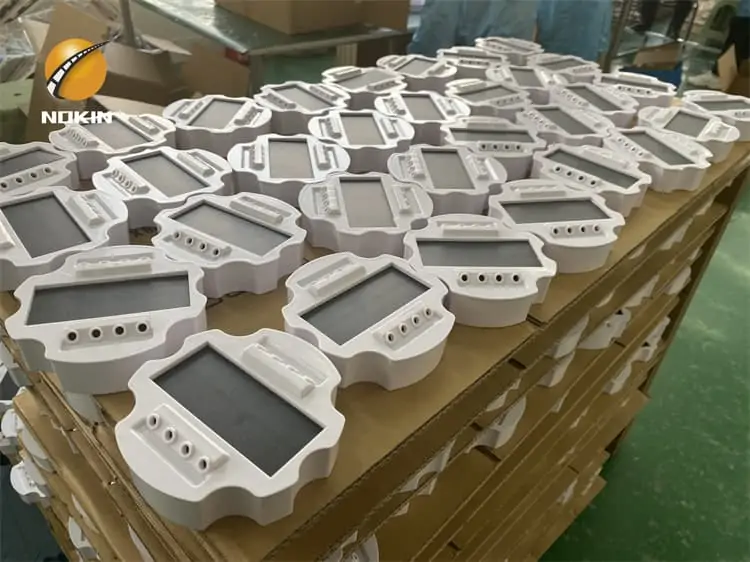
Attentions for road stud installation
Before installing road studs on the road, please place safety isolation facilities. This is a very important point. During the entire installation process, whether it is a new road or a road that has been opened to traffic, everyone should carry out all installation activities in safety facilities.
Determine the installation position of the road studs and ensure that the installation position is level. For roads with swelling, cracks, and unevenness, the roads should be leveled and smoothed in advance.
Clean the installation location with a brush and ensure it is dry.
Take an appropriate amount of glue and apply it evenly on the studs.
Press the cat eye road stud firmly on the installation position to ensure the direction is correct. If there is too much glue, please clean it.
If it is a cat’s eyes solar road stud with a spike, please make sure that the depth of the hole is 1cm larger than the depth of the spike, and the diameter of the hole is 2mm larger than the diameter of the spike.
If it is an inground solar road stud, you must pay attention to the grounding hole and its size must be appropriate to prevent the bolt from shaking.
Carry out a tour within two hours after installing the led road markers to ensure that all spikes will not be reversed, bent or bent.
Please remove the safety isolation facilities after the solar pavement markers are cured for 6 hours.
The installation of road studs is not a complicated matter, but there are many details that need attention. These details play a very important role in ensuring the quality requirements and service life of road studs.
Inquiry
More


