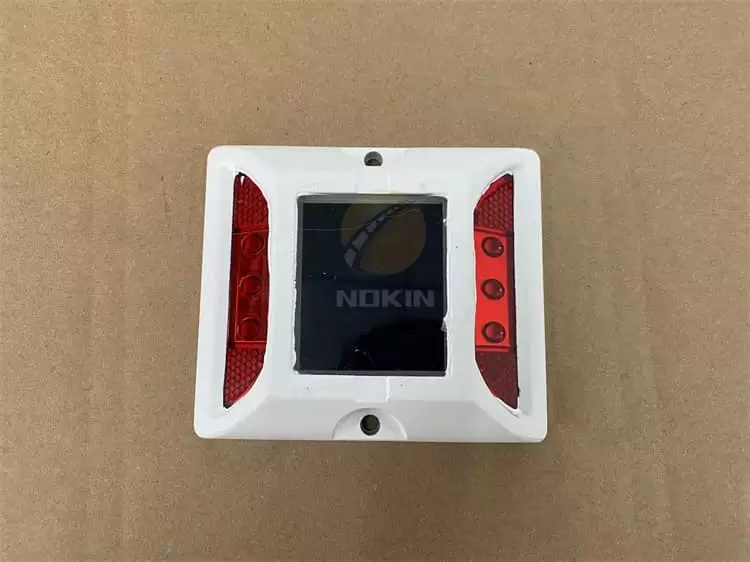
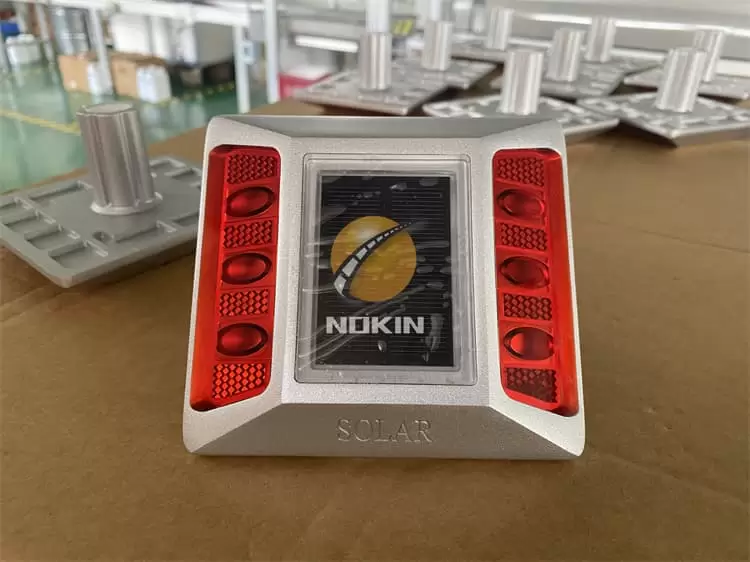
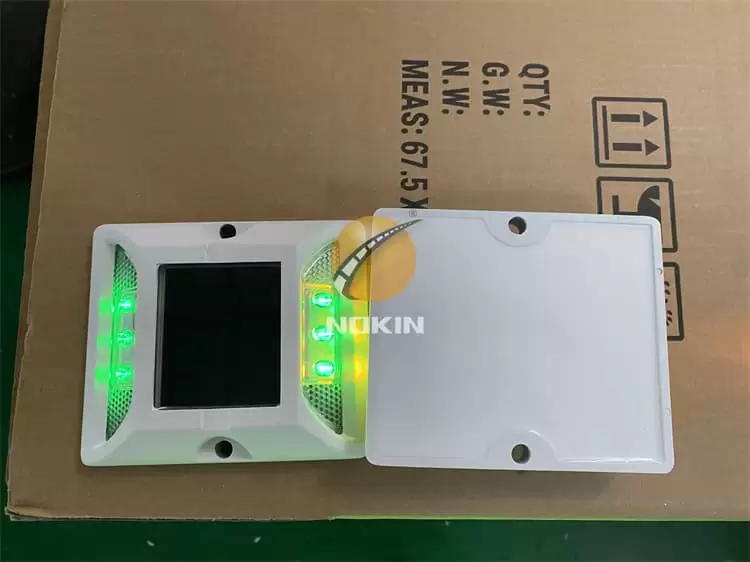
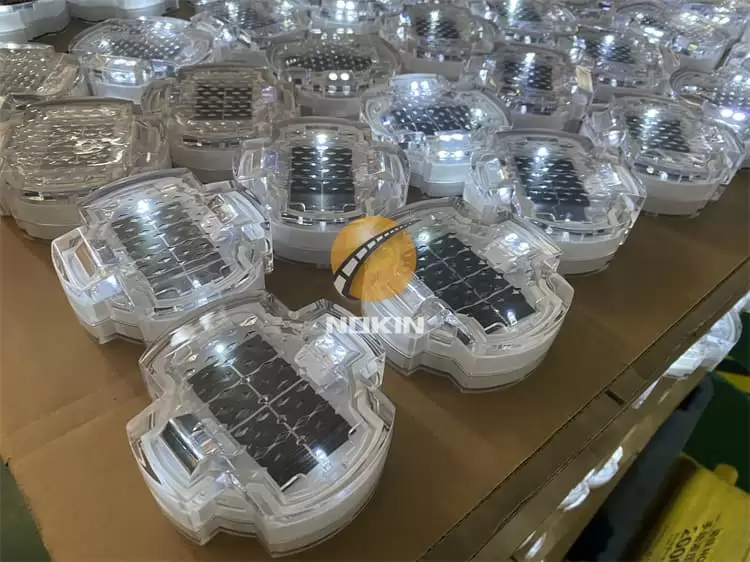
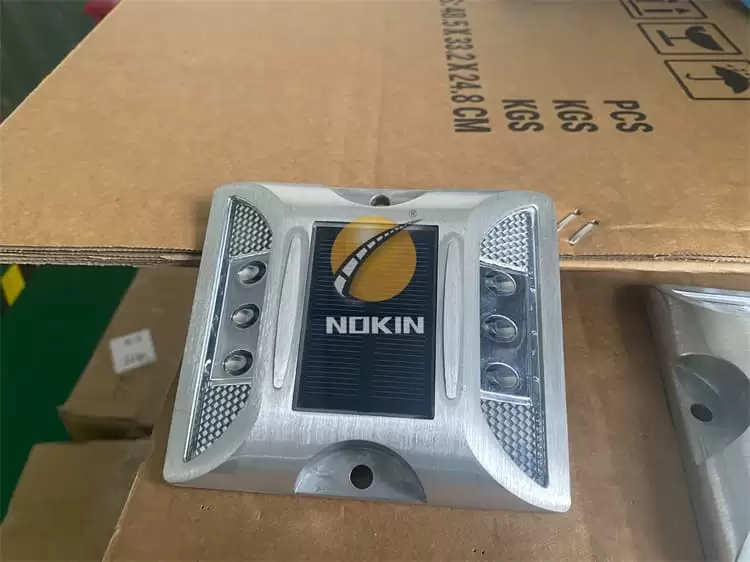
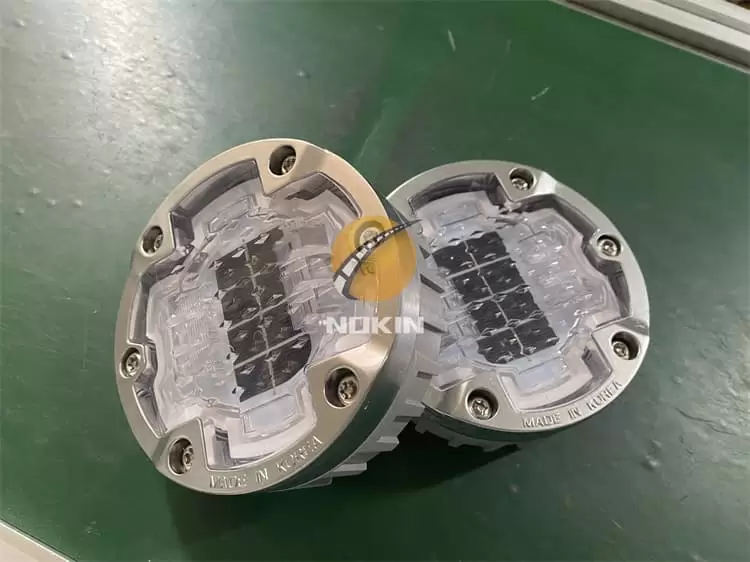
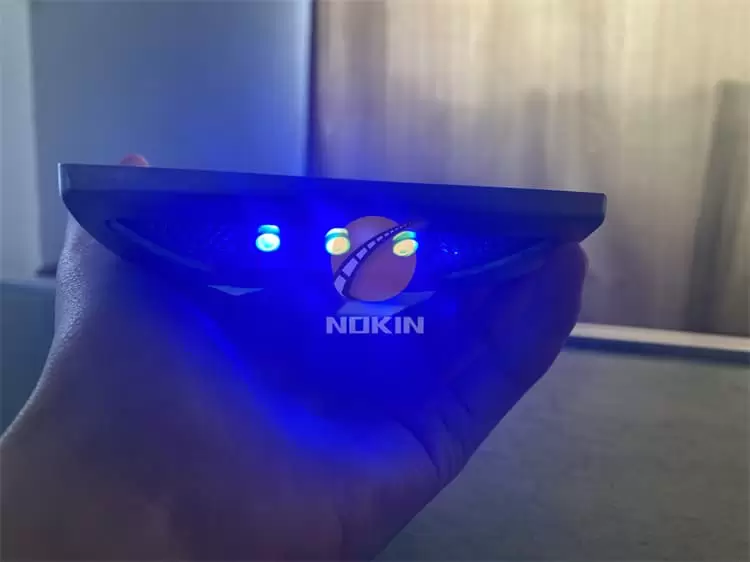
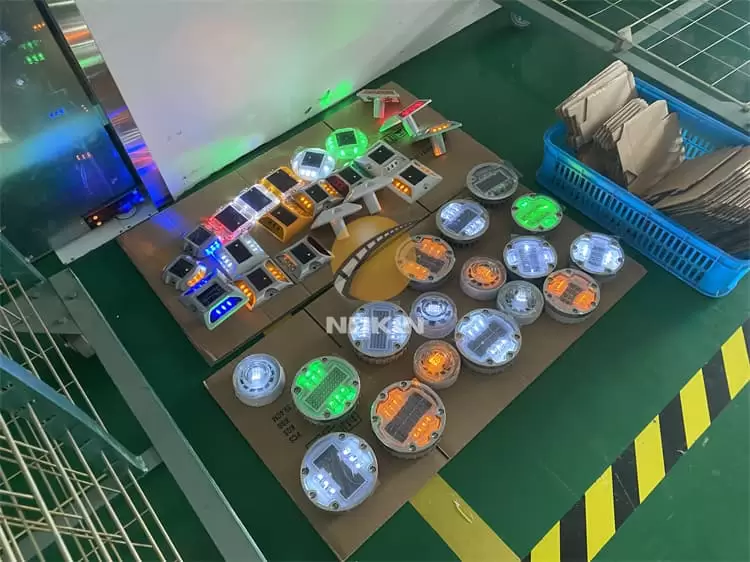
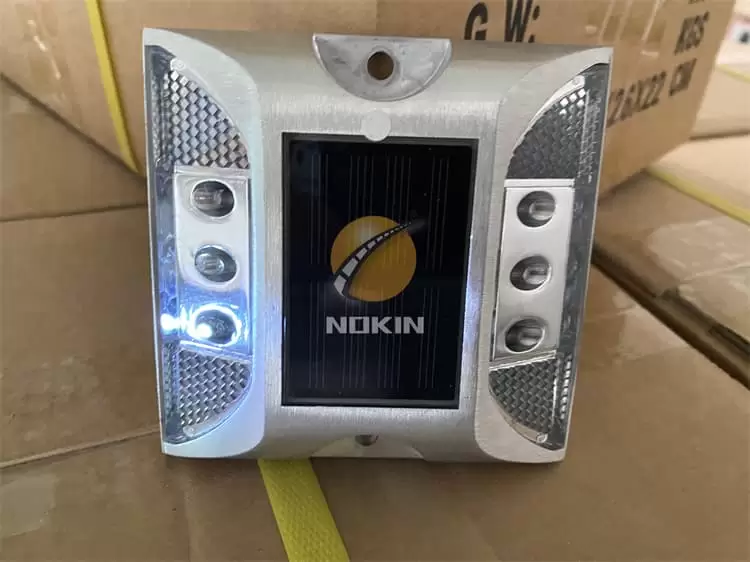
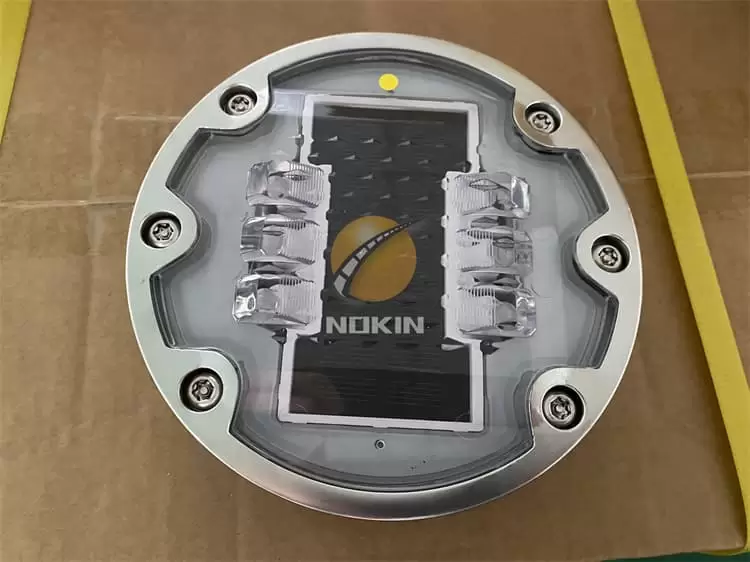
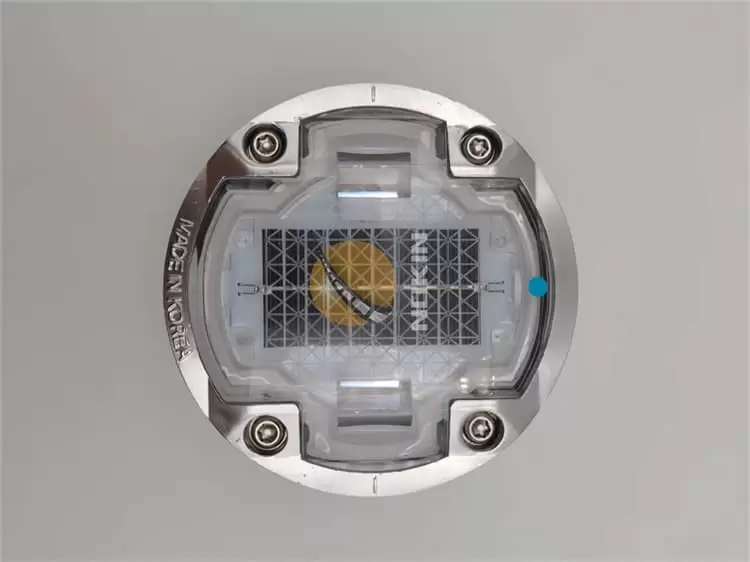
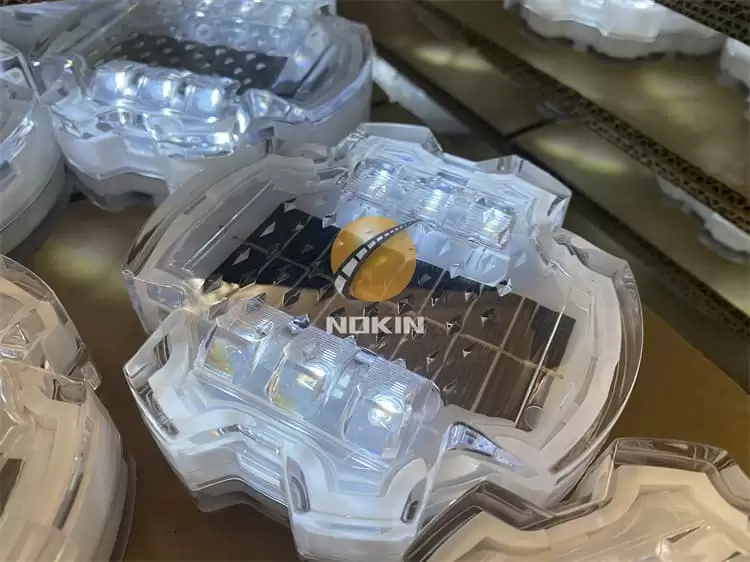
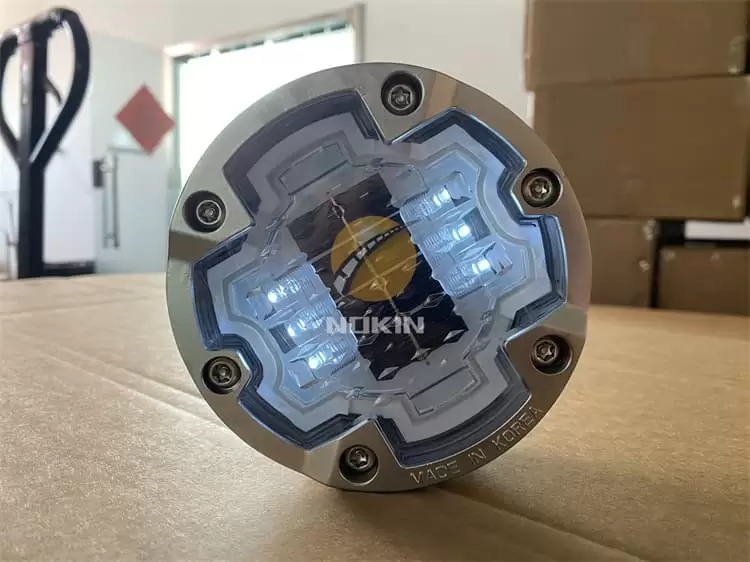
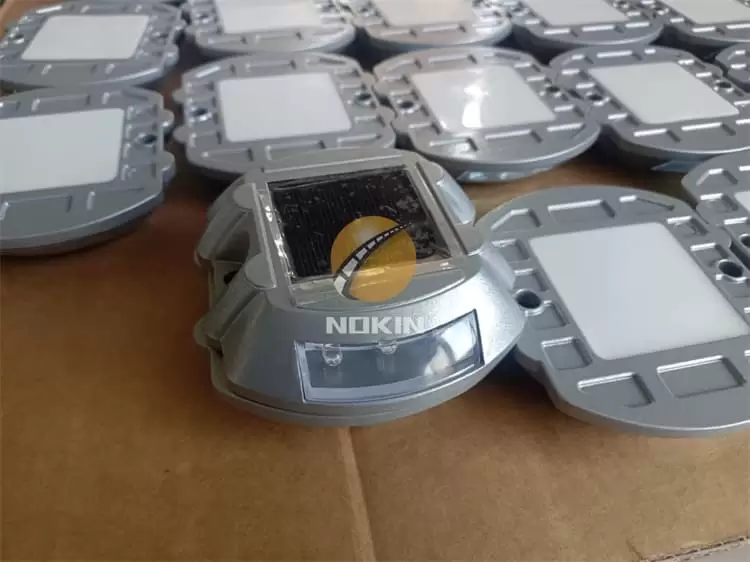
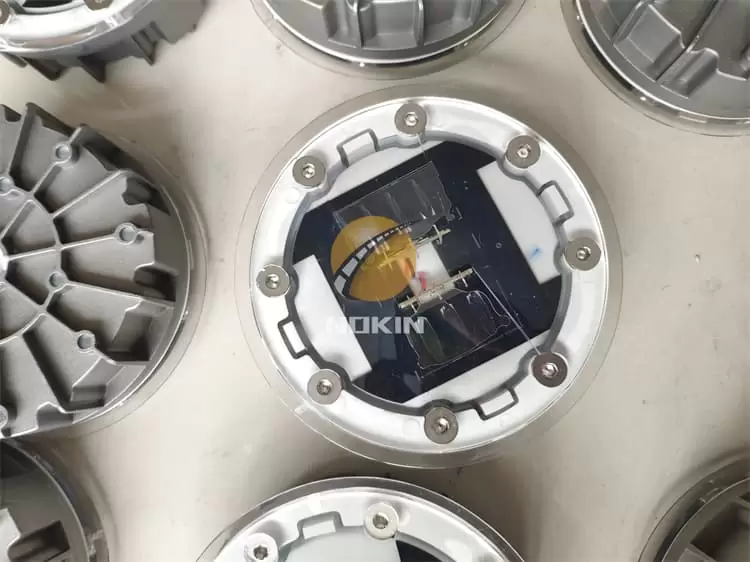
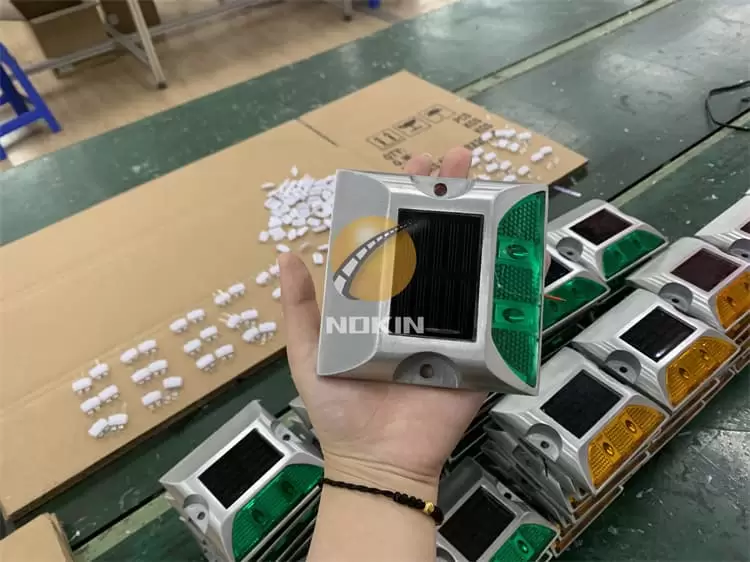
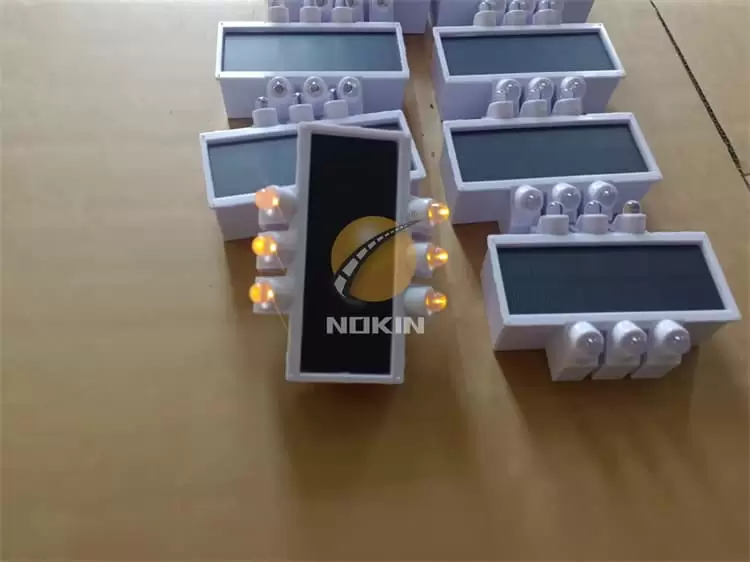
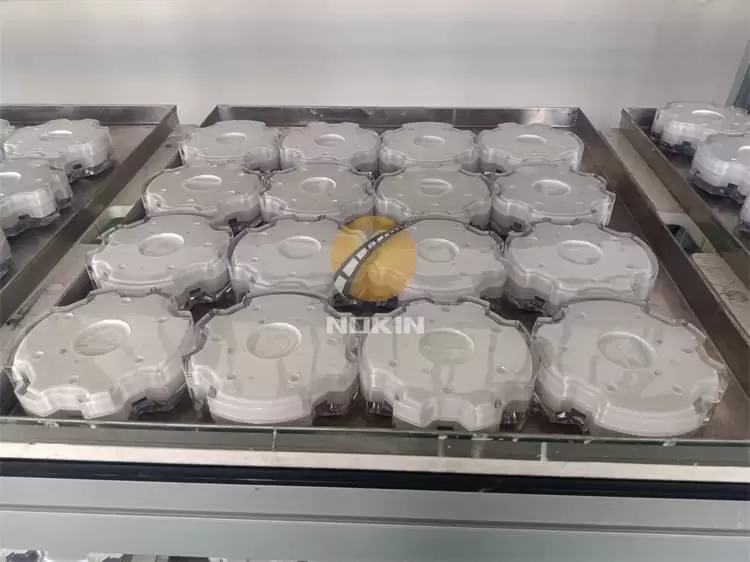
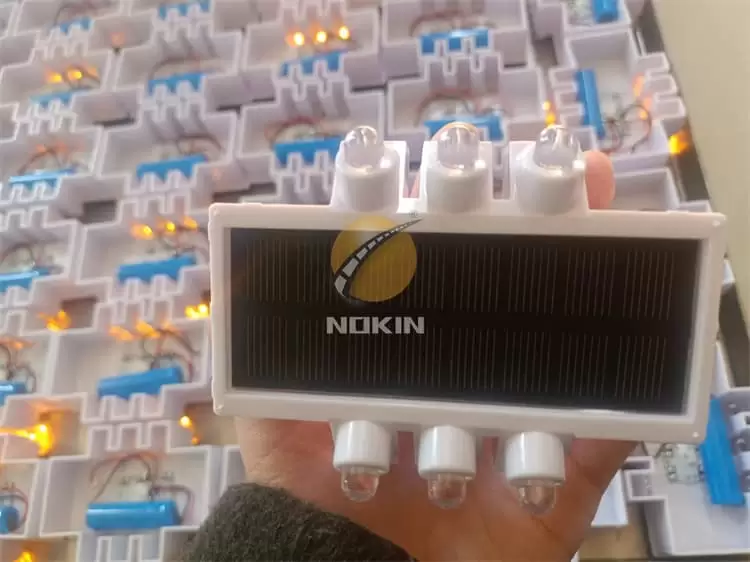
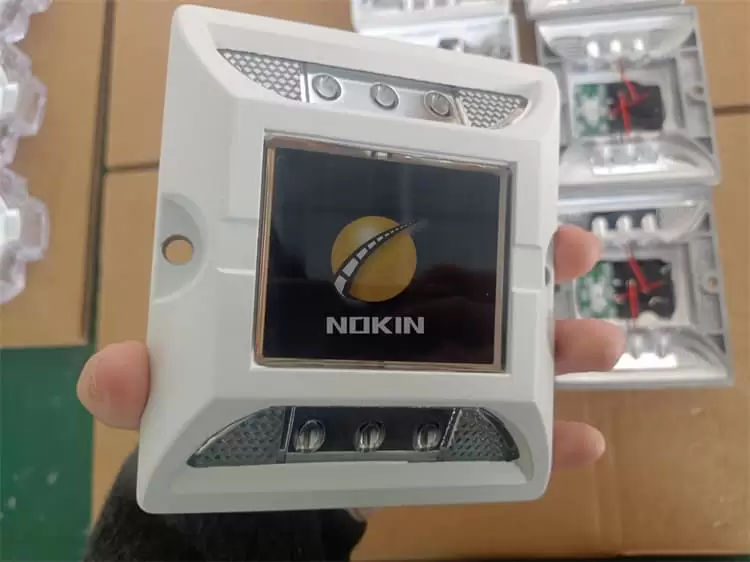
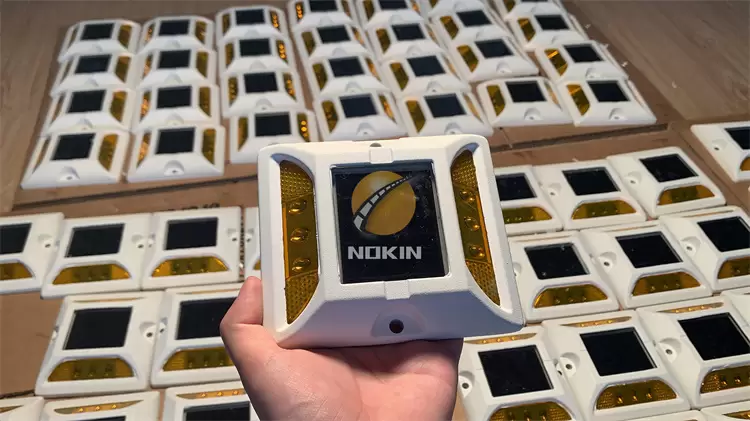
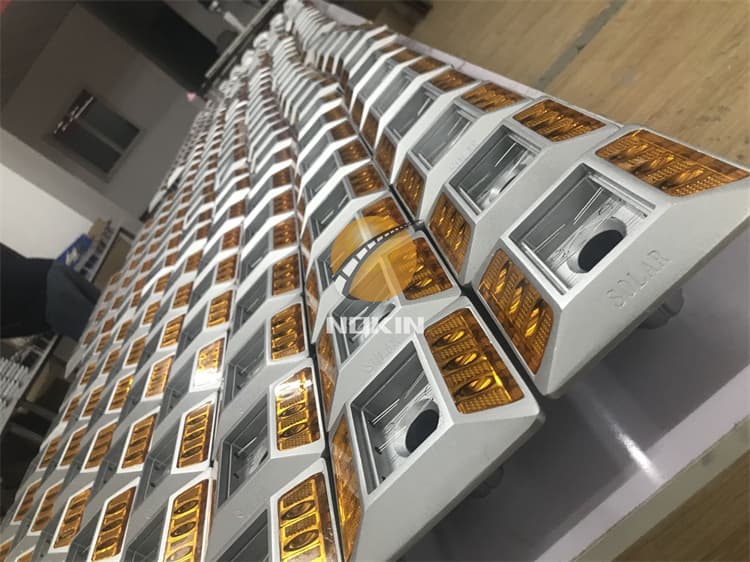
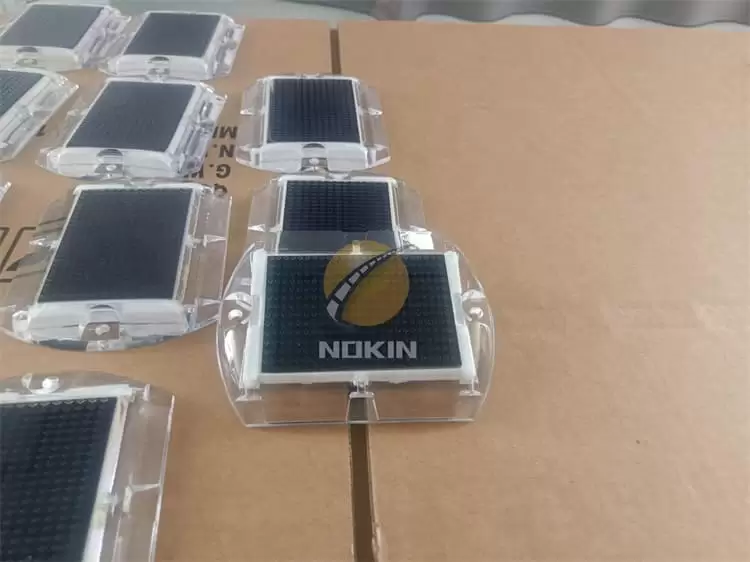
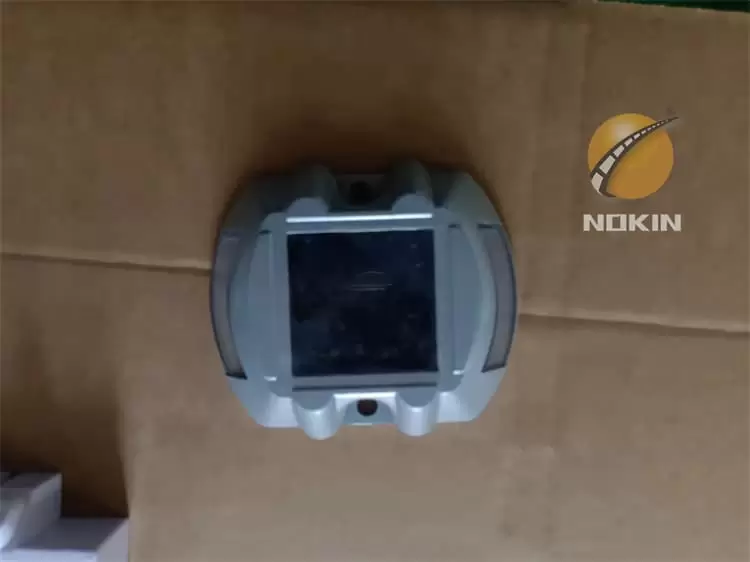
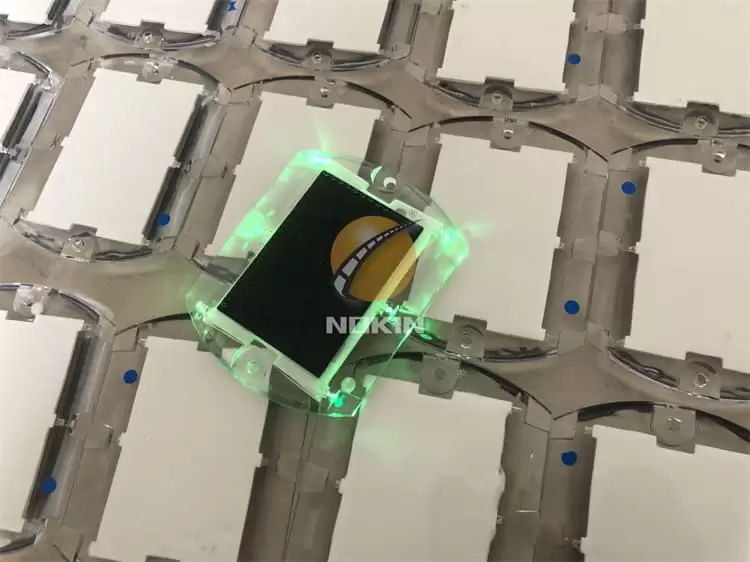
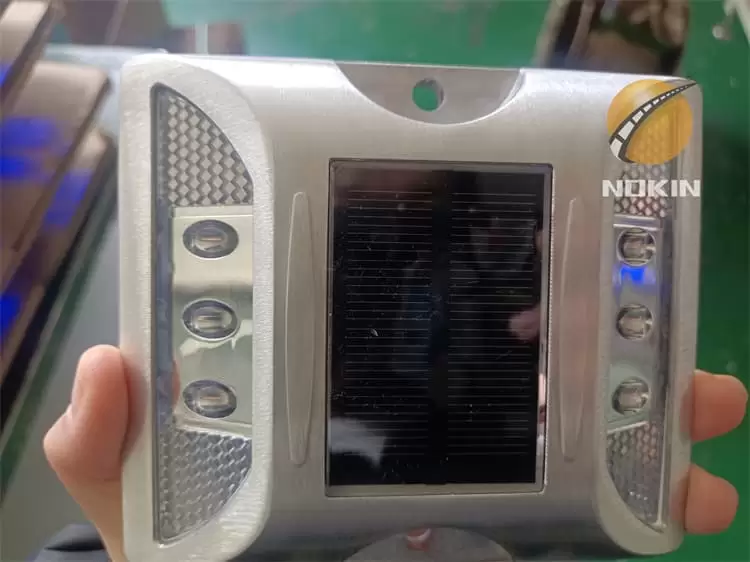
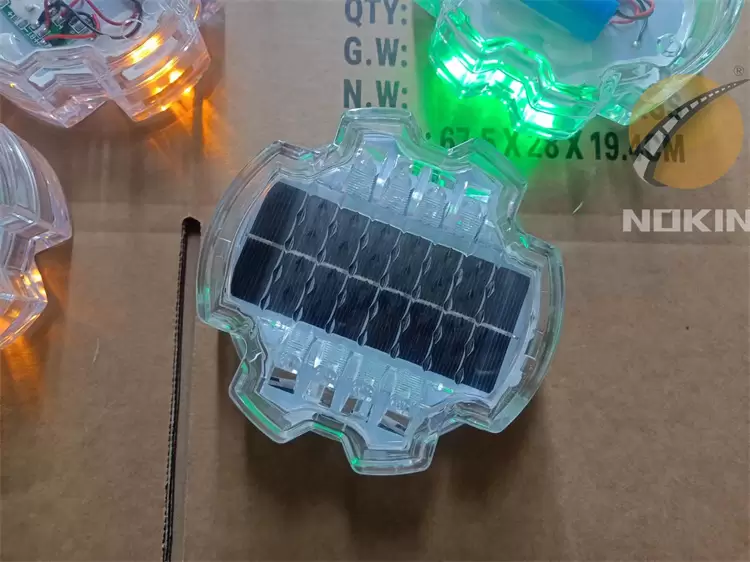
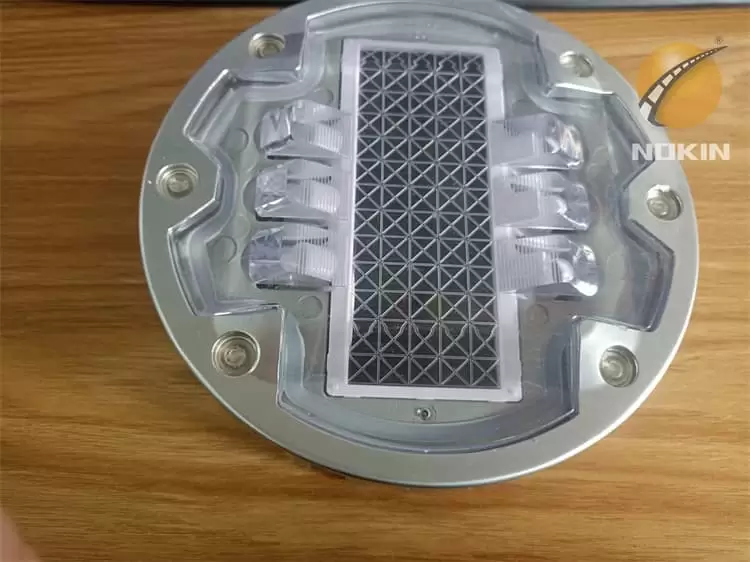
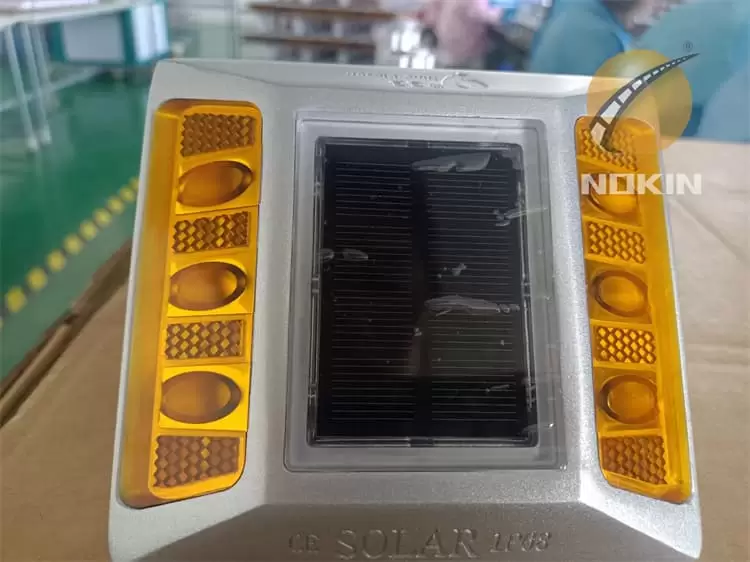
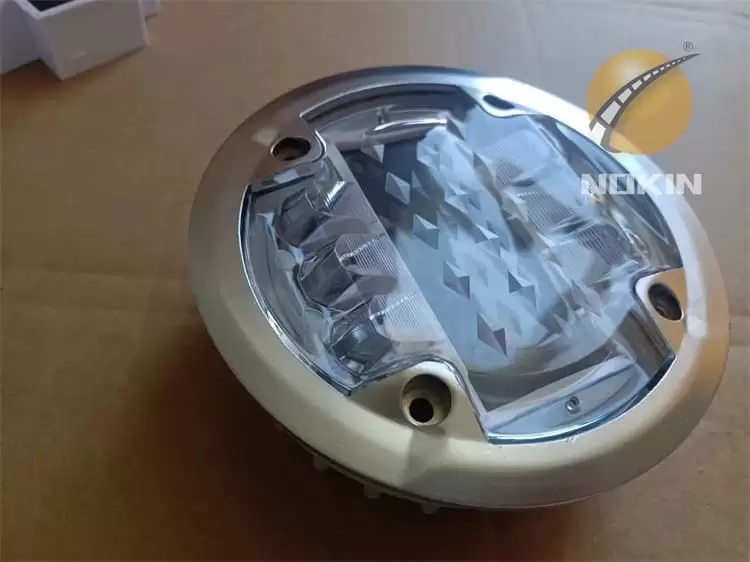
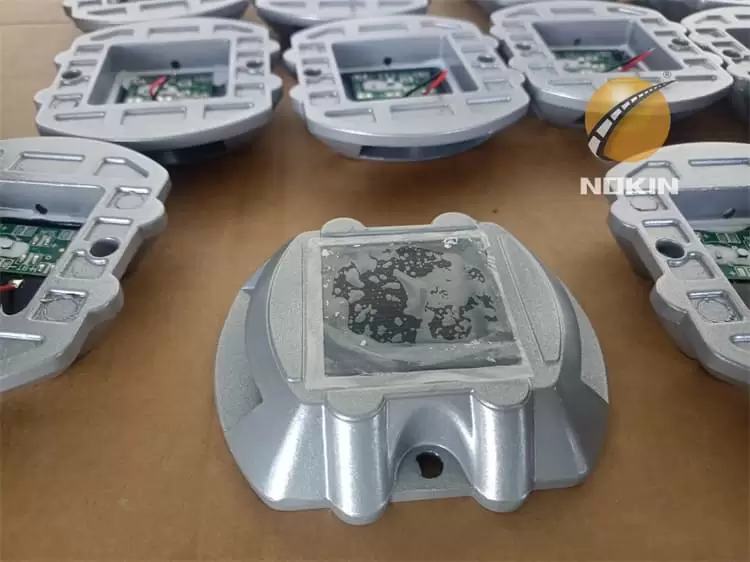
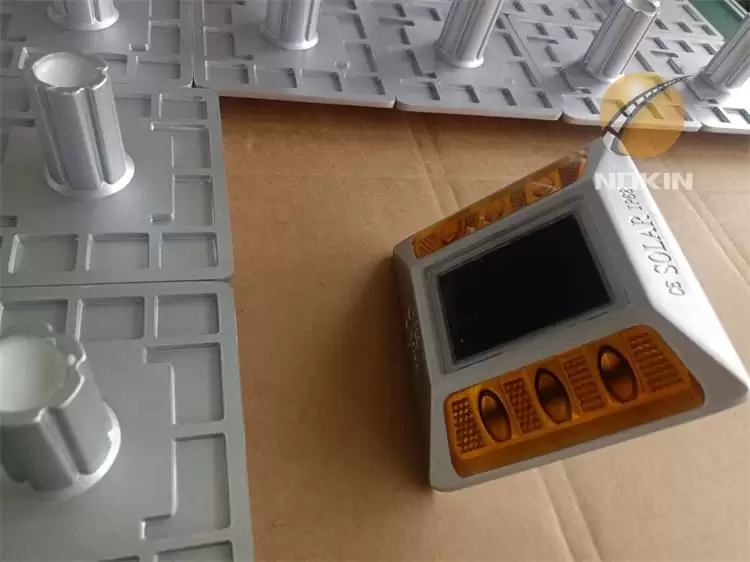
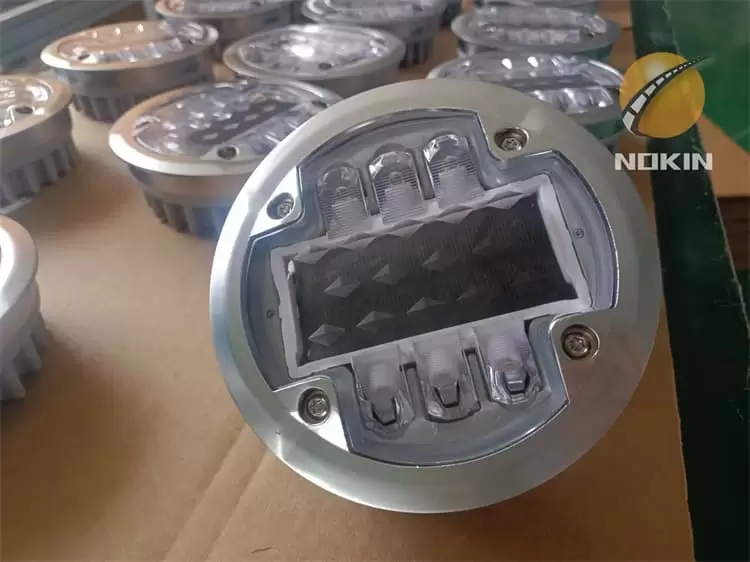
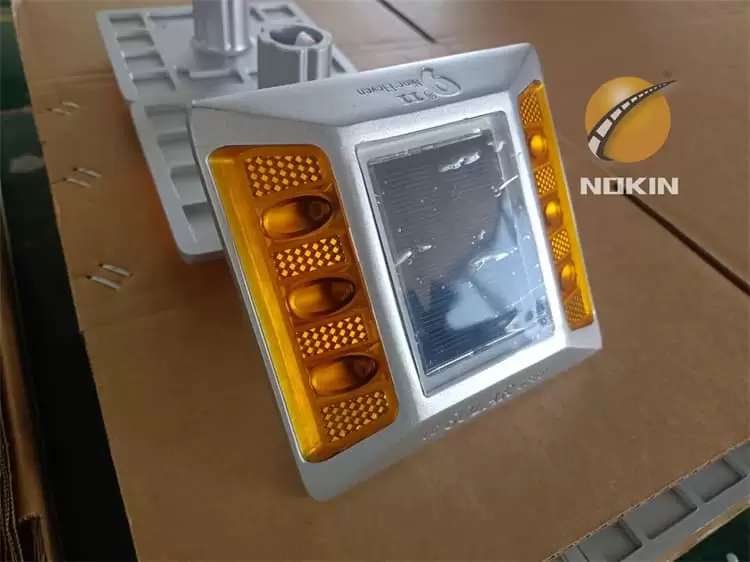
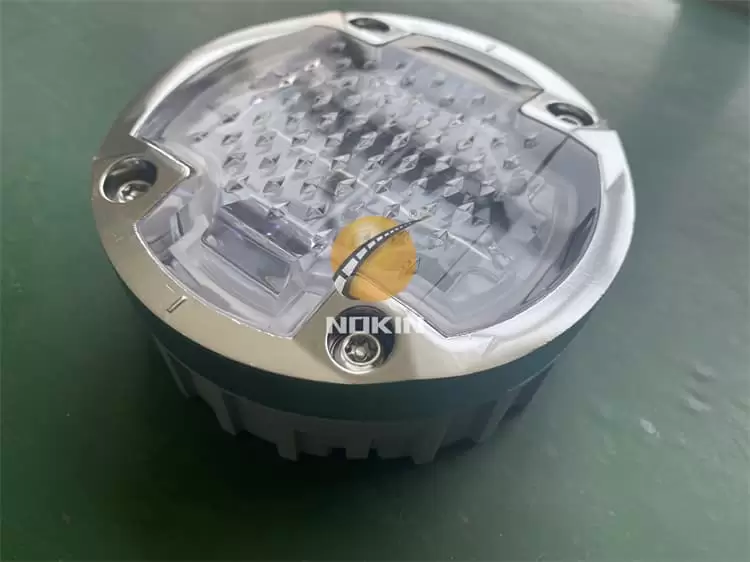
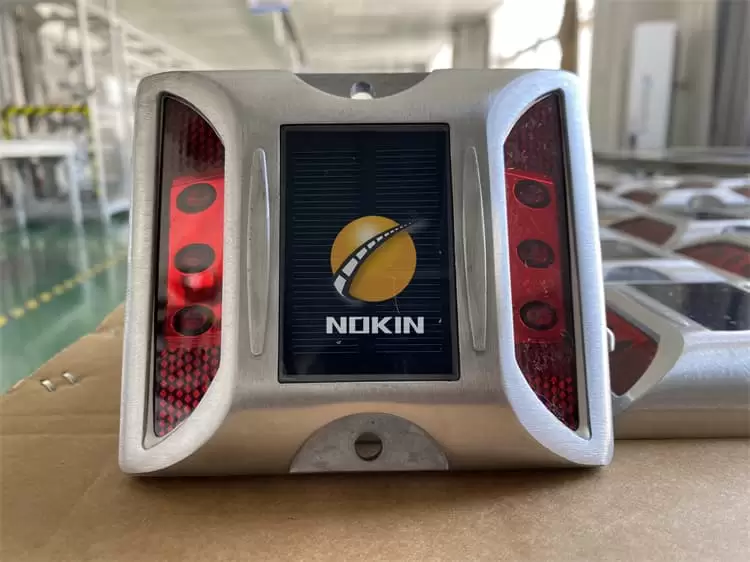
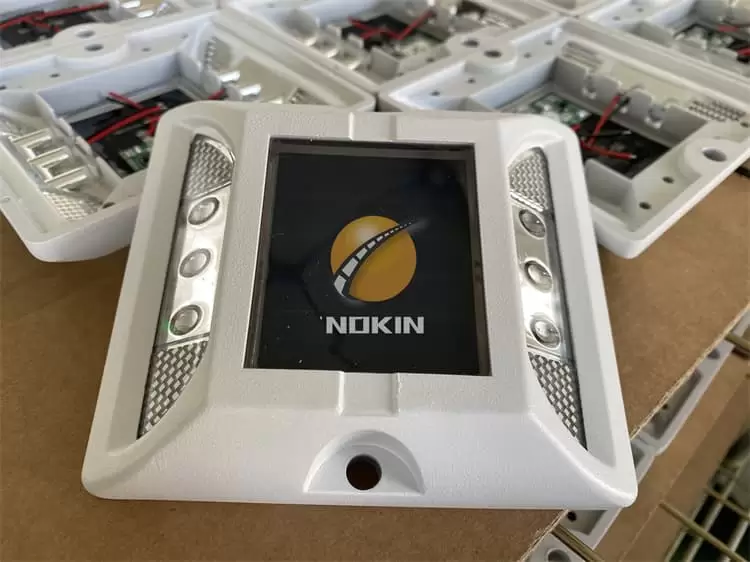
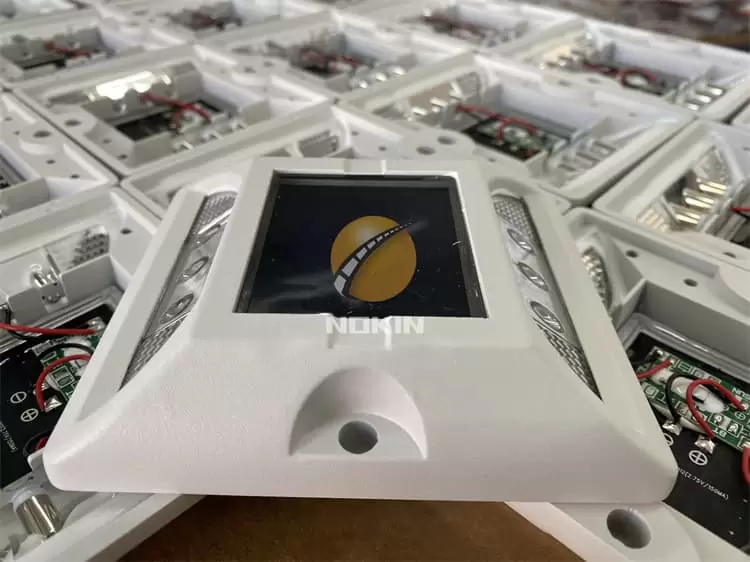
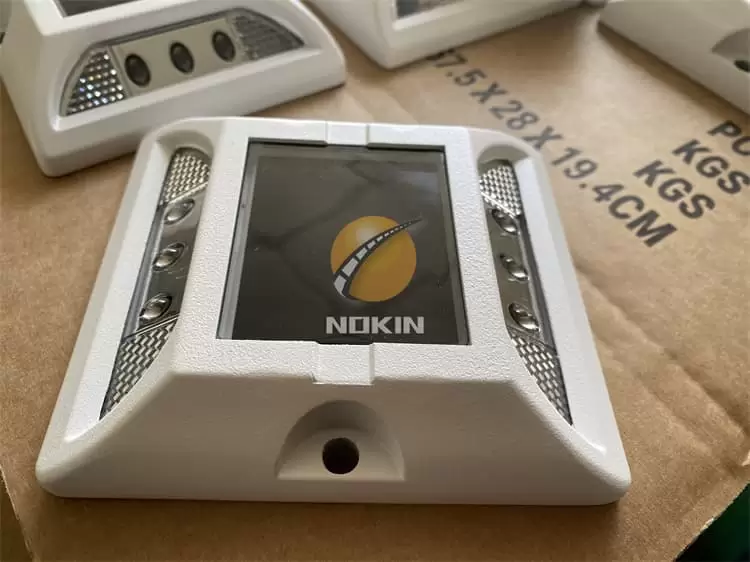
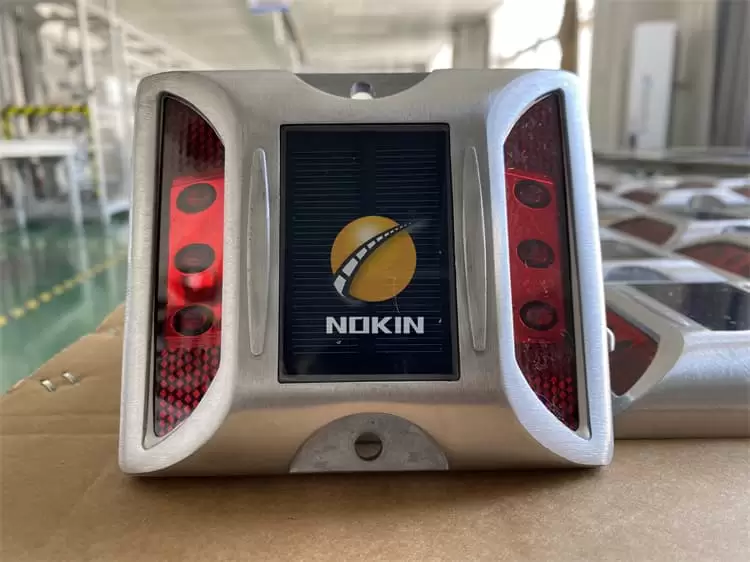
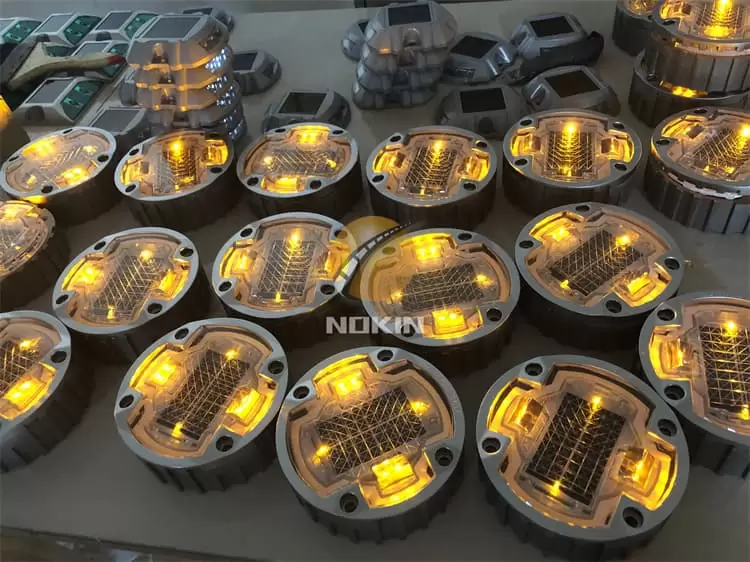
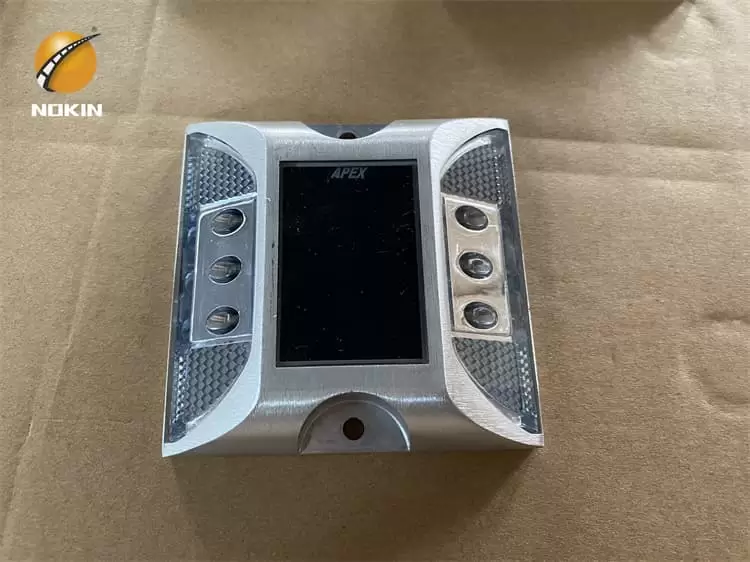
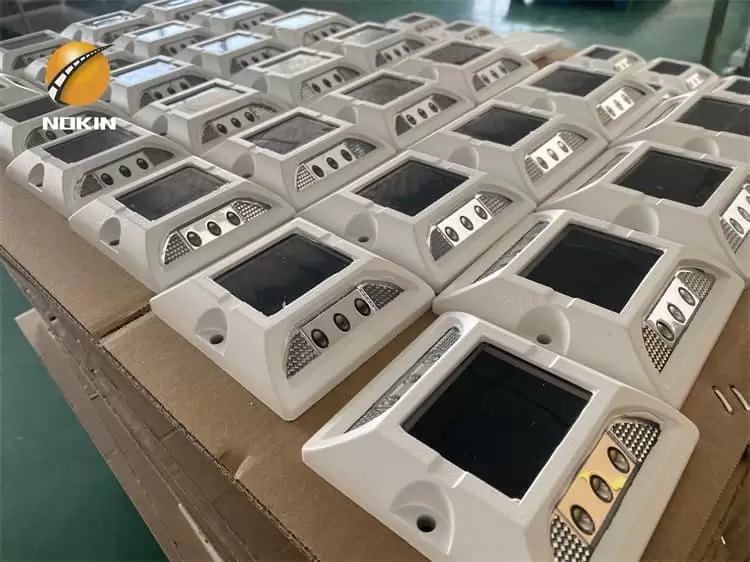
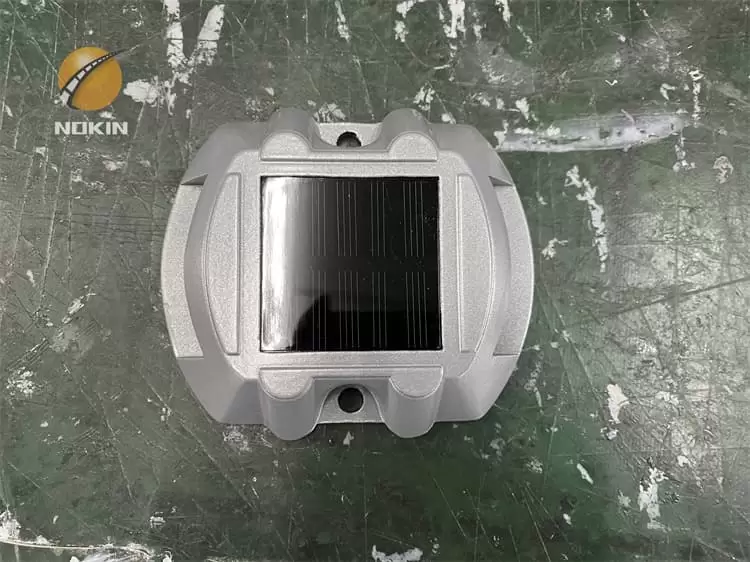
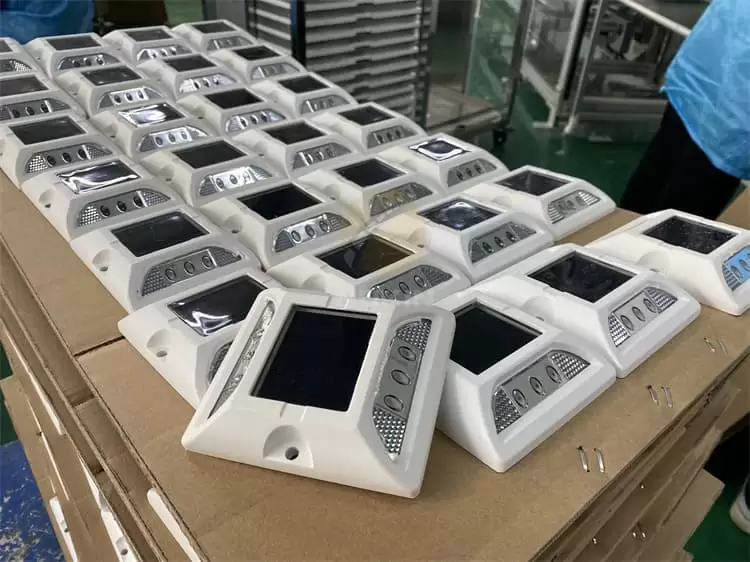
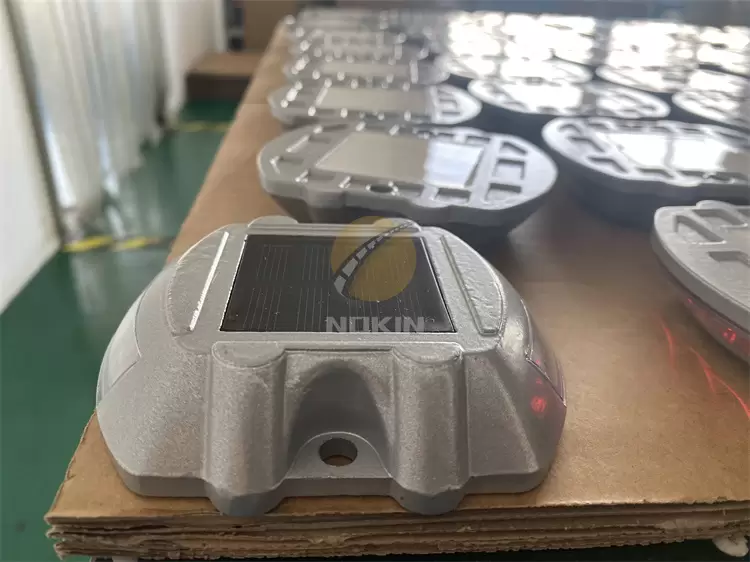
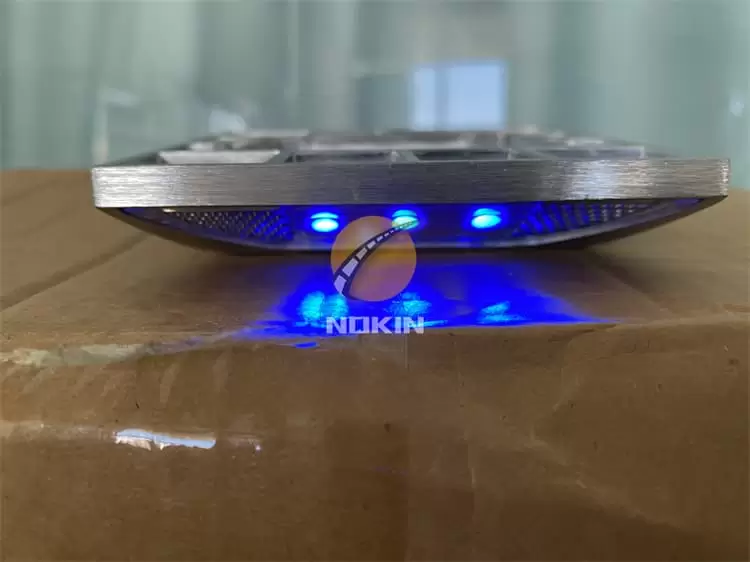
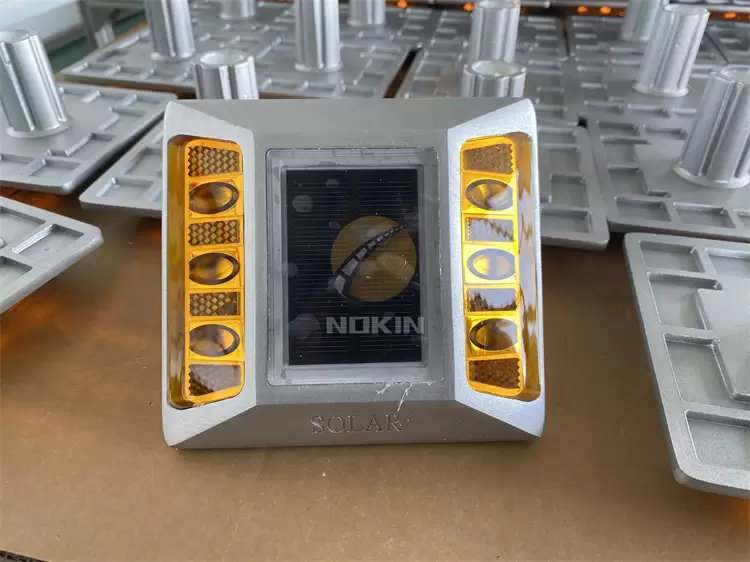
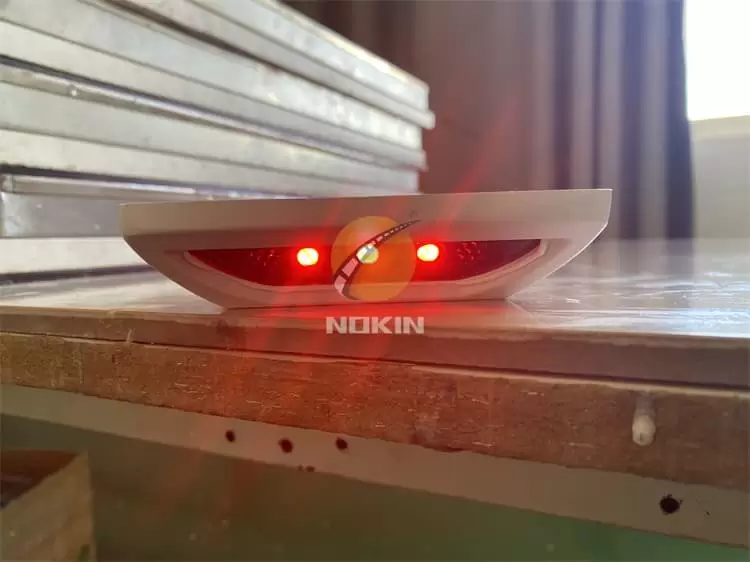
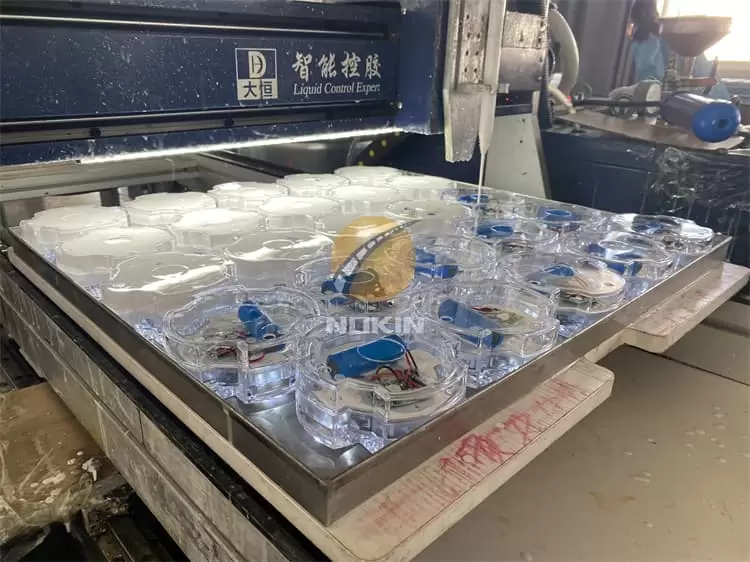
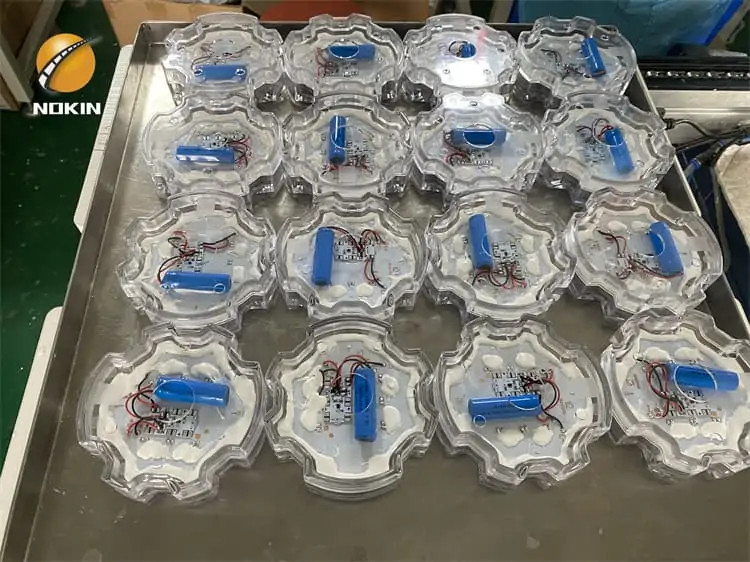
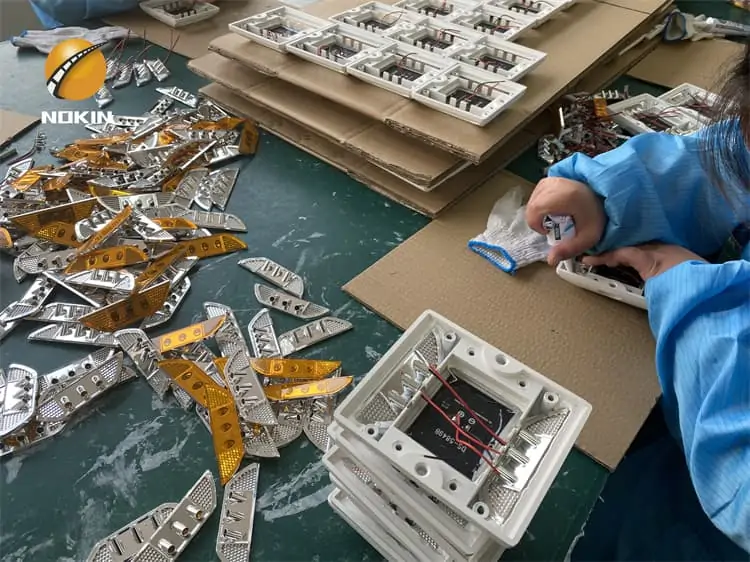
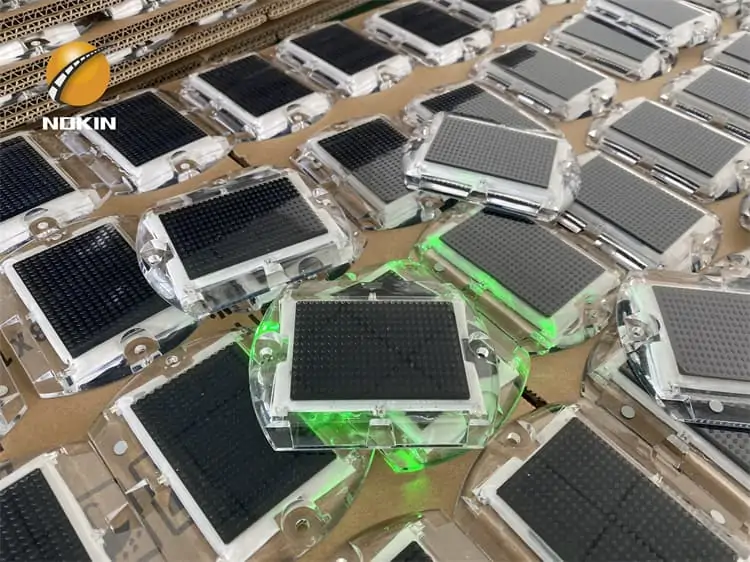
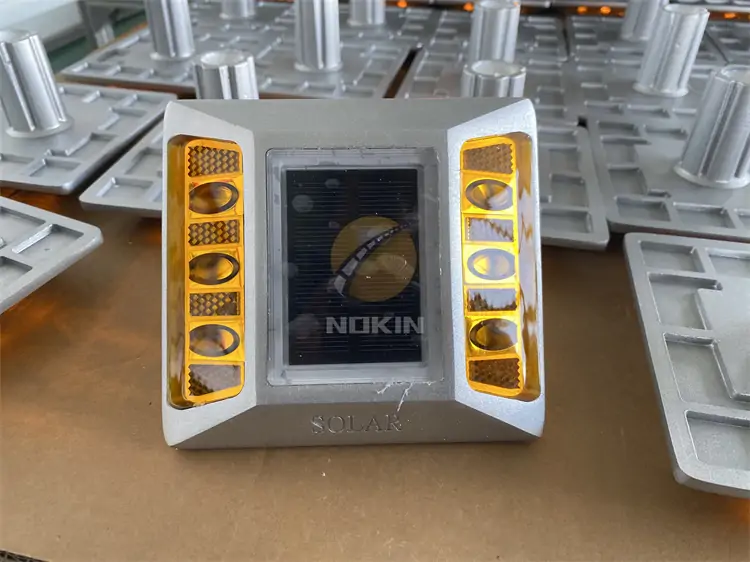
solar led road stud park stainless steel
Installation
Solar road stud installation is not a complicated matter, but there are many details that require attention. These details play an important role in ensuring the quality and service life of spike.
1. This is most important, please placed in isolation facilities installation safety first, then everyone should be in the safe facility when installing.
2. Determine the installing location. To ensure the installing location is smooth, should level scalable, craks, uneven pavement first, also please be sure the solar panel is being shined by sunlight .
3. To ensure the installing location dry, should clean up it with the brush,
4. Evenly apply appropriate glue on the spike;
5. Firmly press the spike on the installation location with right direction, if the glue is more, please must clean it up;
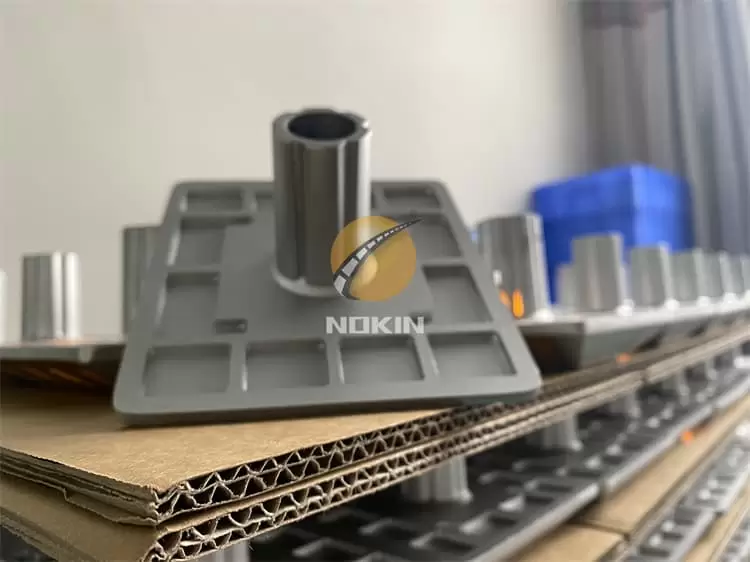
6. If it is aluminum alloy with pillar, the hole depth must be 1cm deeper than the pillar, hole diameter must be 2mm larger than pillar diameter.
7. After installing, please check it every 2h, to ensure that all the spikes are installed at the right direction and good condition.
8. After the glue curing for 4 hours, removed installation isolation facilities.

Solar road stud Some of the more common uses of our products on darkened roads include:
Curved roads
Preview upcoming obstructions
Illuminate Stop Signs or other traffic signs and STOP Lines
Narrow bridges
Four-Lane Transitions to Two-Lane
Two-Lane Roadways
Dangerous intersections and
Areas that are hazardous in dark or inclement weather.

ABOUT PRODUCTS
Dark roadways account for a large percentage of accidents and fatalities. Coupled with less-than-ideal conditions, it can be a recipe for disaster. Narrow bridges, two-lane roads, four-lane transitions to two-lane roads and interchange gores are all examples of problem areas on darkened roads that can benefit from NOKIN.
NOKIN Internally Illuminated Raised and Recessed Pavement Markers (IIRPMs) are ideal on darkened roadways because they:
Require no wiring or electricity- powered by the sun
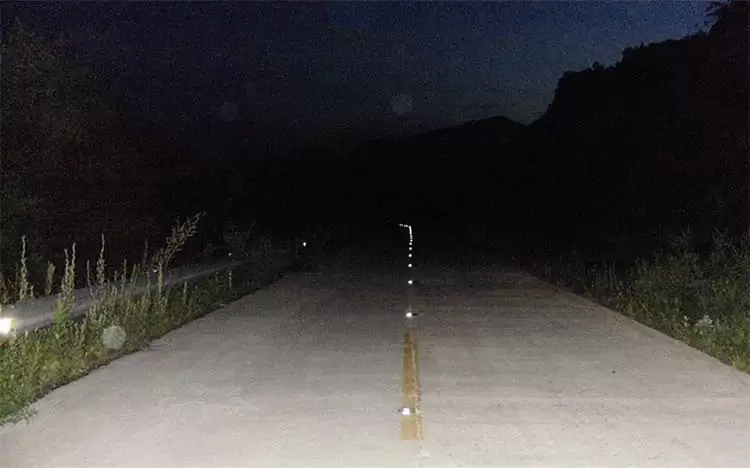
Work well not only for night driving, but overcast, rain, fog and other adverse weather conditions
Act as an additional alert for drivers without being distracting
Work well for traffic channelization and as a traffic calming device
Offer visibility up to ½ mile away
Help delineate lane geometry and curvature of the road
Aid drivers in seeing unexpected road hazards and
Can be more practical than overhead lighting.
Because some drivers are not acquainted with the roads, it’s very important to place the lights carefully. Traffic engineers and the NOKIN professionals can help you determine proper road placement.

Solar road stud Versatile, Low-Maintenace &
Long-Lasting Outdoor Solar Lighting
Today’s roadways have more safety devices than at any other time in history. However, even with these devices, there are more fatalities than ever. Overhead lighting, pavement markings, and chevron signs are all great ways to enhance rural road safety, but there are now even more innovative and effective ways to enhance drivers’ safety, experience and reaction time: NOKIN wireless lighting products.
Made from the high-quality materials and using technology, these Internally Illuminated Recessed/Raised Pavement Markers are designed to save lives for many years to come with little to no maintenance.

Installation
Solar road stud installation is not a complicated matter, but there are many details that require attention. These details play an important role in ensuring the quality and service life of spike.
1. This is most important, please placed in isolation facilities installation safety first, then everyone should be in the safe facility when installing.
2. Determine the installing location. To ensure the installing location is smooth, should level scalable, craks, uneven pavement first, also please be sure the solar panel is being shined by sunlight .
3. To ensure the installing location dry, should clean up it with the brush,
4. Evenly apply appropriate glue on the spike;
5. Firmly press the spike on the installation location with right direction, if the glue is more, please must clean it up;
6. If it is aluminum alloy with pillar, the hole depth must be 1cm deeper than the pillar, hole diameter must be 2mm larger than pillar diameter.
7. After installing, please check it every 2h, to ensure that all the spikes are installed at the right direction and good condition.
8. After the glue curing for 4 hours, removed installation isolation facilities.


