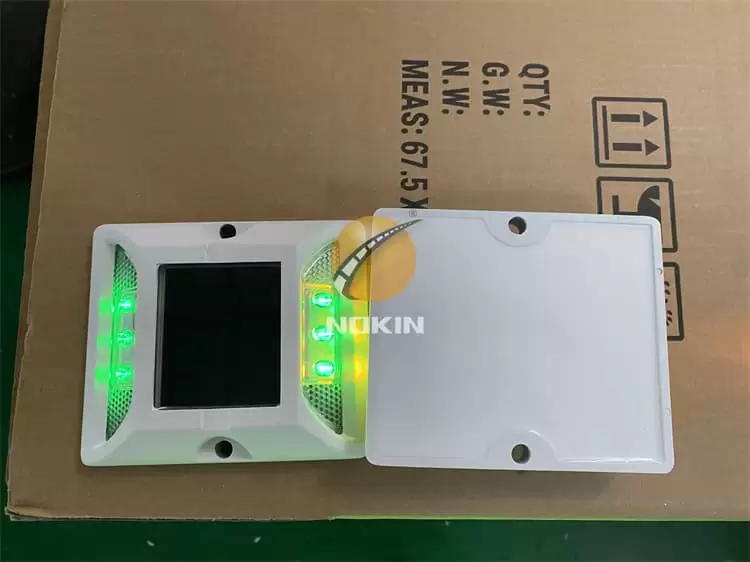
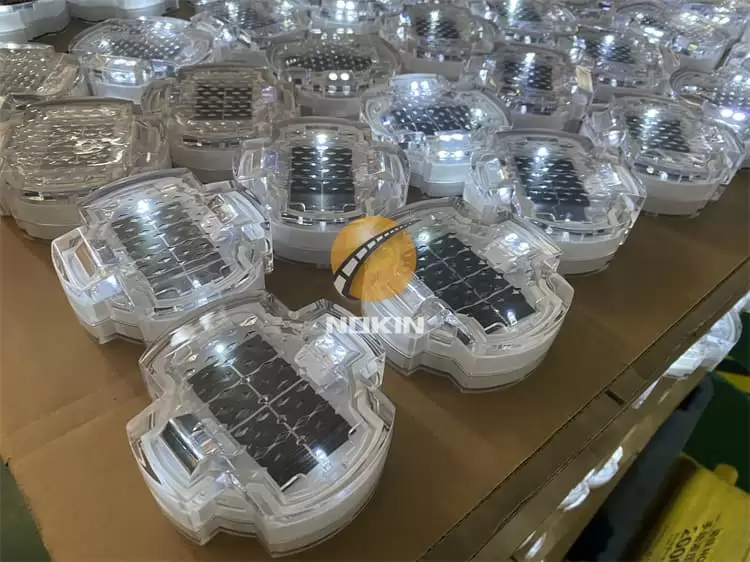
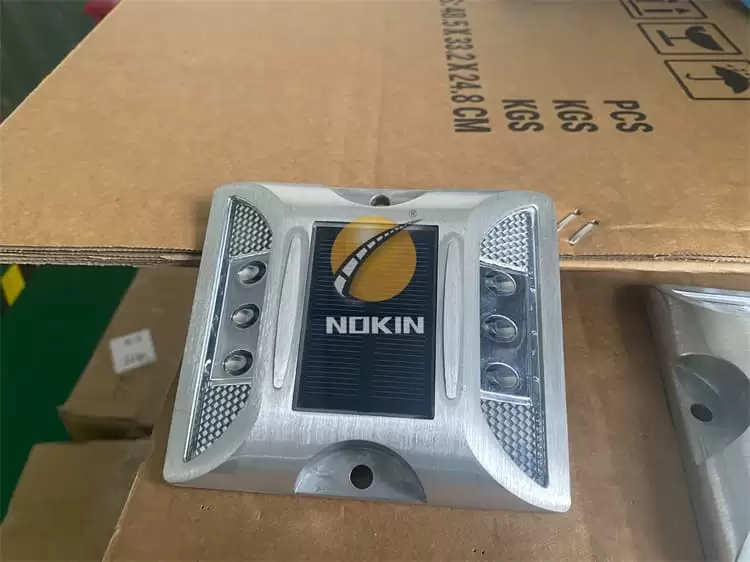
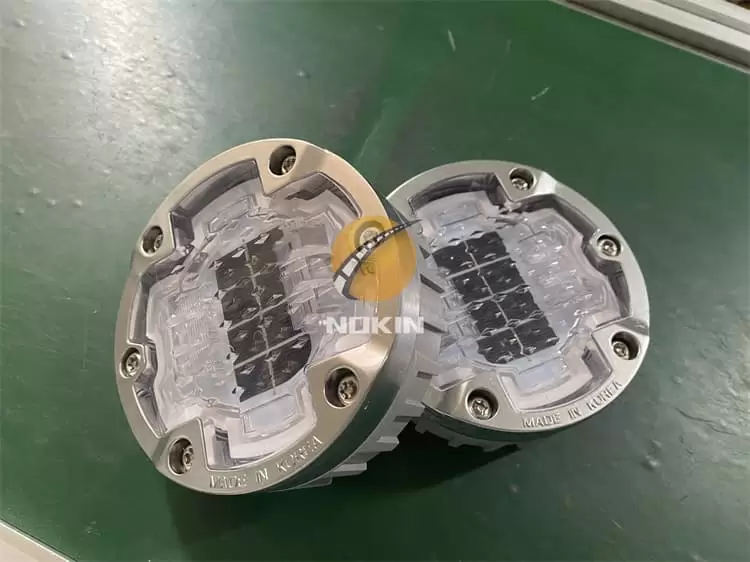
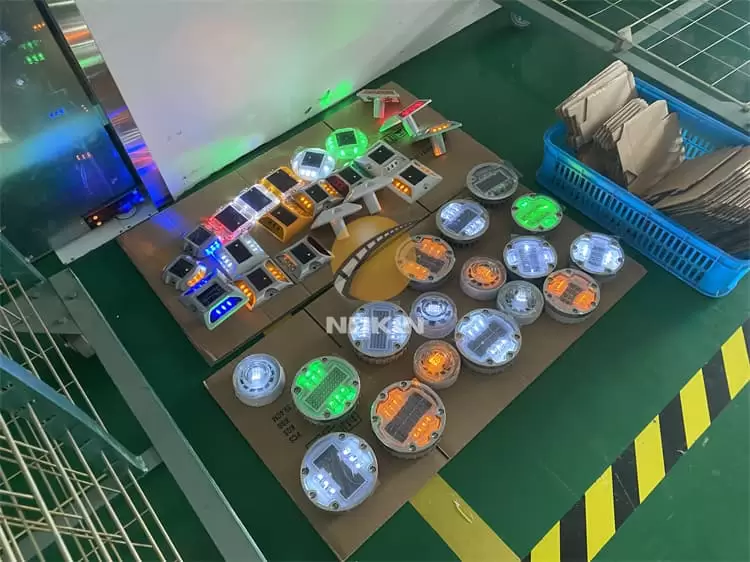
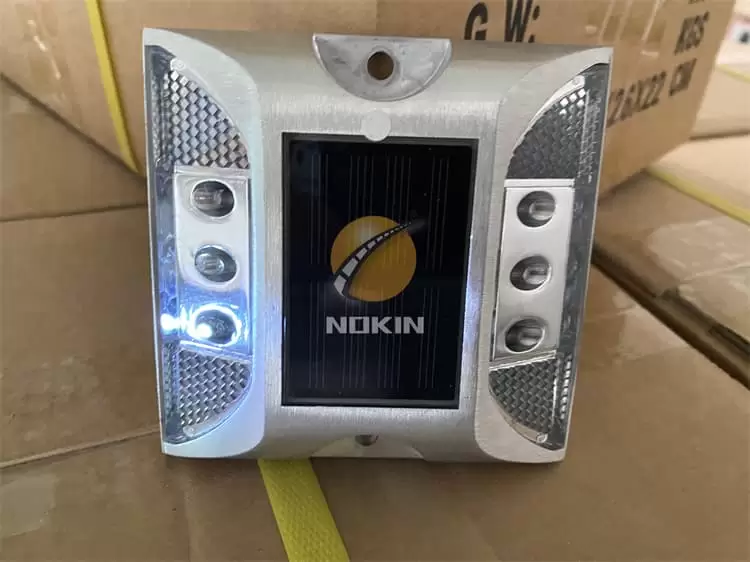
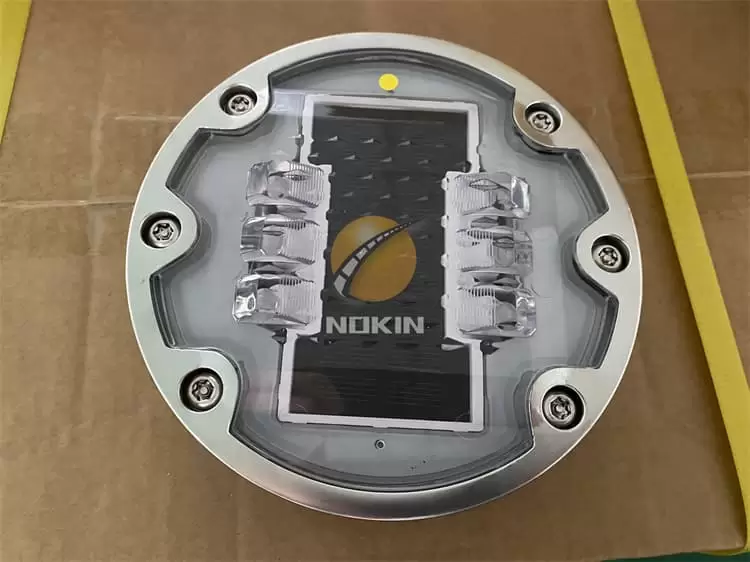
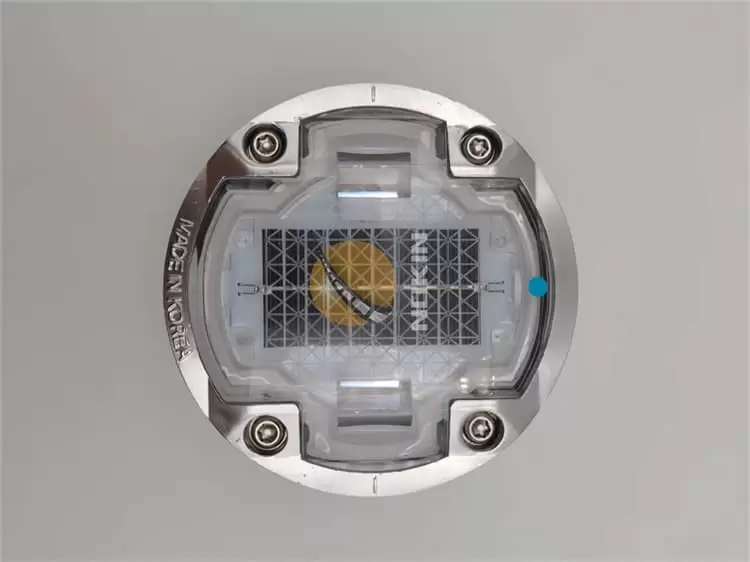
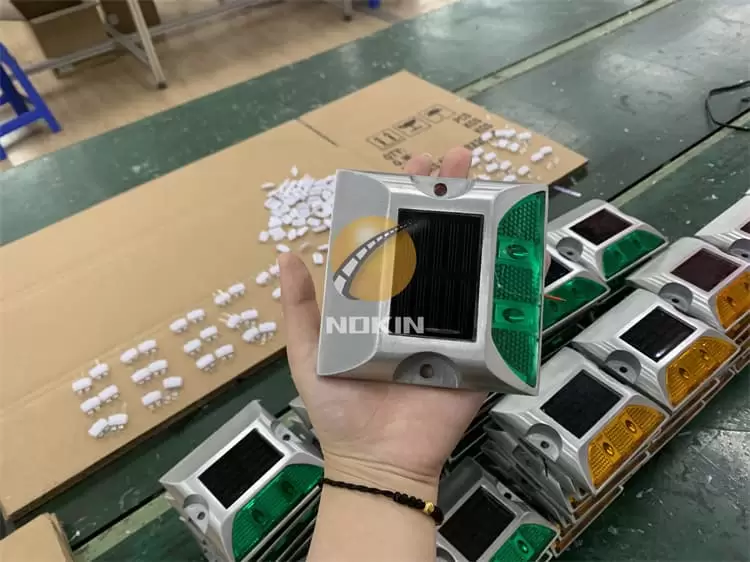
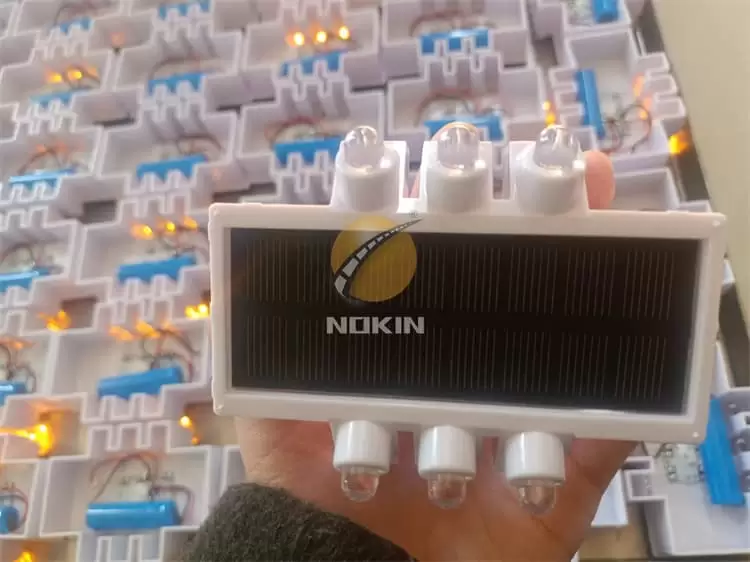
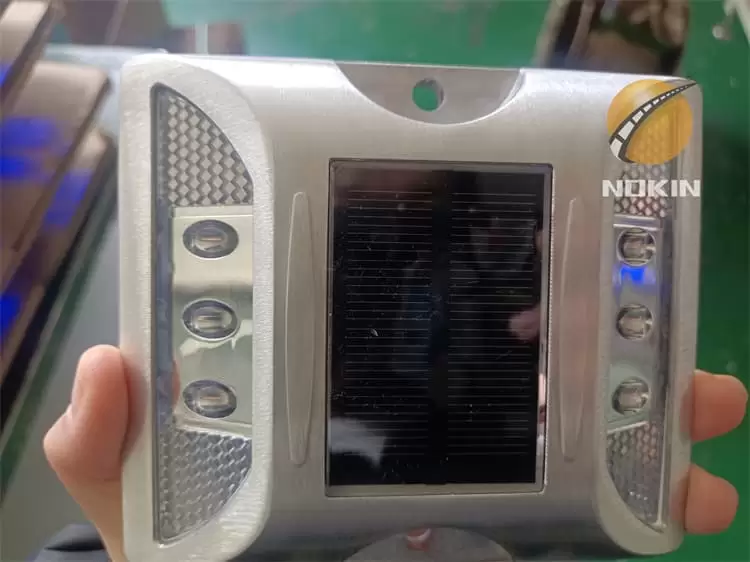
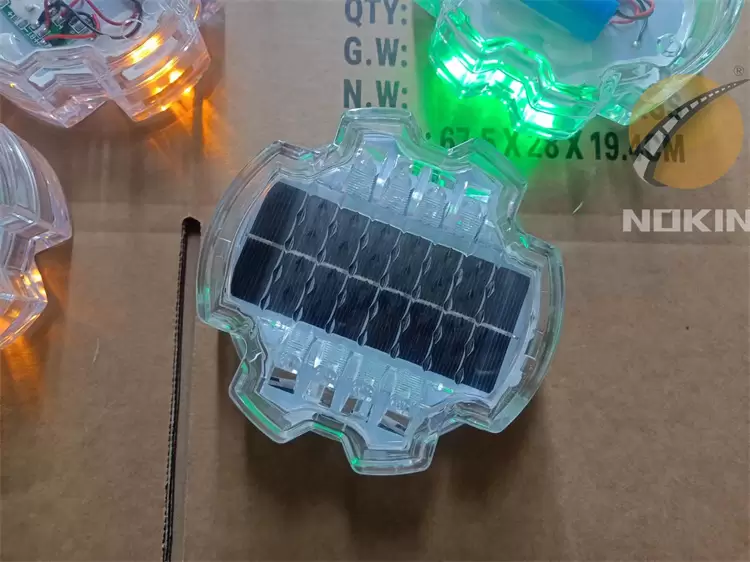
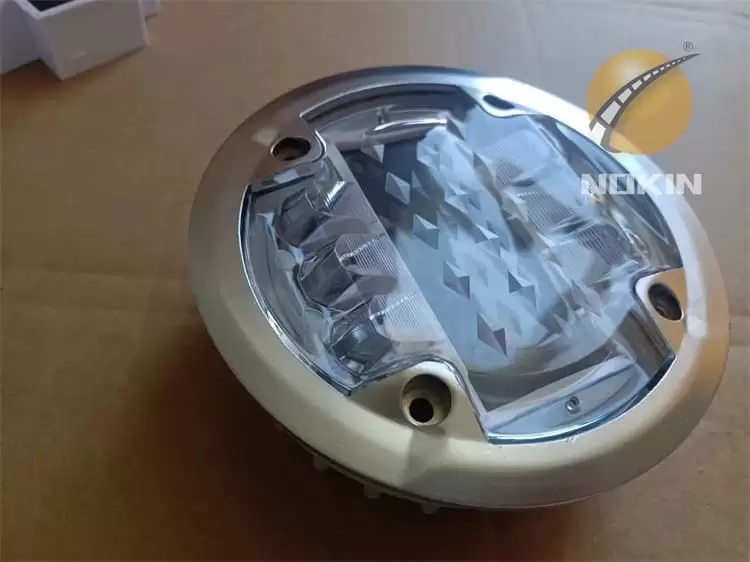
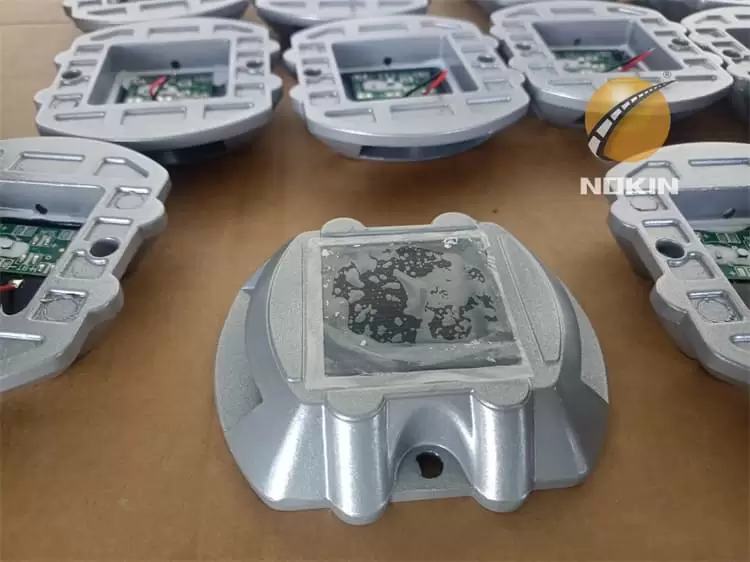
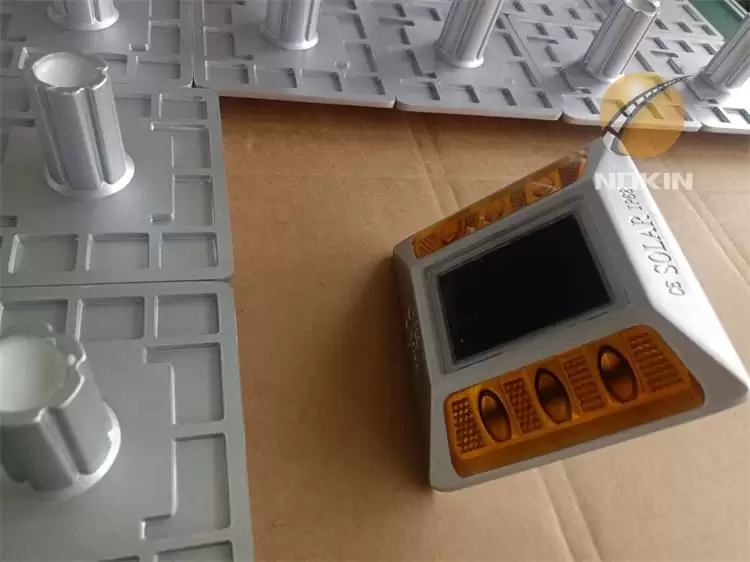
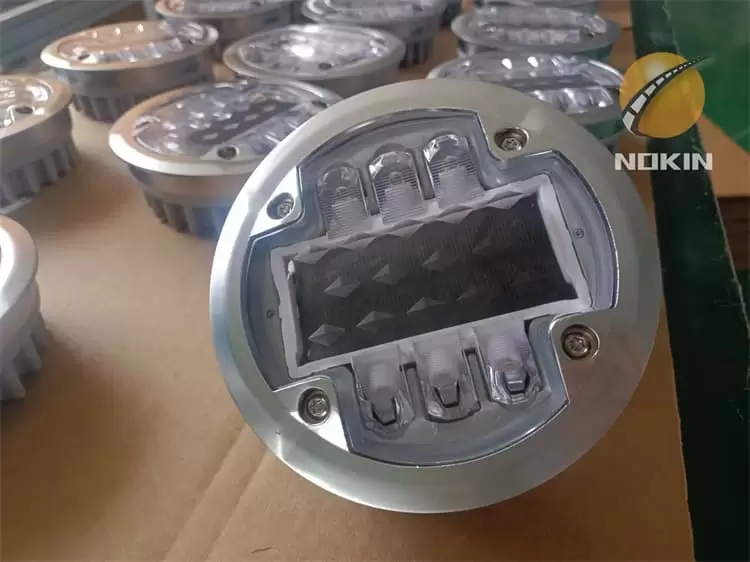
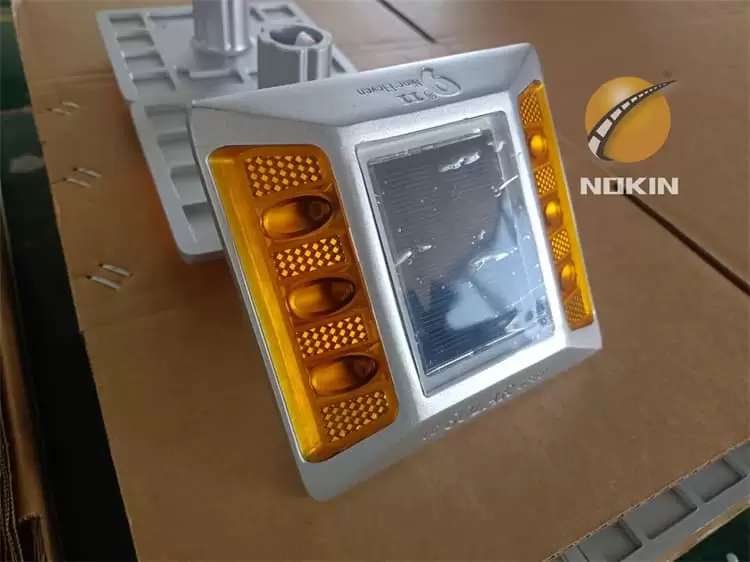
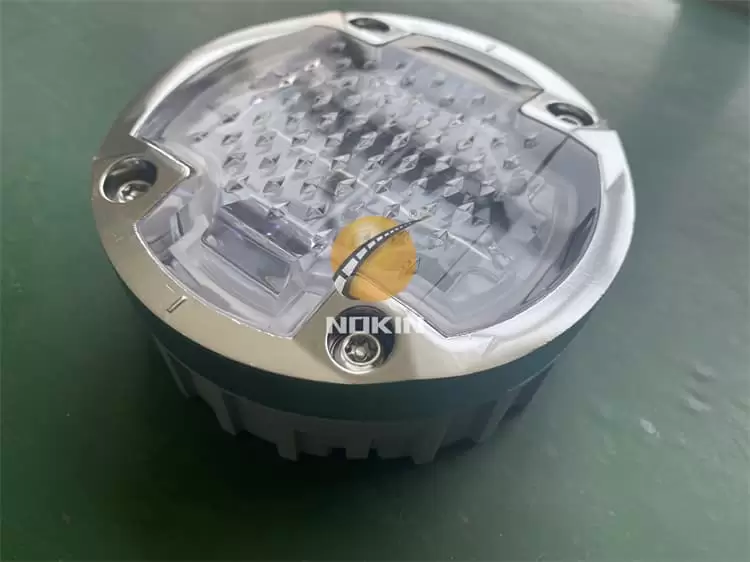
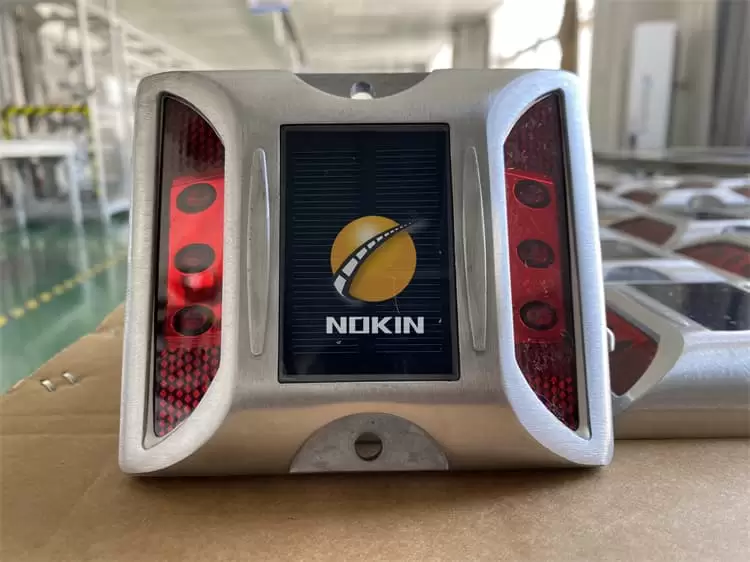
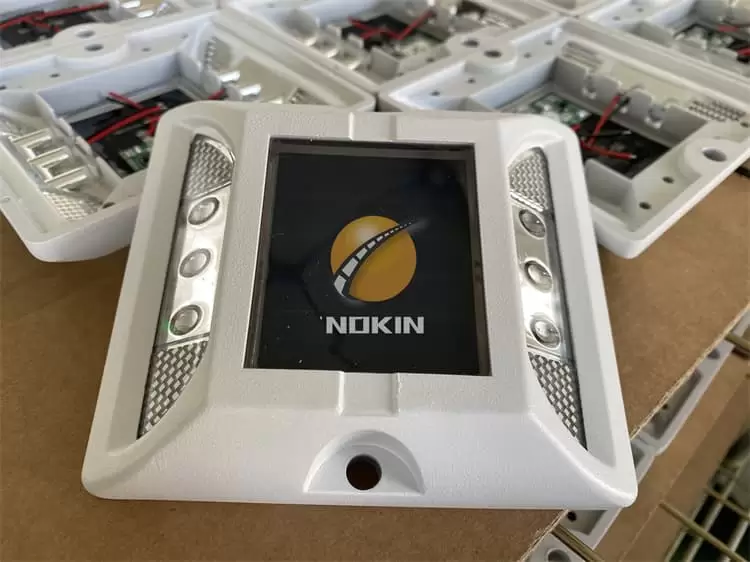
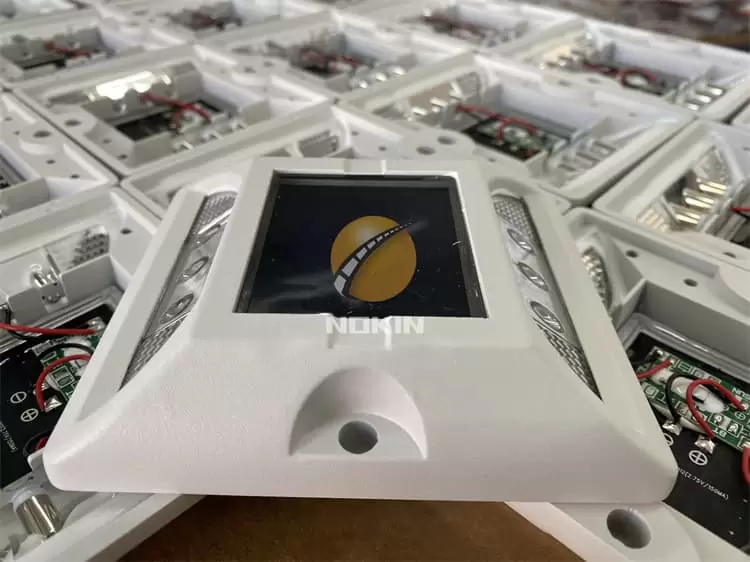
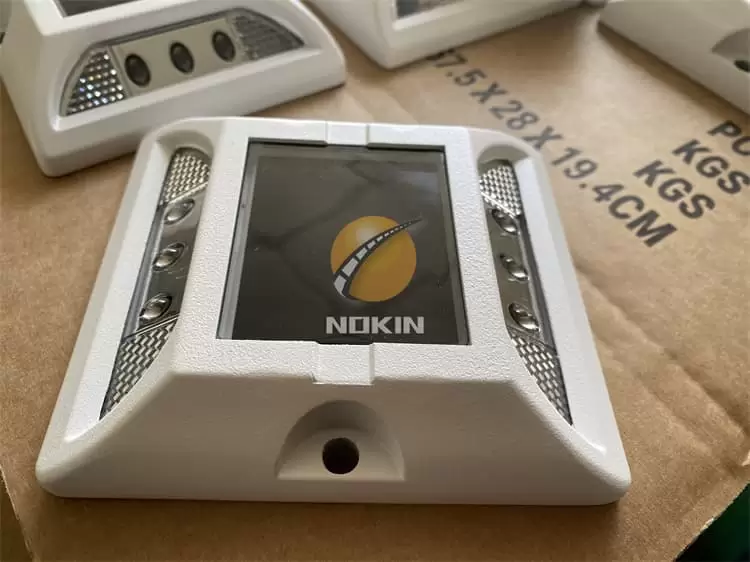
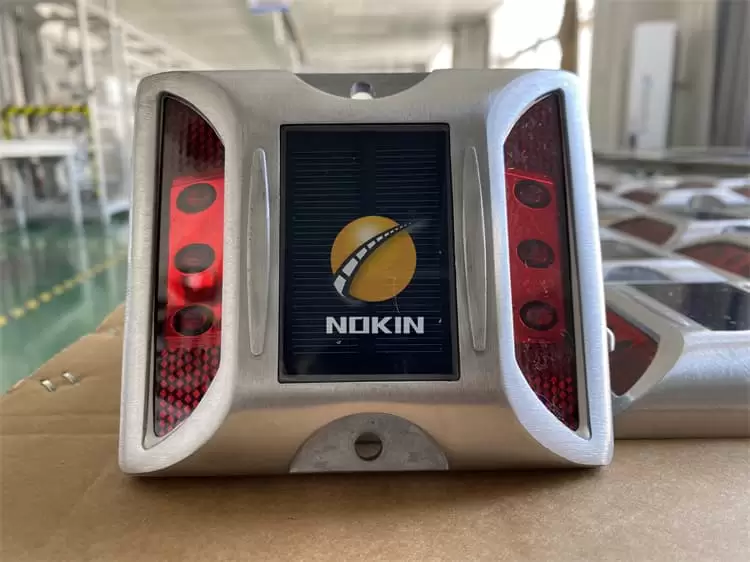
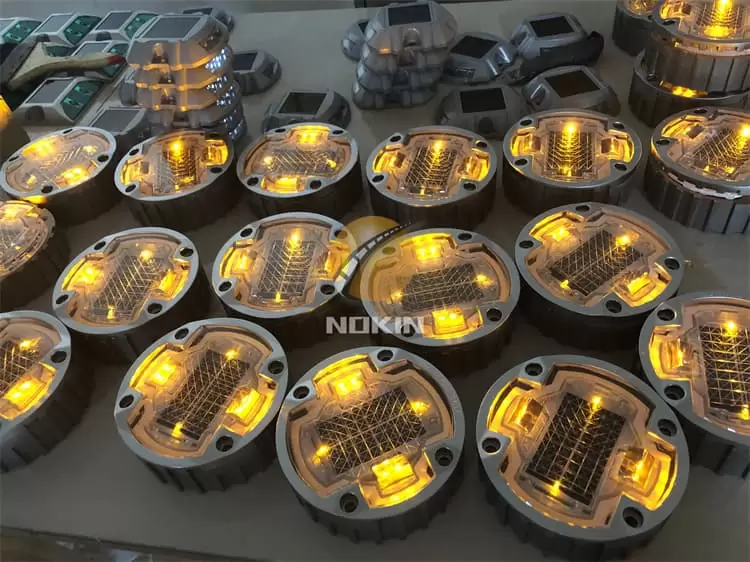
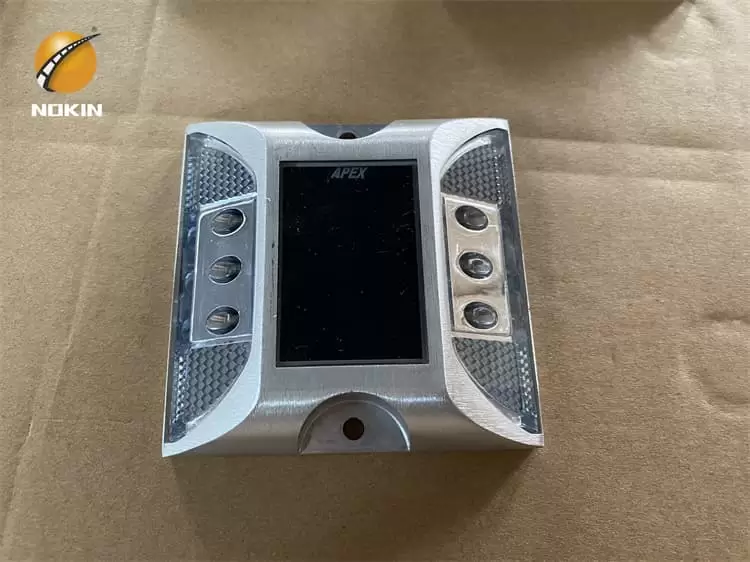
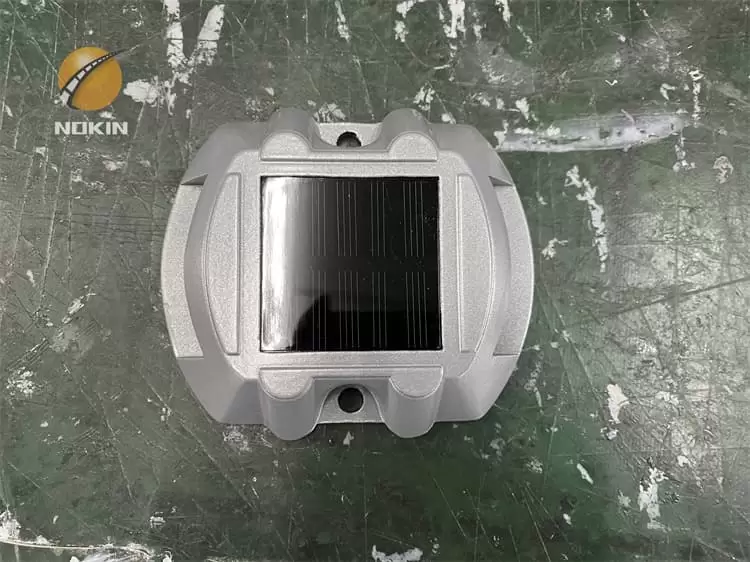
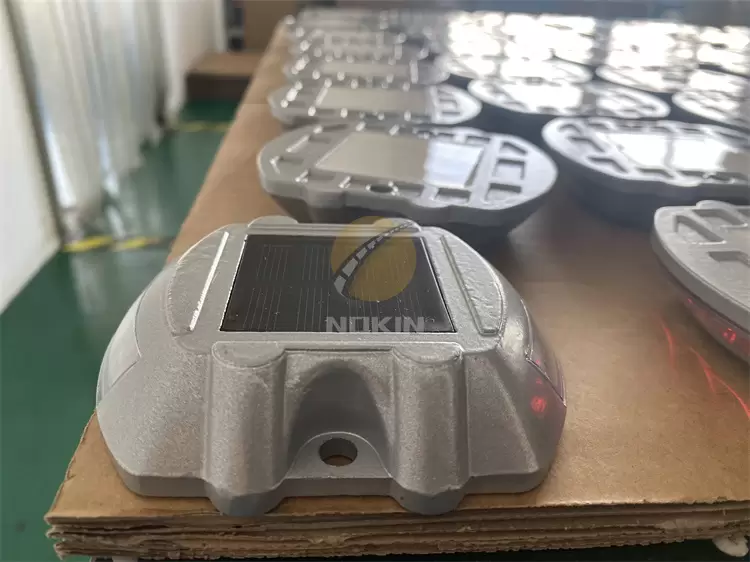
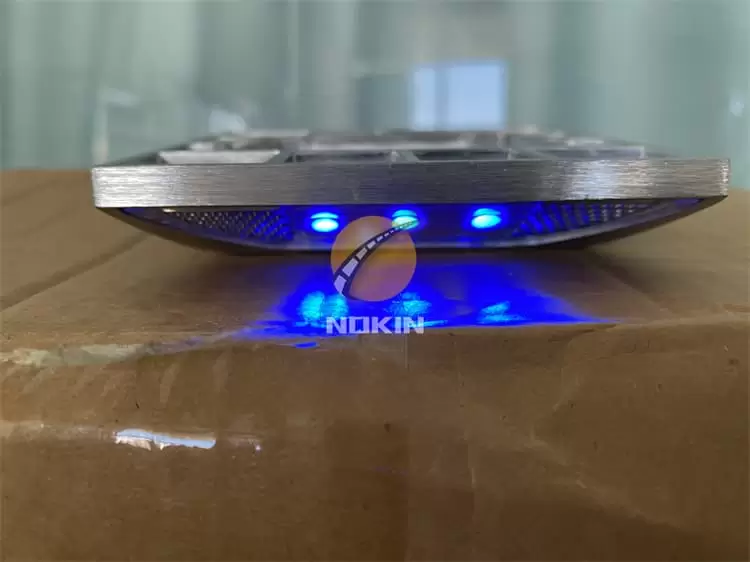
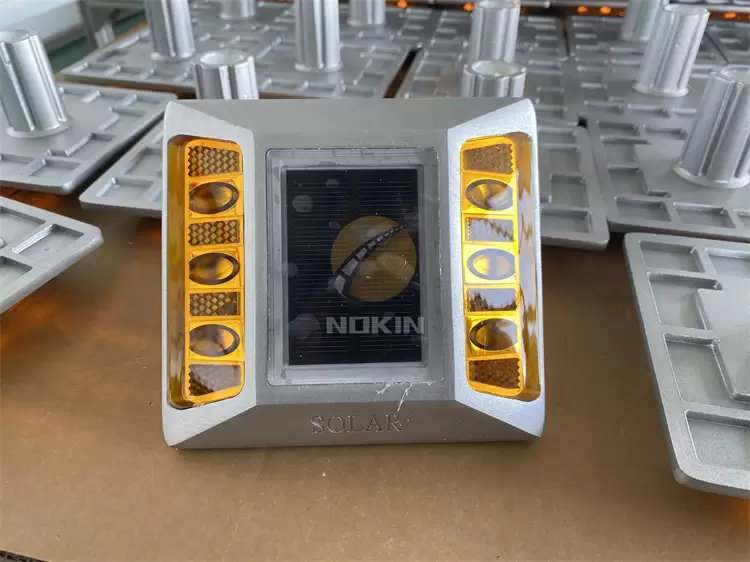
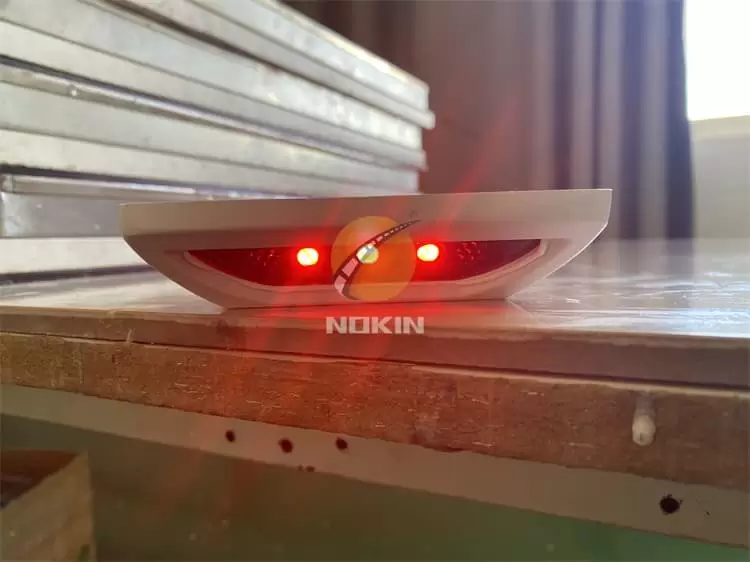
Solar Road Stud Light with Fast Charge Rate
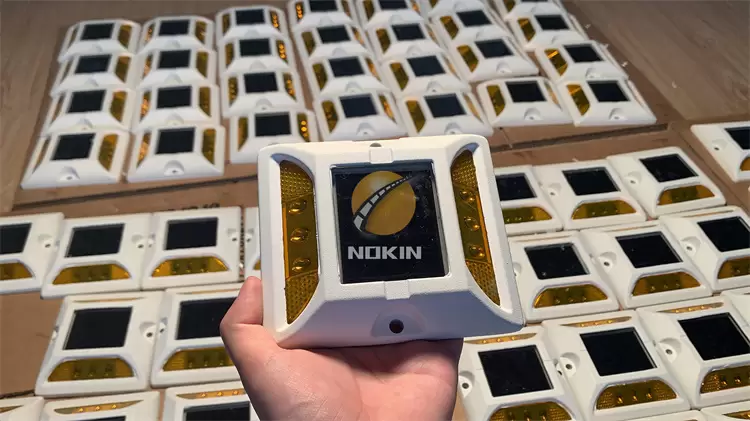
Shenzhen Nokin Traffic Facility Co. Ltd. was established in 2001 and is a national high-tech enterprise specializing in the research, development, production, and marketing of solar LED traffic safety products.
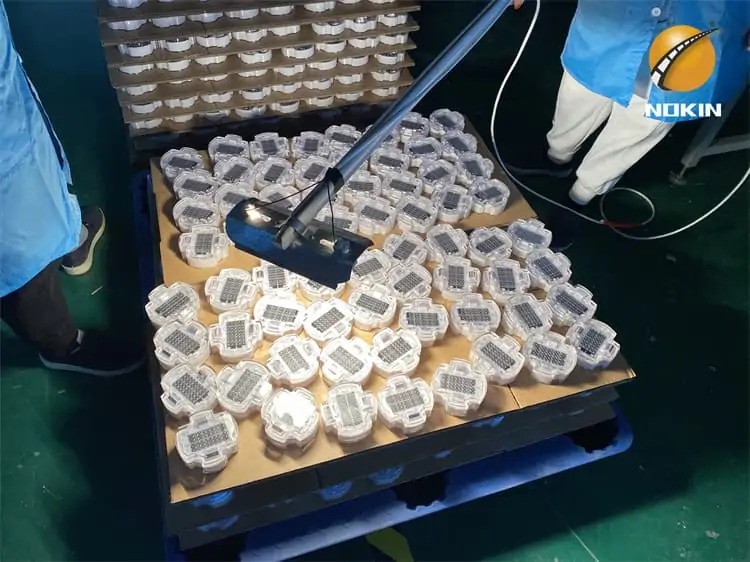
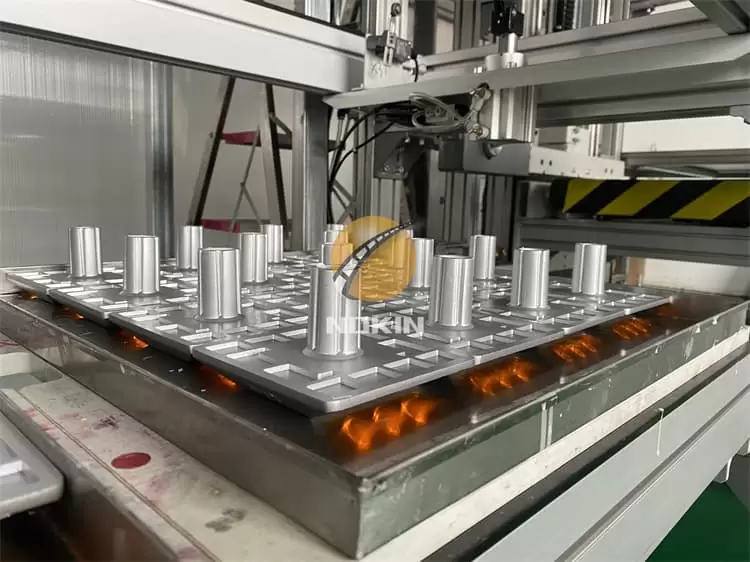
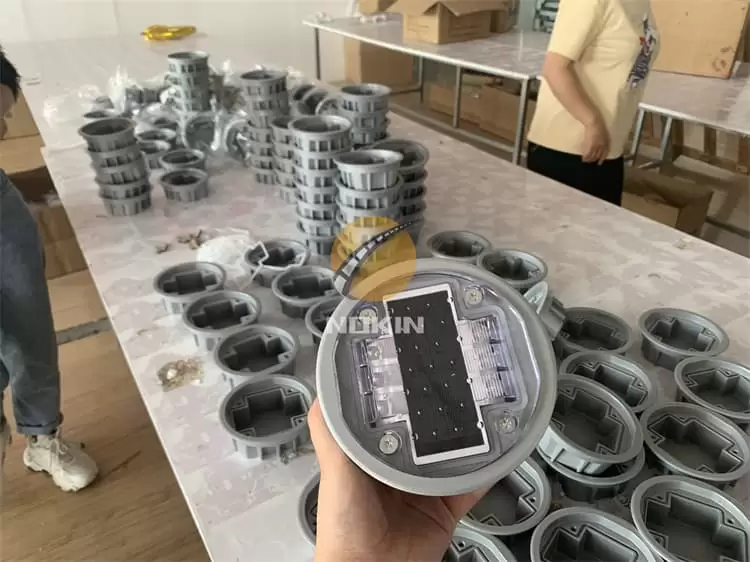
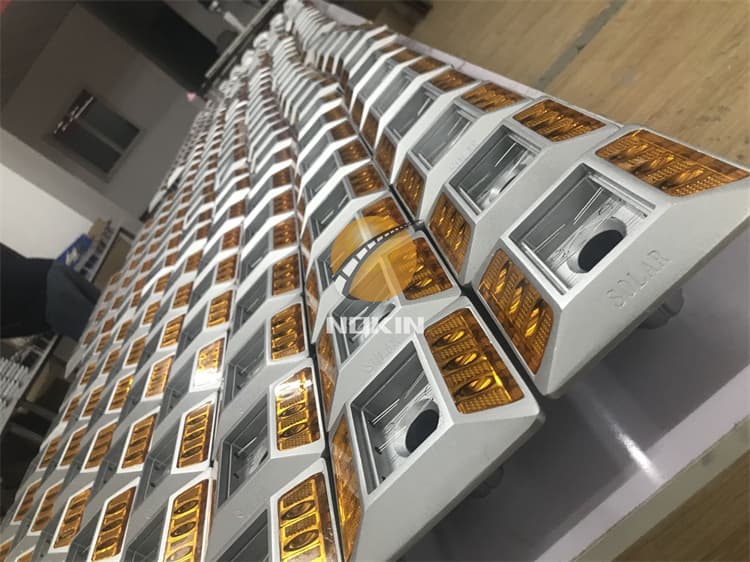
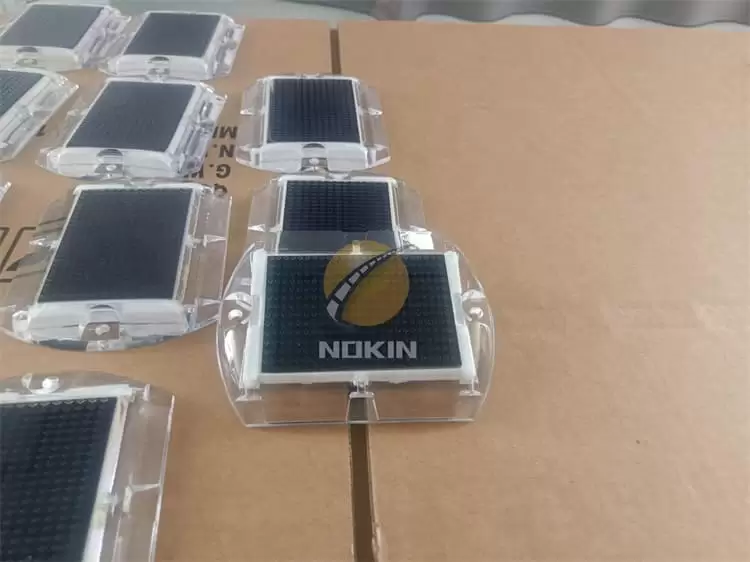
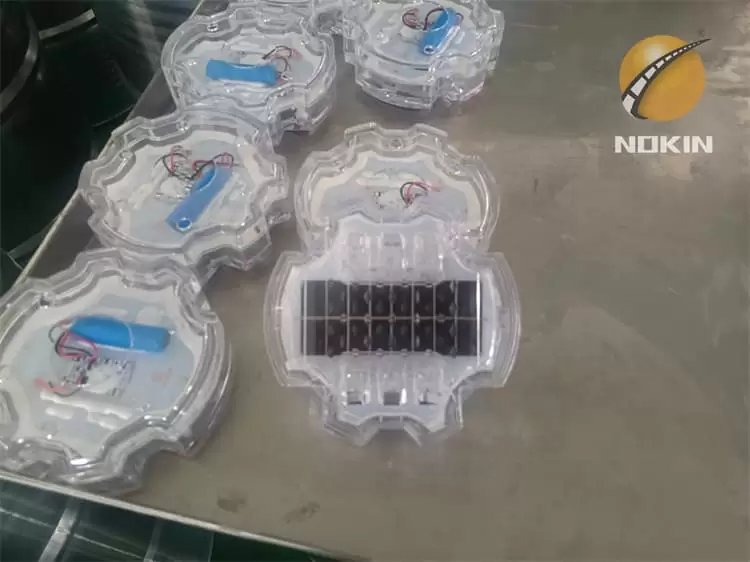
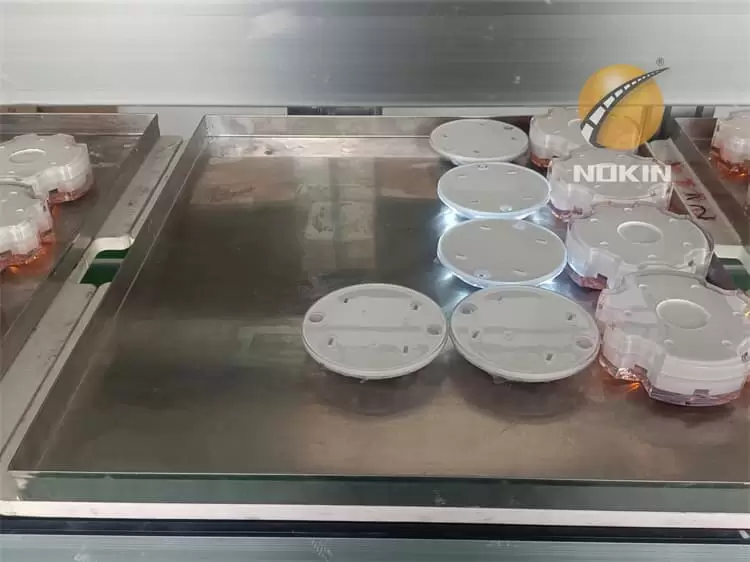
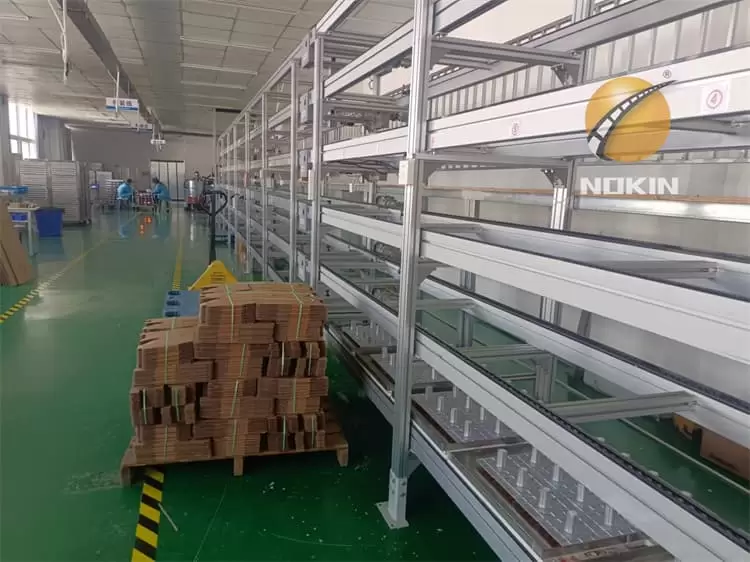
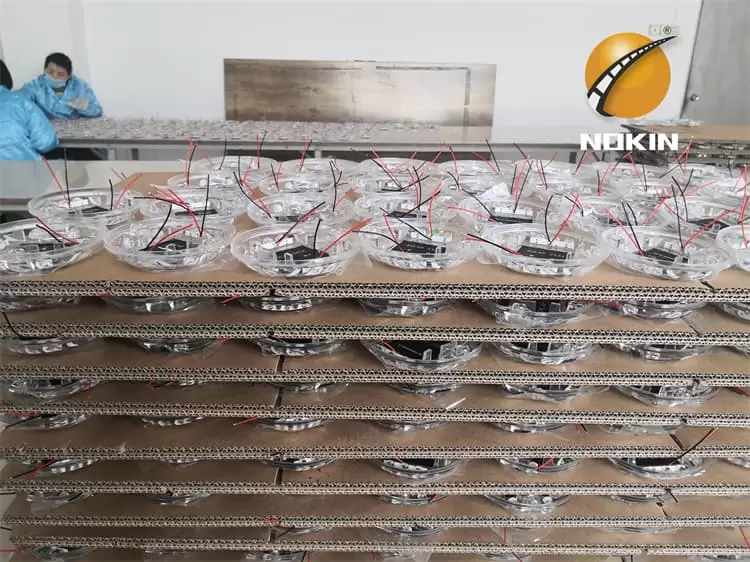
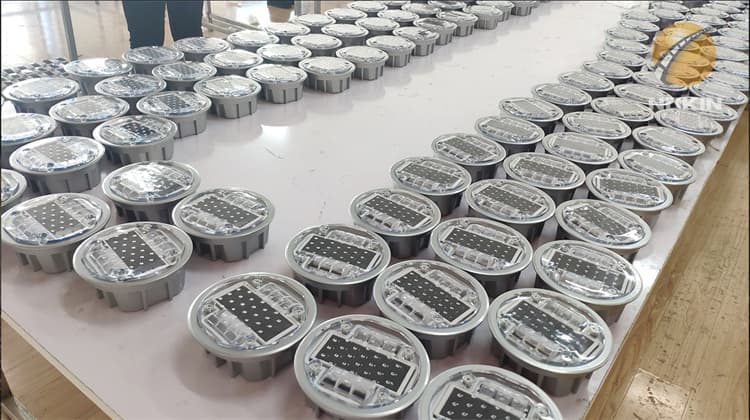
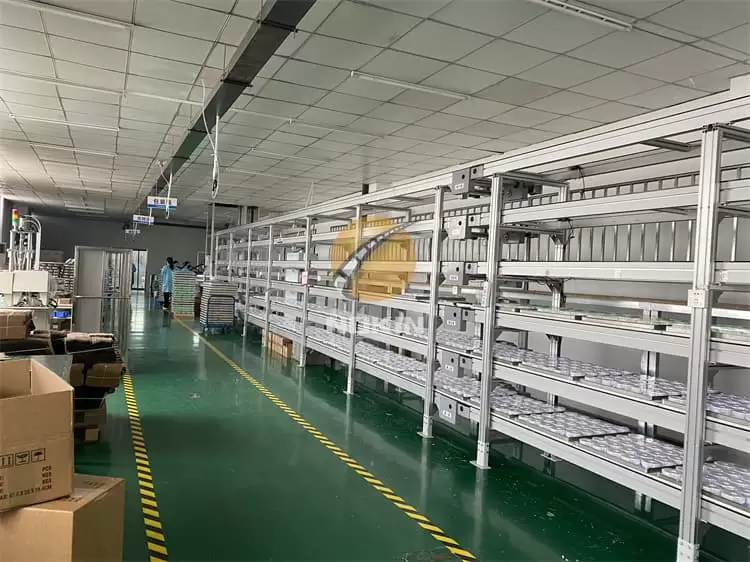
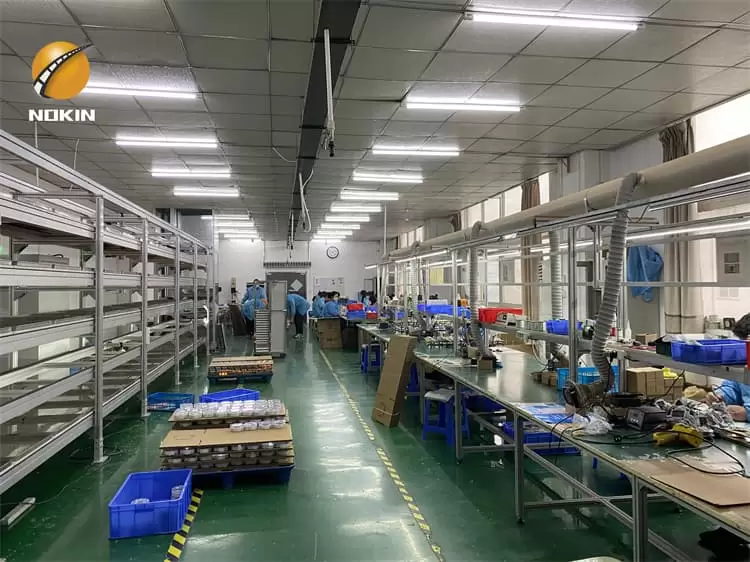
Shenzhen Nokin Traffic Facility Co. Ltd. was established in 2001 and is a national high-tech enterprise specializing in the research, development, production, and marketing of solar LED traffic safety products. Now it has a series of products with independent intellectual property rights: solar road studs, reflective road studs, solar road signs, Smart Zebra Crossing system, road marking machine and etc. Nokin now has a production plant of 2500 square meters. Nokin’s monthly output of solar road studs is fifty thousand pieces. Intelligent welding machine, glue filling machine Package sealing machine, etc to ensure quality and shorten the delivery time. We are committed to providing you with competitive prices, innovative designs, efficient development, and high-quality products. Currently, we have 20 patents for solar road studs. All products have passed CE, RoHS, and FCC certifications. Our products are exported to hundreds of countries and regions in Southeast Asia, Europe, America, the Middle East, South Africa, and Spain. Our product quality has won unanimous praise from customers at home and abroad. We have signed product agency agreements with clients in South Africa, Spain, the United States, and Thailand. Nokin solar road studs are widely used in highways, parks, gardens, ports, intersections, island walkways, docks, decks, etc. We create intelligent solutions and focus on solutions for road safety, Nokin protects your safety all the time. We are looking forward to cooperating with you!
Installation Method Of Embedded Solar Road Studs:
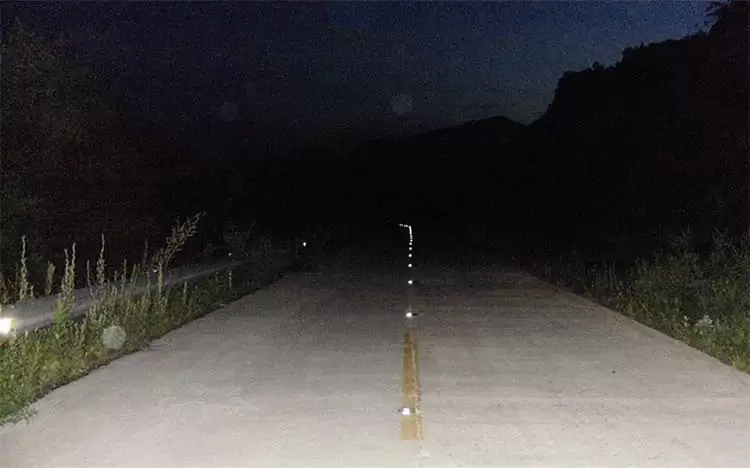
1. Mark the proper installation position. Normally, a 3m distance between road studs will be better.
2. Use the core drilling machine to drill a hole according to the actual size of the shark. Dry the holes with a blowtorch and clean the hole.
3. The epoxy value ratio: Of a glue and B glue is 1: 1. The glue should be mixed well-distributed with the electric drill, 40-50g will be used for each
4. Pour the glue into the hole, get to three-quarters of the hole: Clean the bottom of the solar stud and put it into the hole.
5. Use the knife to clean the surrounding overflow glue after the installation and re-mover all debris from the carriageway.
6. Wait 8 hours for drying before activating the solar stud.
The spacing between each solar stud is also according to your actual application requirements, the above values are for reference only.


